
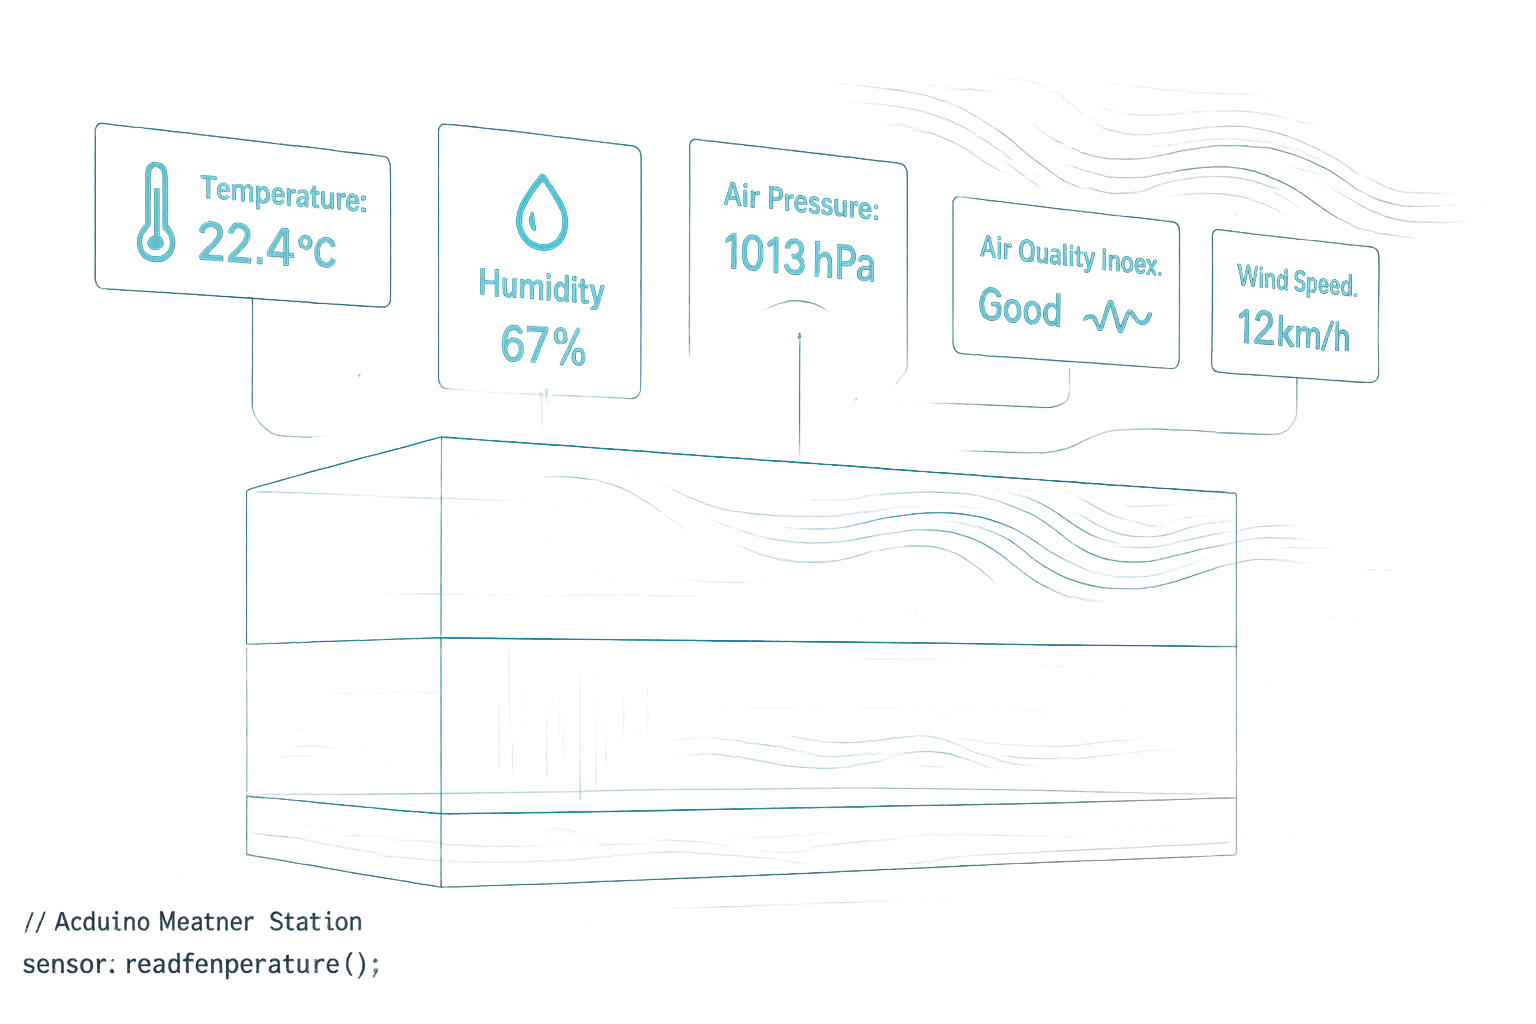
How to Build Weather Station Arduino: The Complete Professional Guide
RFOXiA Integrated Sensors Module
How to Build Weather Station Arduino Projects That Actually Perform
If you've searched for how to build weather station Arduino tutorials before, you've probably found the same recycled projects: a DHT11 sensor, five wires, and a basic serial print loop. It works. Sort of. But if you're serious about environmental monitoring — whether for drone operations, agricultural research, smart home automation, or contributing to a live data network — you need something far more capable.
This guide covers everything from the absolute basics of Arduino weather station construction to professional-grade sensor integration that puts commodity hobby kits to shame. By the end, you'll understand not just how to build a weather station with Arduino, but how to build one worth deploying in the real world.
Why Most Arduino Weather Station Builds Fall Short
The typical beginner Arduino weather station uses one or two sensors — usually a DHT11 or DHT22 for temperature and humidity, sometimes a BMP180 for pressure. These components cost under $2 each, and the tutorials are everywhere.
The problems become obvious fast:
- DHT11 accuracy is ±2°C and ±5% RH — barely acceptable for anything serious
- No air quality sensing — you have no idea what's in the air around your sensor
- No motion sensing — if you're mounting this on a drone or vehicle, you can't detect orientation or vibration
- Multiple sensor buses — wiring each sensor to separate pins creates complexity and failure points
- No compact form factor — a breadboard with five separate modules is fragile and impractical for field deployment
Professional environmental monitoring demands professional hardware. Let's look at what that actually means.
What a Professional Weather Station Actually Measures
Before diving into the build, understand what data points matter and why:
Temperature
The most obvious metric. Accurate to ±0.1°C for serious applications — not the ±2°C you get from a DHT11. Temperature affects everything from battery performance in drones to chemical reaction rates in industrial environments.
Humidity
Relative humidity impacts human comfort, agricultural yield, electronics longevity, and atmospheric science. Again, precision matters: a 5% error in humidity means your "weather station" is effectively guessing.
Air Pressure (Barometric Pressure)
Pressure data is essential for weather prediction, altitude calculation, and aviation/drone applications. A drone that knows its barometric altitude can hold position far more accurately than one relying on GPS alone.
Air Quality
This is where most Arduino weather station builds completely fail. Air quality — specifically the concentration of oxidizing gases, reducing gases, and particulates — tells you things temperature and humidity can't. Wildfire smoke, industrial pollution, vehicle exhaust: these are invisible without a dedicated gas sensor.
Motion: Accelerometer, Gyroscope, Magnetometer
If your weather station is stationary, motion data tells you if it's been disturbed or if vibration is affecting your readings. If it's mobile — on a drone, a vehicle, a research buoy — motion data is mission-critical for stabilization, navigation, and data validation.
How to Build Weather Station Arduino: The Hardware Foundation
Classic Arduino Approach
For a basic build, you'll need:
- Arduino Uno, Nano, or ESP32 development board
- DHT22 sensor (temperature + humidity)
- BMP280 (pressure)
- MQ-135 (air quality — analog, low accuracy)
- MPU-6050 (accelerometer + gyroscope)
- A magnetometer like HMC5883L
- Breadboard, jumper wires, resistors
- Optional: OLED display, SD card module for data logging
This gets you a functional station. But you're wiring six separate modules, managing multiple I2C addresses manually, dealing with power regulation on each component, and hoping nothing interferes with anything else.
The Professional Upgrade Path
Here's where serious builders diverge from the tutorial crowd.
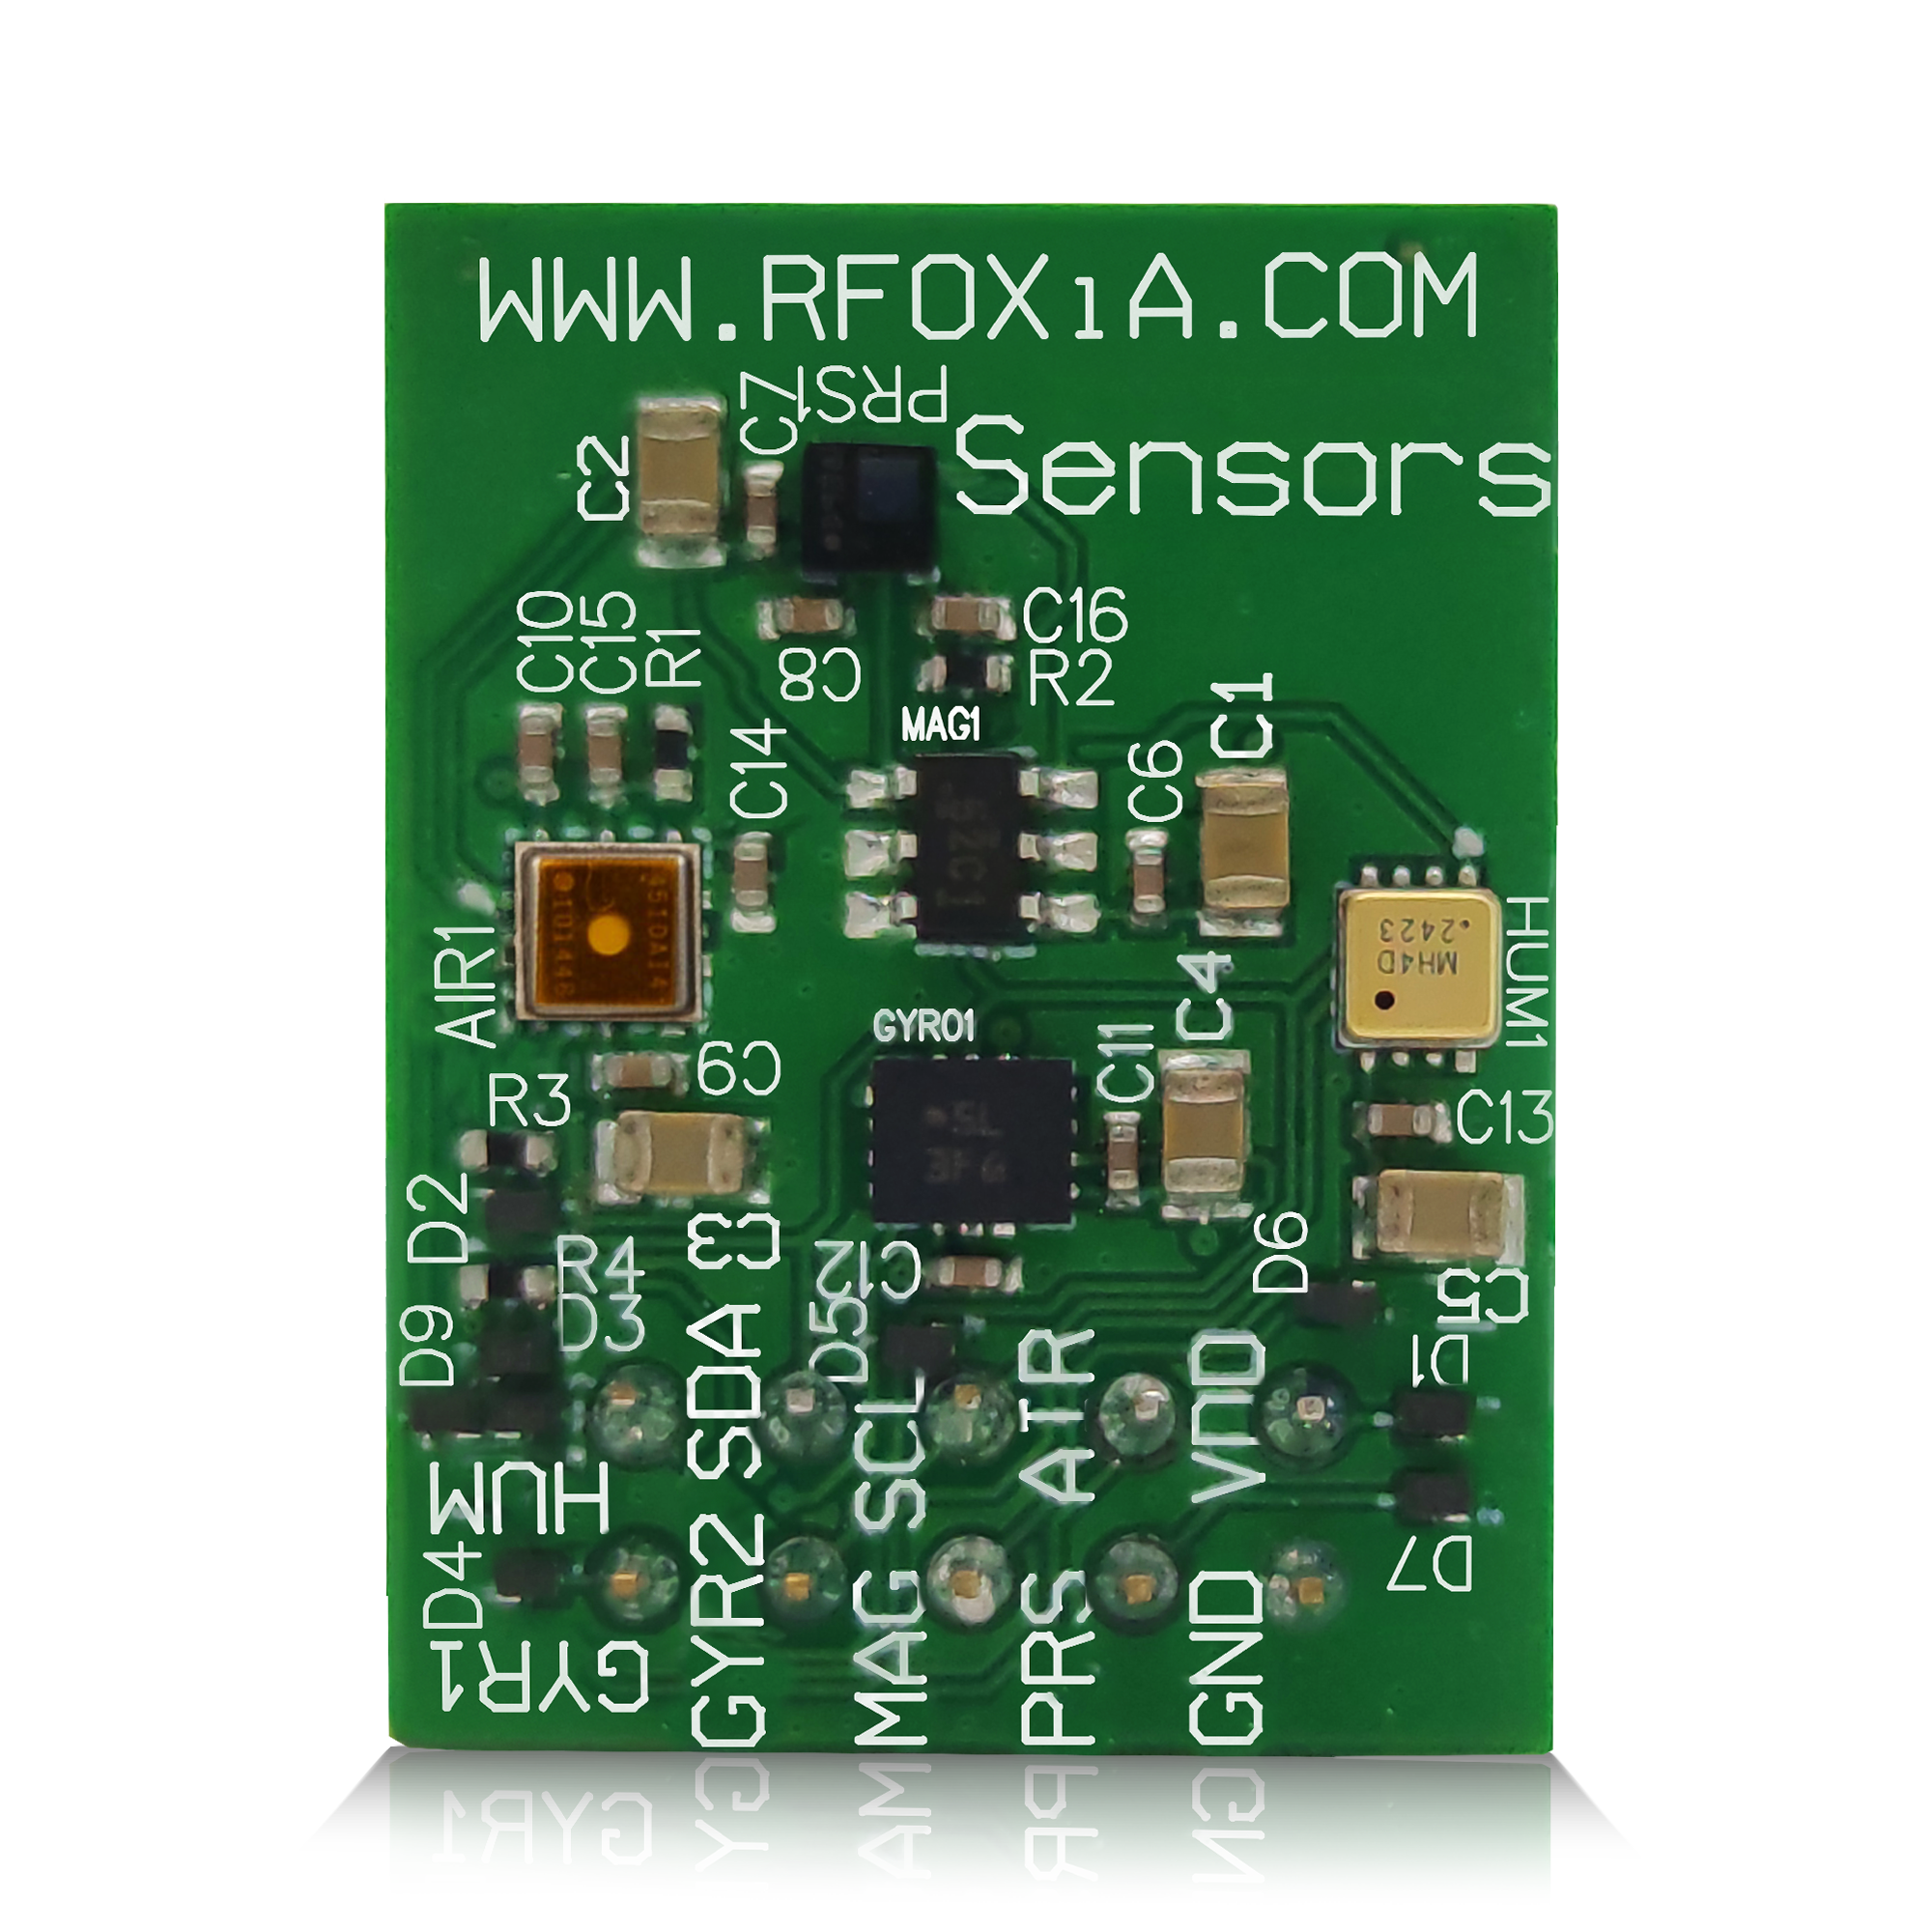
The RFOXiA MultiNav Pro+ Sensors Module integrates all seven sensors — accelerometer, gyroscope, magnetometer, temperature, humidity, air pressure, and air quality — onto a single 24mm × 18mm PCB. That's smaller than a postage stamp, and it replaces an entire breadboard's worth of components.
Understanding the Sensor Lineup
When you learn how to build weather station Arduino systems at a professional level, component selection becomes a critical engineering decision. Here's a breakdown of what matters.
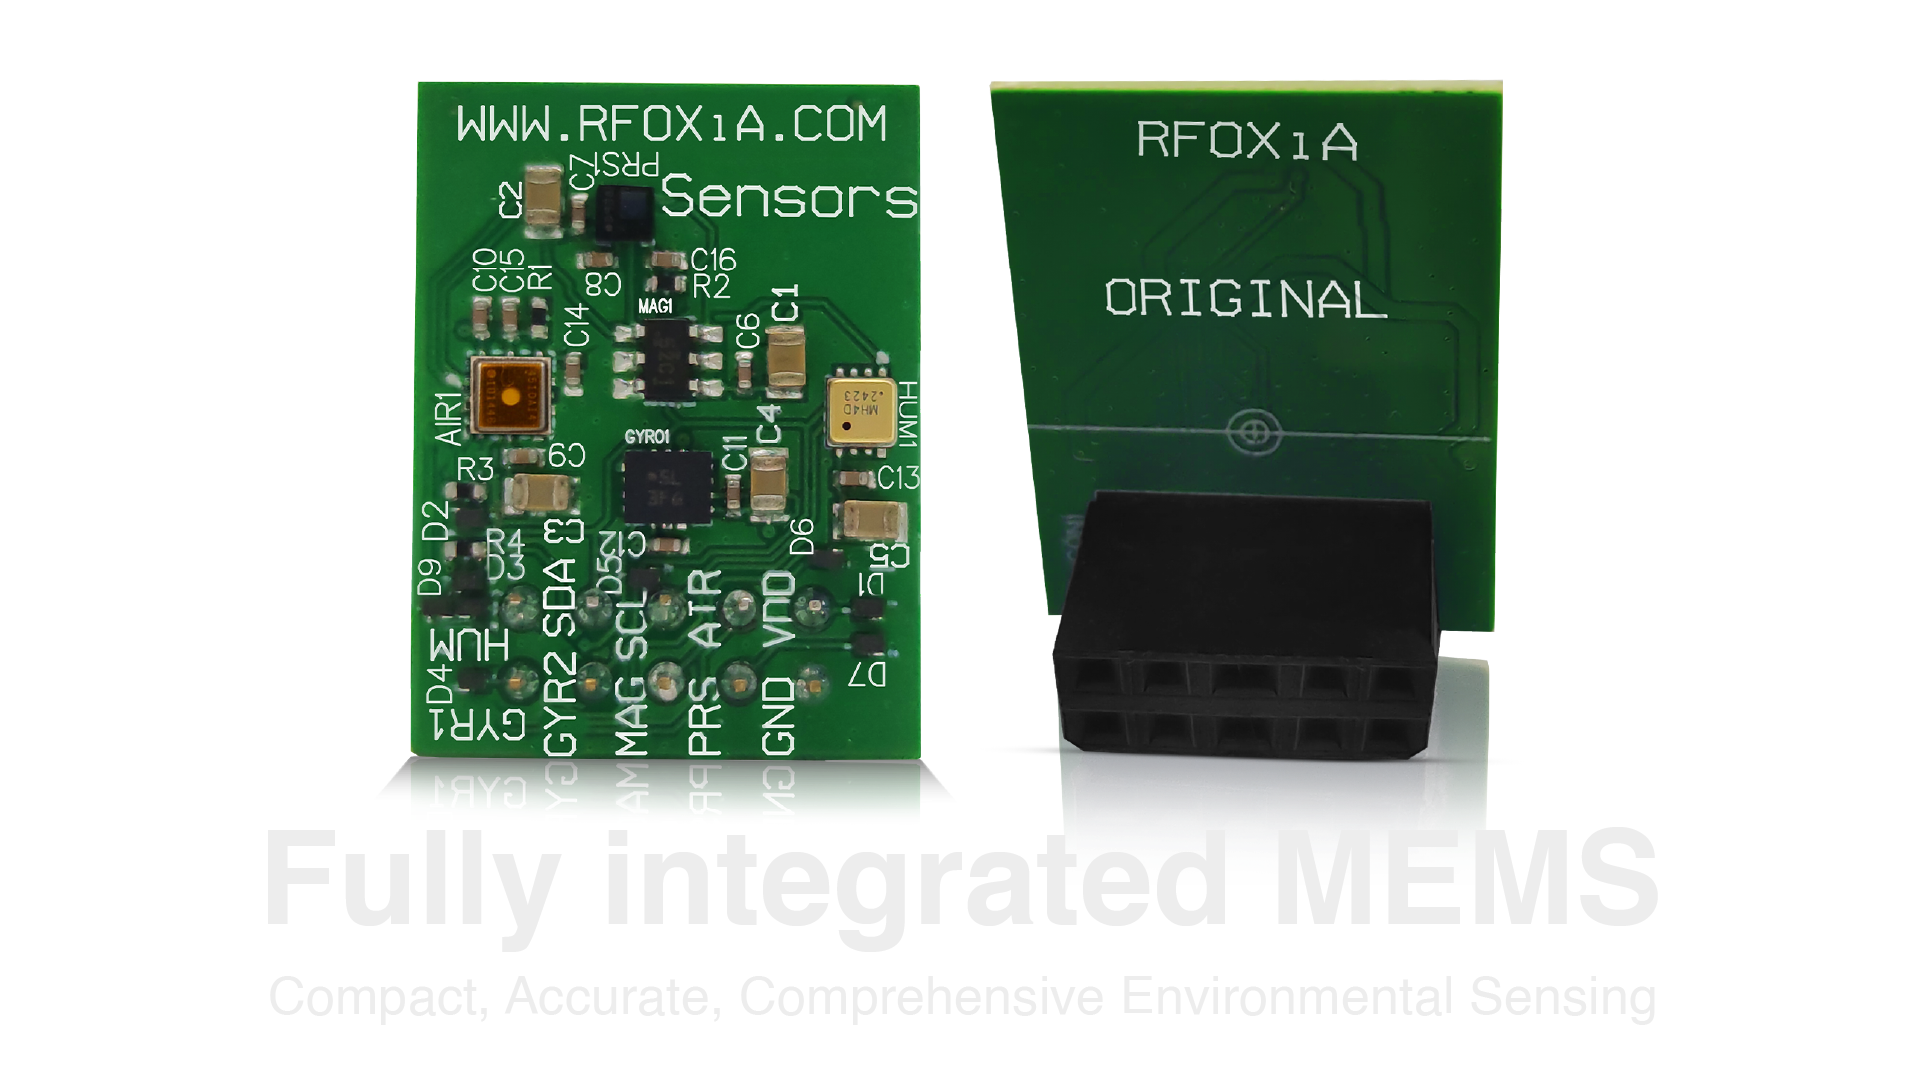
Motion Sensing: BMI270 from Bosch Sensortec
The BMI270 is a professional-grade inertial measurement unit used in consumer electronics, medical devices, and industrial systems. It delivers:
- Accelerometer range: ±2g to ±16g, selectable
- Gyroscope range: ±125°/s to ±2000°/s
- Low noise density for precision motion capture
- Anti-vibration performance essential for drone mounting
This is not the MPU-6050 you find on a $2 breakout board. The BMI270 is what engineers specify when accuracy and reliability matter.
Magnetometer: TMAG5273 from Texas Instruments
The TMAG5273 is a 3D Hall-effect sensor with exceptional accuracy and low power consumption. For a weather station, this means accurate compass heading even when the station is mobile. For drone applications, it's essential for proper heading hold and navigation.
Air Pressure: LPS22HH from STMicroelectronics
The LPS22HH offers ±0.1 hPa accuracy — the standard for aviation and precision altitude applications. Its 75Hz output data rate means you're not waiting for readings: this sensor delivers near-real-time pressure data suitable for fast-moving platforms.
Humidity and Temperature: MVH4003D from MEMSVision
This is where the specification gap versus consumer sensors becomes obvious. The MVH4003D delivers ±1.8% RH accuracy and ±0.2°C temperature accuracy — a full order of magnitude better than a DHT11. For scientific data collection or a monetizable data network, this level of precision is non-negotiable.
Air Quality: ZMOD4510 from Renesas
The ZMOD4510 detects ozone and nitrogen dioxide — the gases produced by vehicle exhaust, industrial processes, and photochemical smog. Unlike the cheap MQ-series analog sensors, the ZMOD4510 outputs calibrated digital data via I2C and includes on-chip intelligence for reliable readings across temperature and humidity variations.
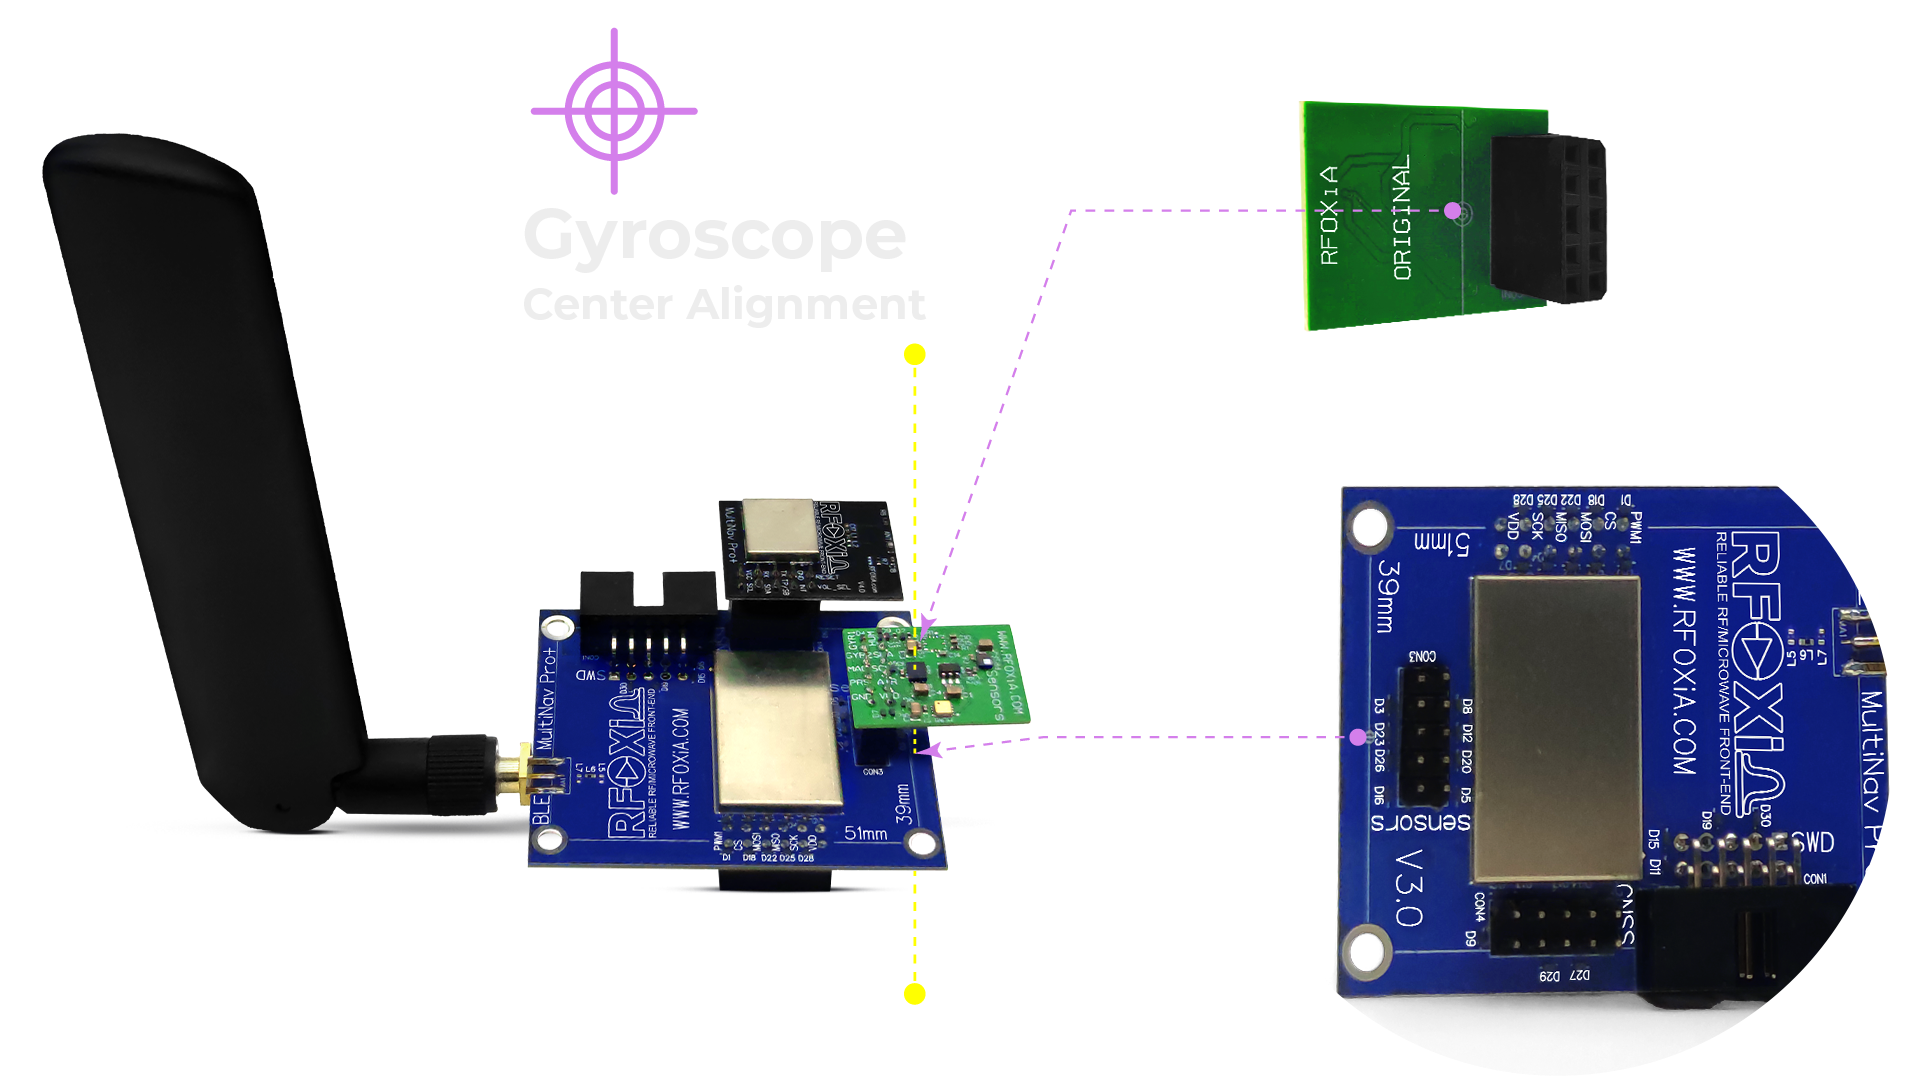
The Sensor Components in Detail
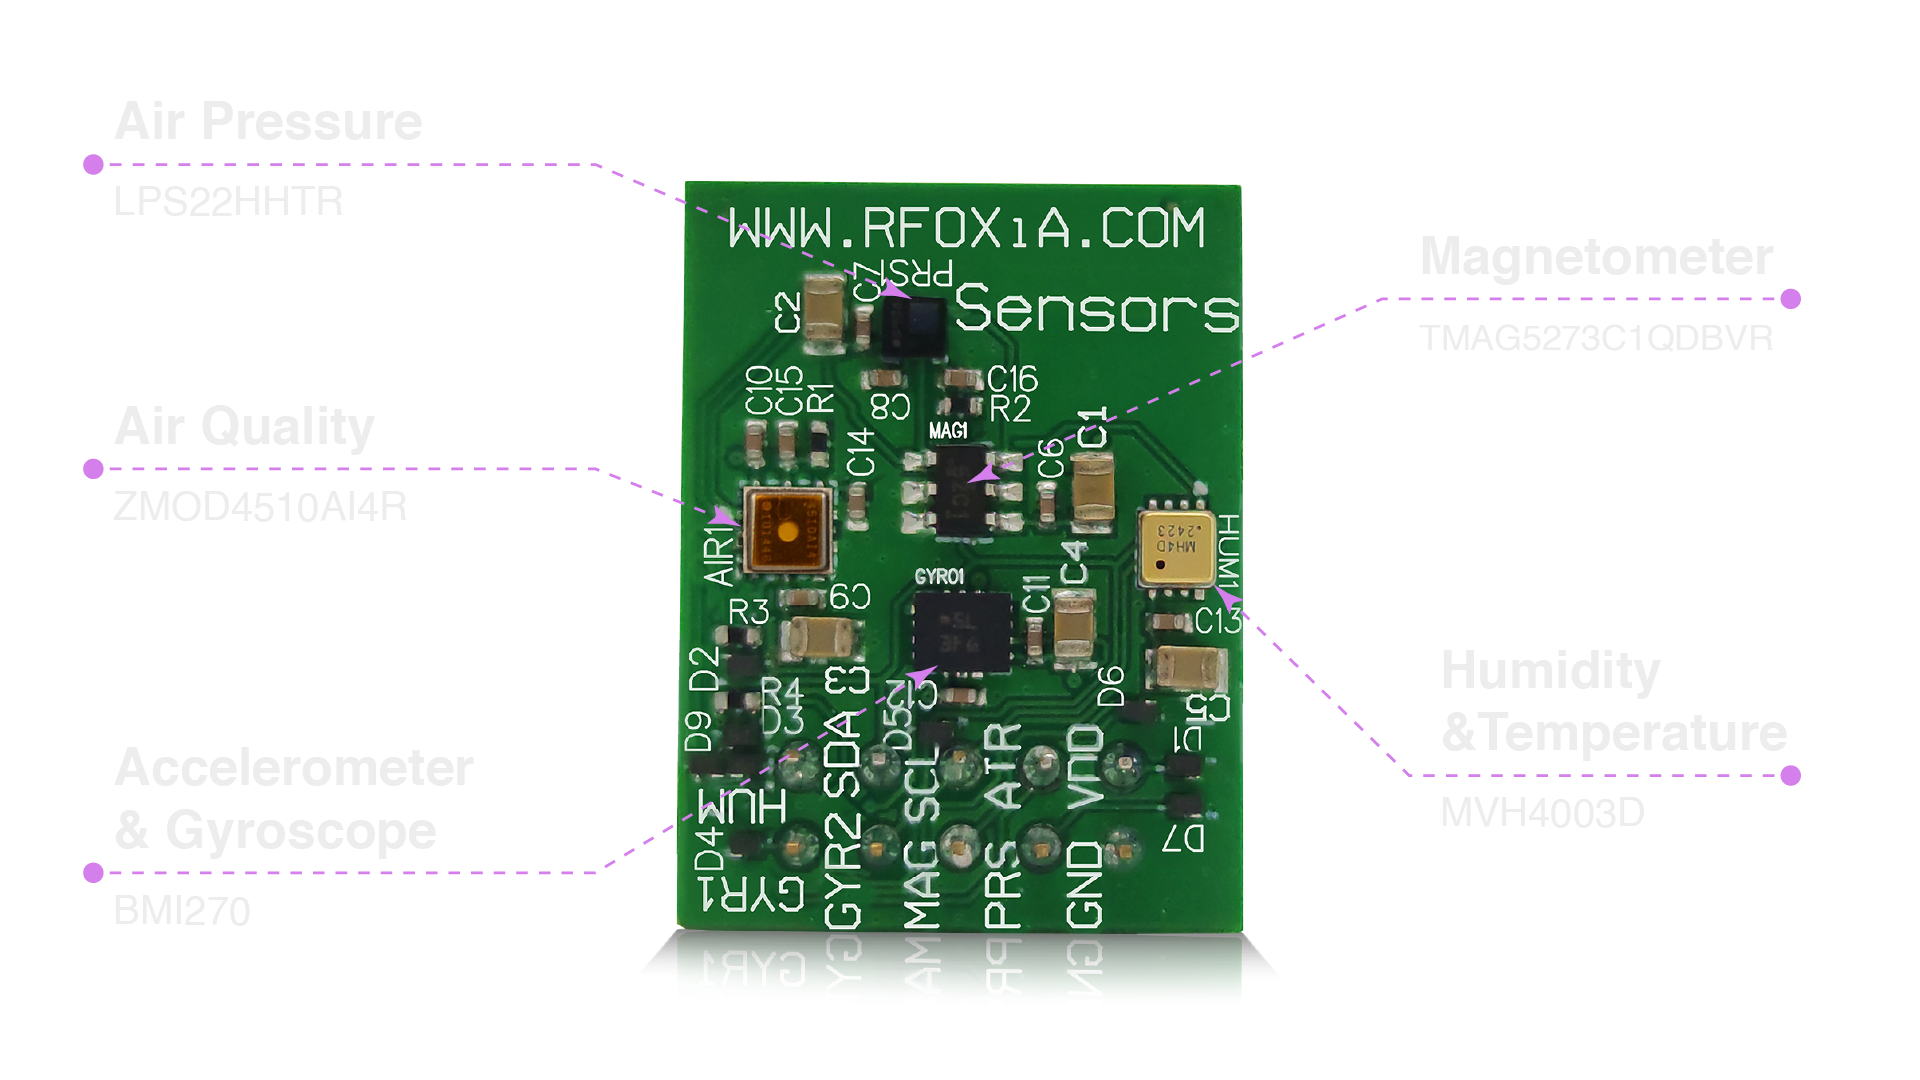
Every sensor on the MultiNav Pro+ was chosen for a reason. Bosch, Texas Instruments, STMicroelectronics, MEMSVision, and Renesas are not hobby-market brands — they're the component suppliers for automotive, medical, and aerospace applications. Getting access to all five in a single integrated module at $39 is genuinely unusual.
Wiring: Why I2C Changes Everything
One of the biggest headaches when you figure out how to build weather station Arduino projects with multiple sensors is wiring complexity. Every sensor needs power, ground, and data connections. With SPI sensors, you also need a dedicated chip select line per device.
I2C solves this elegantly: all devices share two wires (SDA and SCL), and each device has a unique address that the microcontroller uses to select who it's talking to.
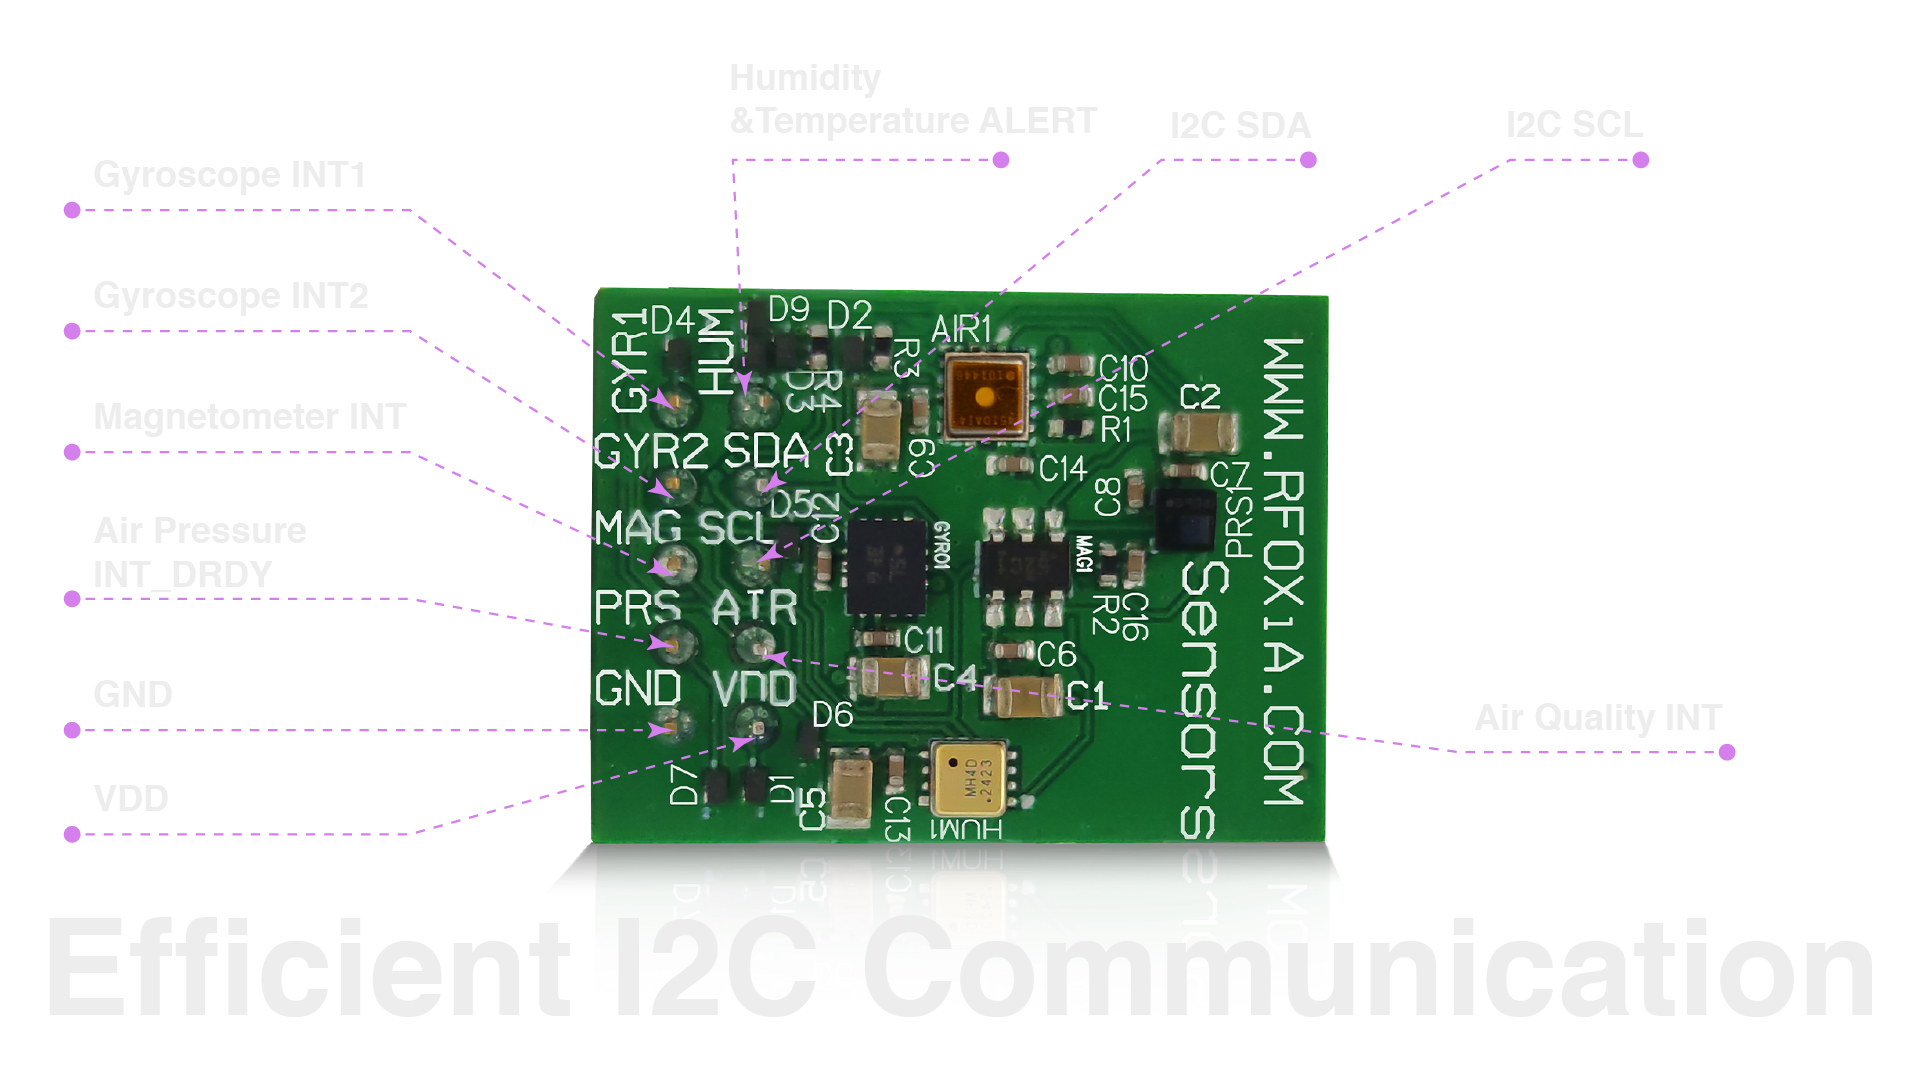
The MultiNav Pro+ puts all seven sensors on a single I2C bus with dedicated addresses per device. Your Arduino code reads from each sensor simply by addressing the correct I2C device. No address conflicts, no data collisions, no additional wiring per sensor. You connect four wires — VCC, GND, SDA, SCL — and you have access to a complete environmental and motion sensing platform.
For comparison: wiring seven individual sensors onto separate breakout boards requires managing at least 20+ connections, potential address conflicts (many low-cost sensors share the same default I2C address), and significantly more failure-prone hardware.
Size Matters: 24mm × 18mm
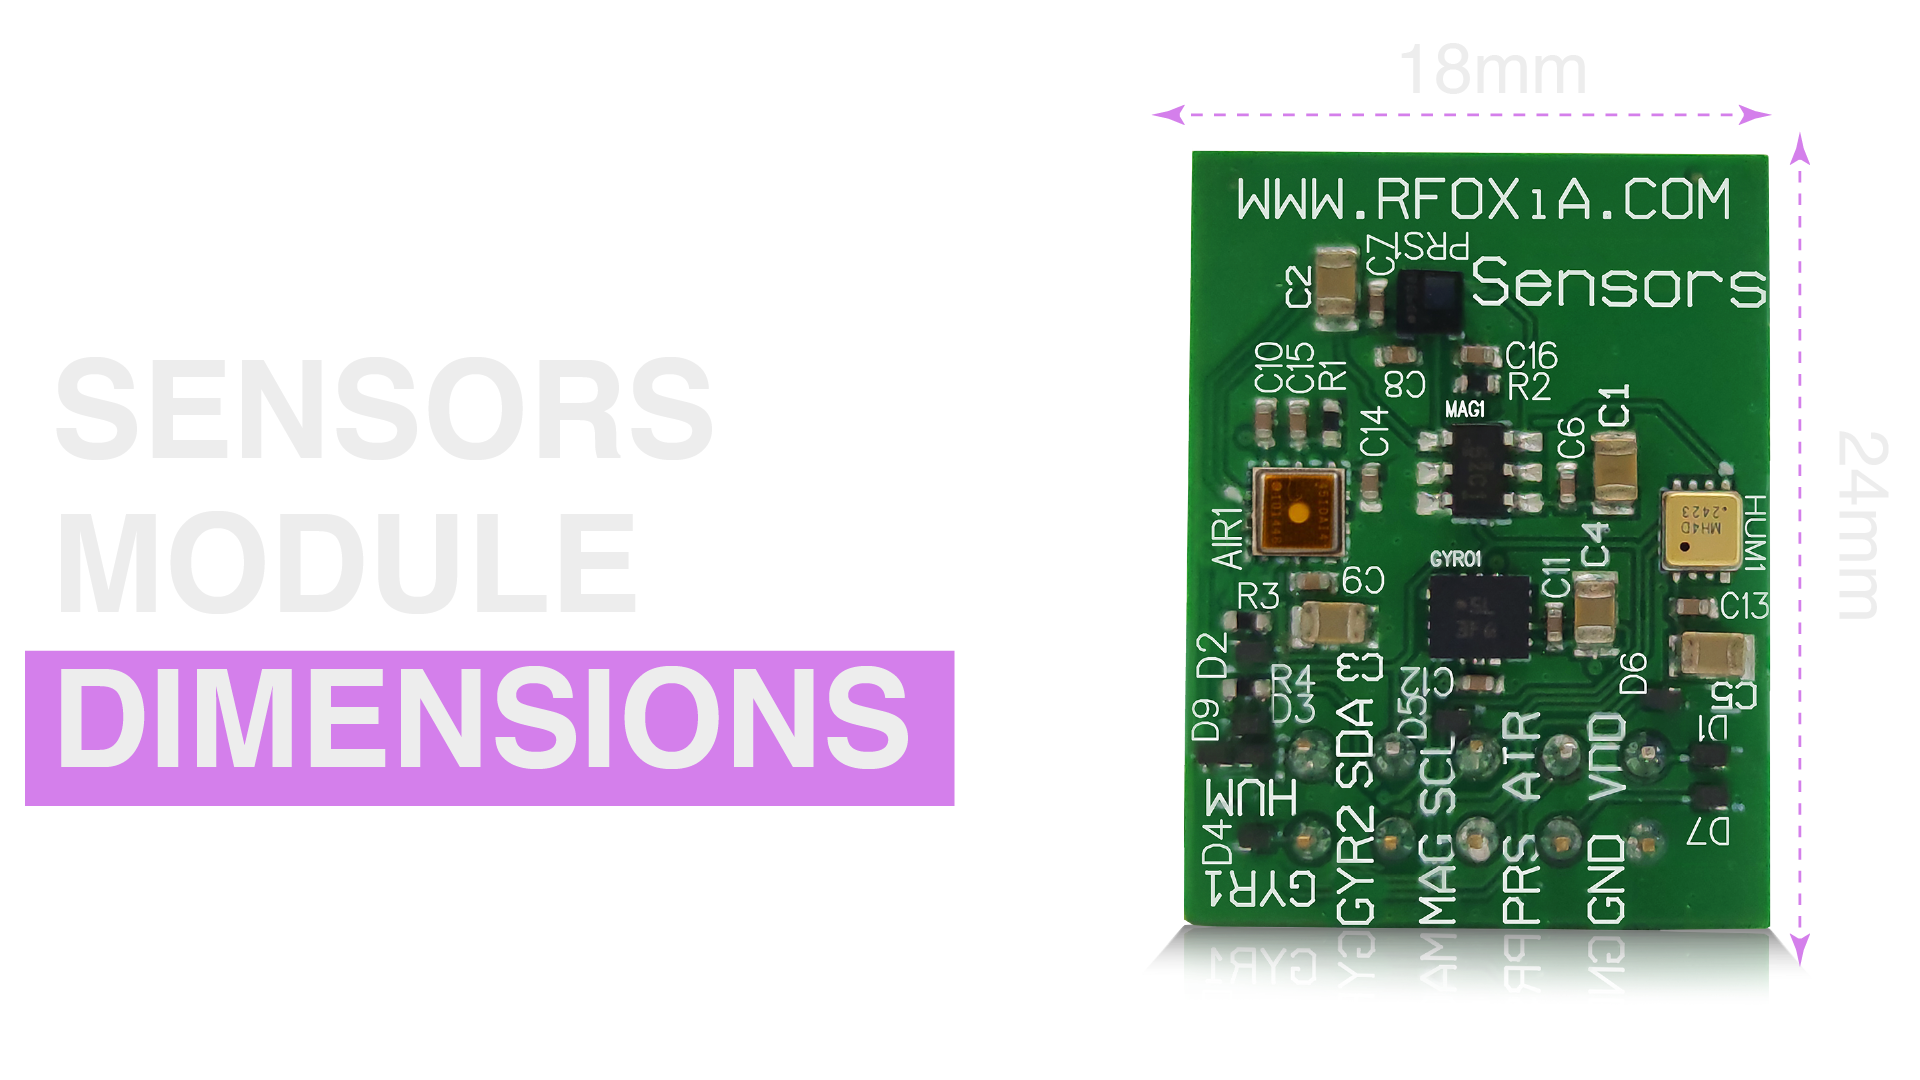
At 24mm × 18mm, the MultiNav Pro+ Sensors Module is specifically designed for applications where space is a constraint. Consider the use cases:
- Drone payload — every gram counts, and so does every cubic centimeter
- Wearable devices — a sensor array that fits inside a wristband enclosure
- Compact IoT nodes — deployment inside weatherproof enclosures in the field
- Research instruments — integration into balloon payloads, UAV sensor pods, or marine buoys
A breadboard with seven individual sensors is roughly the size of a paperback book and considerably more fragile. The MultiNav Pro+ is the size of a thumbnail and production-ready.
Step-by-Step: How to Build Weather Station Arduino with the MultiNav Pro+
Step 1: Hardware Requirements
- Any Arduino-compatible microcontroller with I2C support (Uno, Nano, ESP32, STM32)
- MultiNav Pro+ Sensors Module
- 4 wires (VCC, GND, SDA, SCL)
- Optional: OLED display, wireless module for data transmission, SD card for logging
Step 2: Wiring
Connect the MultiNav Pro+ to your microcontroller:
MultiNav Pro+ → Arduino
VCC           → 3.3V
GND           → GND
SDA           → A4 (Uno) / GPIO21 (ESP32)
SCL           → A5 (Uno) / GPIO22 (ESP32)
That's it. Four wires and you have seven sensors online.
Step 3: Library Installation
For each sensor IC, install the appropriate Arduino library:
- BMI270: Bosch BMI270 Arduino library (available via Arduino Library Manager)
- TMAG5273: TI TMAG5273 library or generic I2C Hall sensor library
- LPS22HH: STMicroelectronics LPS22HH library
- MVH4003D: I2C humidity/temperature library compatible with the sensor register map
- ZMOD4510: Renesas ZMOD4510 evaluation library (available from Renesas or GitHub)
Step 4: Basic Read Loop
#include <Wire.h>
#include <BMI270.h>
#include <LPS22HH.h>
// Include other sensor libraries

void setup() {
  Serial.begin(115200);
  Wire.begin();

  // Initialize each sensor
  bmi270.begin();
  lps22hh.begin();
  // Initialize other sensors
}

void loop() {
  float temperature = lps22hh.readTemperature();
  float pressure = lps22hh.readPressure();
  float accelX = bmi270.readAccelX();
  // Read all sensors

  Serial.print("Temperature: ");
  Serial.println(temperature);
  // Print all values

  delay(1000);
}
Step 5: Data Logging and Transmission
For a deployed weather station, you'll want to:
- Log data to an SD card with timestamps
- Transmit data wirelessly to a server or display
- Alert on threshold conditions (temperature too high, air quality deteriorating)
This is where integrating the MultiNav Pro+ with the full RFOXiA ecosystem becomes compelling. The RFOXiA BLE Module adds long-range wireless data transmission — up to 5km ground-to-ground — without requiring any cellular or WiFi infrastructure.
Real-Time Data: The Actual Point of a Weather Station
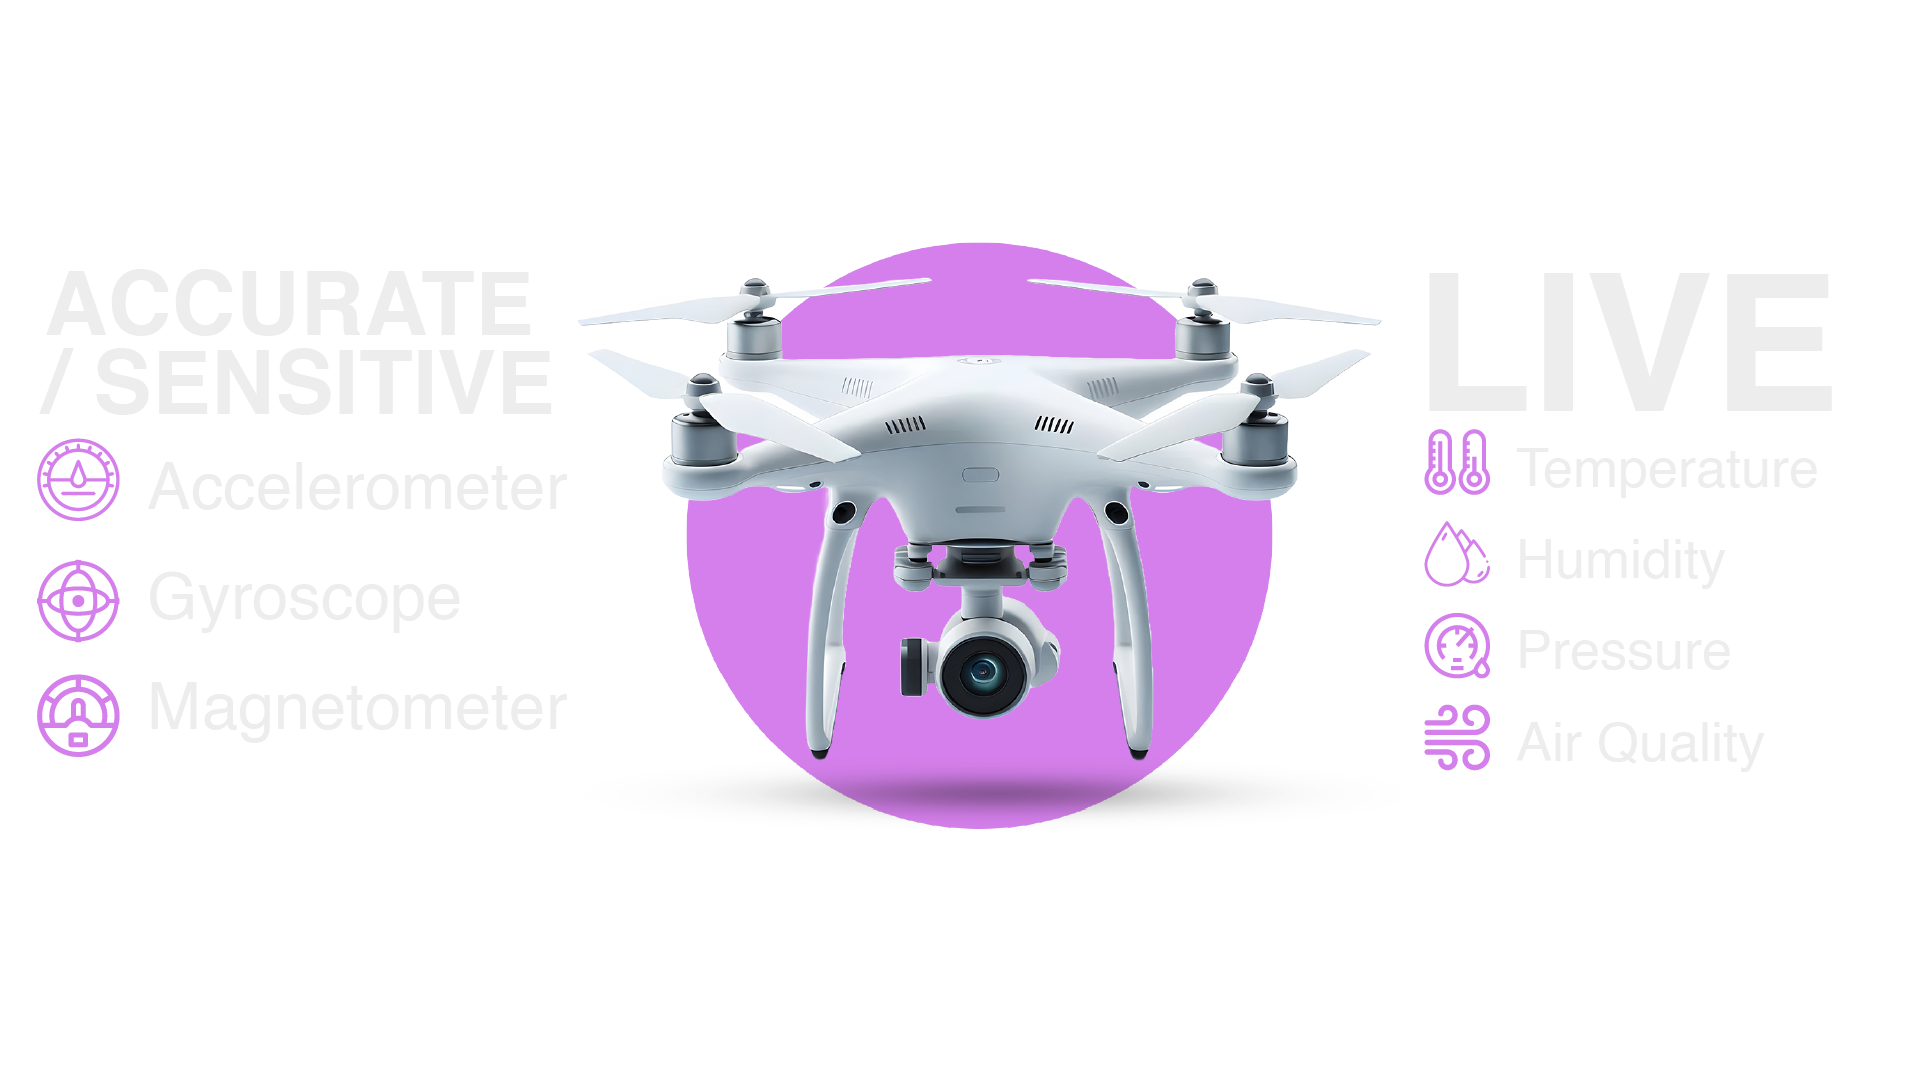
A weather station that logs to a serial monitor is a toy. A weather station that streams verified, timestamped, GPS-located environmental data to a live dashboard — that's a tool.
The RFOXiA MultiNav Pro+ Sensors Module is designed to integrate directly with the RFOXiA ecosystem, including:
- RFOXiA Connect App: Live sensor data displayed on your phone, no internet required, via BLE
- RFOXiA Club Command Center: Web-based live data visualization and session recording
- Data Network: Stream verified environmental data and earn daily rewards — $0.08 to $0.40 per day depending on location and uptime
That last point deserves emphasis. RFOXiA operates a live data monetization network where verified outdoor sensor nodes earn daily rewards for their data contributions. Companies in agriculture, smart cities, insurance, logistics, and research buy hyper-local environmental data that weather APIs simply cannot provide. Your Arduino weather station doesn't just cost you money — it can generate it.
Applications Beyond the Backyard

When people search for how to build weather station Arduino guides, they're usually imagining a box on their roof that tells them today's temperature. The applications for professional-grade environmental sensing go much further:
Drone Environmental Sensing
Mount a sensors module to your drone frame. Now your aircraft knows ambient temperature (affects battery performance), barometric pressure (improves altitude hold), air quality (identifies hazardous flight environments), and orientation (complements flight controller IMU for redundancy).
Agricultural Microclimate Monitoring
Deploy multiple nodes across a field. At $39 per module, you can instrument an entire farm with hyperlocal temperature, humidity, pressure, and air quality data at a fraction of what commercial agricultural sensor networks cost.
Smart City Infrastructure
Street-level air quality monitoring at the resolution needed for meaningful pollution mapping. Urban heat island analysis. Flood risk assessment based on humidity and pressure trends. These are multi-billion-dollar problems that need exactly the kind of dense, low-cost sensor networks the MultiNav Pro+ enables.
Disaster Response
Deploy rapid environmental monitoring in areas affected by wildfires, chemical spills, or industrial accidents. The compact size and low power requirements make it viable for battery-powered deployment in locations without infrastructure.
Research and Education
From high school science projects to university-level atmospheric research, a sensor array with this spec level at $39 eliminates budget as a barrier to serious data collection.
Wearable Environmental Monitoring
Personal air quality monitors, sports performance wearables that track environmental conditions during training, medical monitoring for patients with respiratory conditions — the compact footprint makes all of these viable.
How to Build Weather Station Arduino vs. Professional IoT: The Real Comparison
| Feature | DHT11 + BMP180 Build | MultiNav Pro+ |
|---|---|---|
| Temperature accuracy | ±2°C | ±0.2°C |
| Humidity accuracy | ±5% RH | ±1.8% RH |
| Air quality | None | ZMOD4510 (calibrated) |
| Motion sensing | None or separate module | BMI270 (professional grade) |
| Magnetometer | Separate module | TMAG5273 (TI) |
| Form factor | Breadboard, ~10cm² | 24mm × 18mm |
| Wiring complexity | 20+ connections | 4 wires |
| Production-ready | No | Yes |
| Price | $15–25 (components only) | $39 (complete module) |
The economics are clear. The MultiNav Pro+ costs roughly the same as buying the individual sensors separately — and it's delivered as a production-ready, compact, professionally integrated PCB.
AI Firmware Development: No Firmware Experience Required
One barrier to building professional-grade sensor systems has always been firmware complexity. Writing I2C drivers for five different sensor ICs from five different manufacturers is not a weekend project.
RFOXiA Club includes an AI Firmware Builder that changes this completely. Describe your application in plain language:
"I want to read temperature, humidity, pressure, air quality, and IMU data from the MultiNav Pro+ sensors module every 5 seconds and send it over BLE to my phone."
The AI generates production-ready firmware with full source code. You can modify it, compile it, and flash it the same day. What used to take weeks of embedded development work now takes hours.
The Complete Ecosystem
The MultiNav Pro+ is one module in a broader ecosystem. Pair it with:
- MultiNav Pro+ BLE Module: 5km ground-to-ground wireless range. Transmit your sensor data without WiFi or cellular.
- MultiNav Pro+ GNSS Module: 1.5-meter precision GPS at 18Hz. Know exactly where your sensor is, verify outdoor deployment, enable mobile tracking.
- Power/Program Kit: Supercapacitor-based power system. 5-minute charge, 24-hour runtime. Deploy anywhere.
The Developer Bundle — all four modules plus app license — is the complete platform for serious builders. And every component in the bundle is FCC certified, which means it's ready for commercial deployment, distribution, and integration into products you sell.
Explore the RFOXiA Integrated Sensors Module and the full product lineup at rfoxia.com.
Frequently Asked Questions
Can I use the MultiNav Pro+ with a standard Arduino Uno? Yes. Any microcontroller with I2C support works. The module operates on 3.3V logic — use a level shifter if your Arduino runs at 5V, or use a 3.3V board like the Arduino Nano 33 IoT or ESP32.
Do I need to write firmware from scratch? No. RFOXiA Club's AI Firmware Builder generates complete, working firmware from your natural language description. Full source code is provided for customization.
Can I use this module commercially? Yes. The module is FCC certified, making it legal for commercial integration in the United States and many international markets.
How does the data monetization work? Deploy your sensor module outdoors with GPS verification. Stream data to the RFOXiA network. Earn $0.08–$0.40 per day per node. RFOXiA sells this aggregated, verified environmental data to enterprise buyers. You contribute to the network and earn passive income from your hardware investment.
What's the power consumption? The module is designed for low-power IoT deployment. Combined with the RFOXiA Power/Program Kit's supercapacitor system, you get 24-hour runtime from a 5-minute charge — field deployment without infrastructure.
Conclusion: Build Better, Deploy Further, Earn More
Learning how to build weather station Arduino projects is a gateway to serious environmental monitoring, IoT development, and professional sensor systems. The gap between a DHT11 on a breadboard and a calibrated, production-ready, seven-sensor array is not just about specifications — it's about what you can actually do with the data.
The MultiNav Pro+ Sensors Module at $39 bridges that gap. Professional sensor ICs from Bosch, Texas Instruments, STMicroelectronics, MEMSVision, and Renesas — all on a 24mm × 18mm PCB, all on a single I2C bus, all available in a complete ecosystem that adds long-range wireless, precision GPS, AI firmware development, and a live data monetization network.
If you've been building Arduino weather stations with whatever sensors were in the starter kit, it's time to upgrade.
Explore the RFOXiA Integrated Sensors Module and start building weather stations worth deploying.
Written by: Moamen Mohamed LinkedIn