
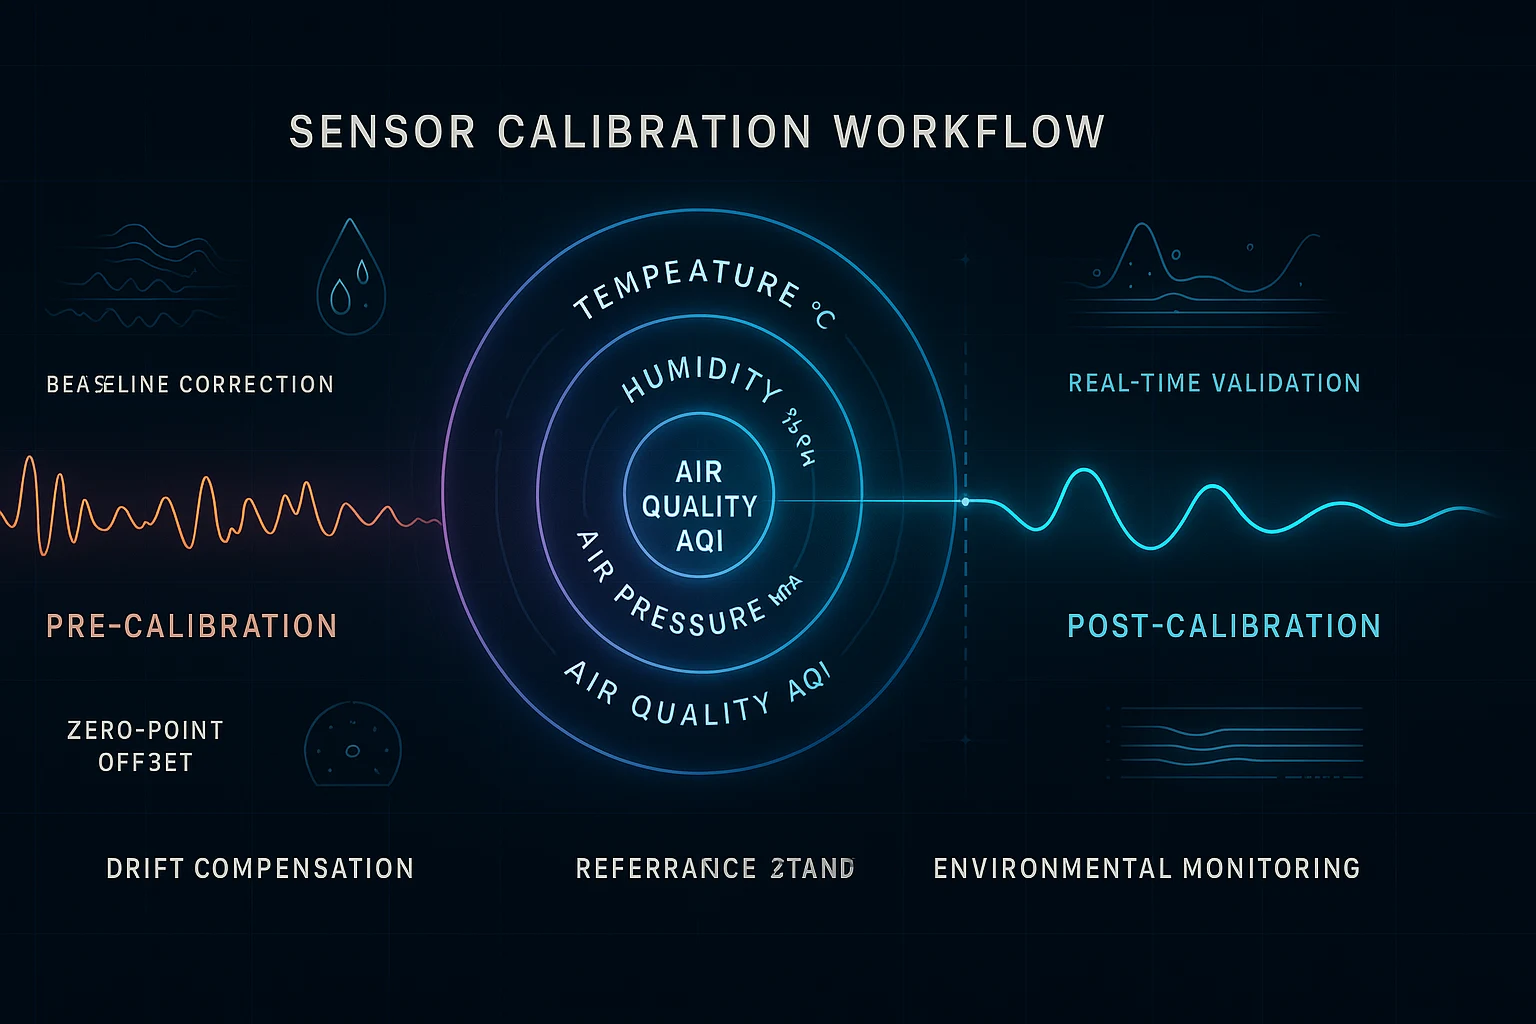
How to Calibrate Environmental Sensor — The Complete Developer Guide
RFOXiA Integrated Sensors Module
How to Calibrate Environmental Sensor Arrays for Professional IoT and Drone Applications
If you've ever deployed a sensor node in the field and wondered why your temperature readings drifted by 3°C or your air quality index spiked without cause, you already understand the single biggest challenge in environmental sensing: calibration. Knowing how to calibrate environmental sensor hardware correctly is the difference between data you can trust and data that misleads you.
This guide covers everything — from the fundamentals of sensor calibration theory to step-by-step workflows for each sensor type, to how modern all-in-one sensor modules like the RFOXiA Integrated Sensors Module dramatically simplify the entire process. Whether you're building a drone telemetry system, a smart agriculture node, a disaster response device, or a city-level environmental monitoring network, this is your definitive calibration reference.
What Is Sensor Calibration and Why Does It Matter?
Sensor calibration is the process of configuring a sensor's output so that it accurately represents the physical quantity it measures. Every sensor — no matter how premium — ships with some degree of manufacturing variance. Ambient conditions during fabrication, component tolerances, PCB layout parasitics, and even the soldering process introduce small but meaningful offsets and gain errors.
Left uncalibrated, these errors compound. A temperature sensor with a +1.2°C offset feeding into a humidity calculation will produce relative humidity readings that are systematically wrong. An uncalibrated magnetometer will give you heading errors that make drone navigation unreliable. An air quality sensor without a proper baseline will trigger false alarms or miss real pollution events.
Calibration isn't a one-time luxury. It's a recurring engineering discipline — particularly for field-deployed systems exposed to temperature cycling, vibration, and long-term component aging.
Understanding the MultiNav Pro+ Sensors Module Hardware
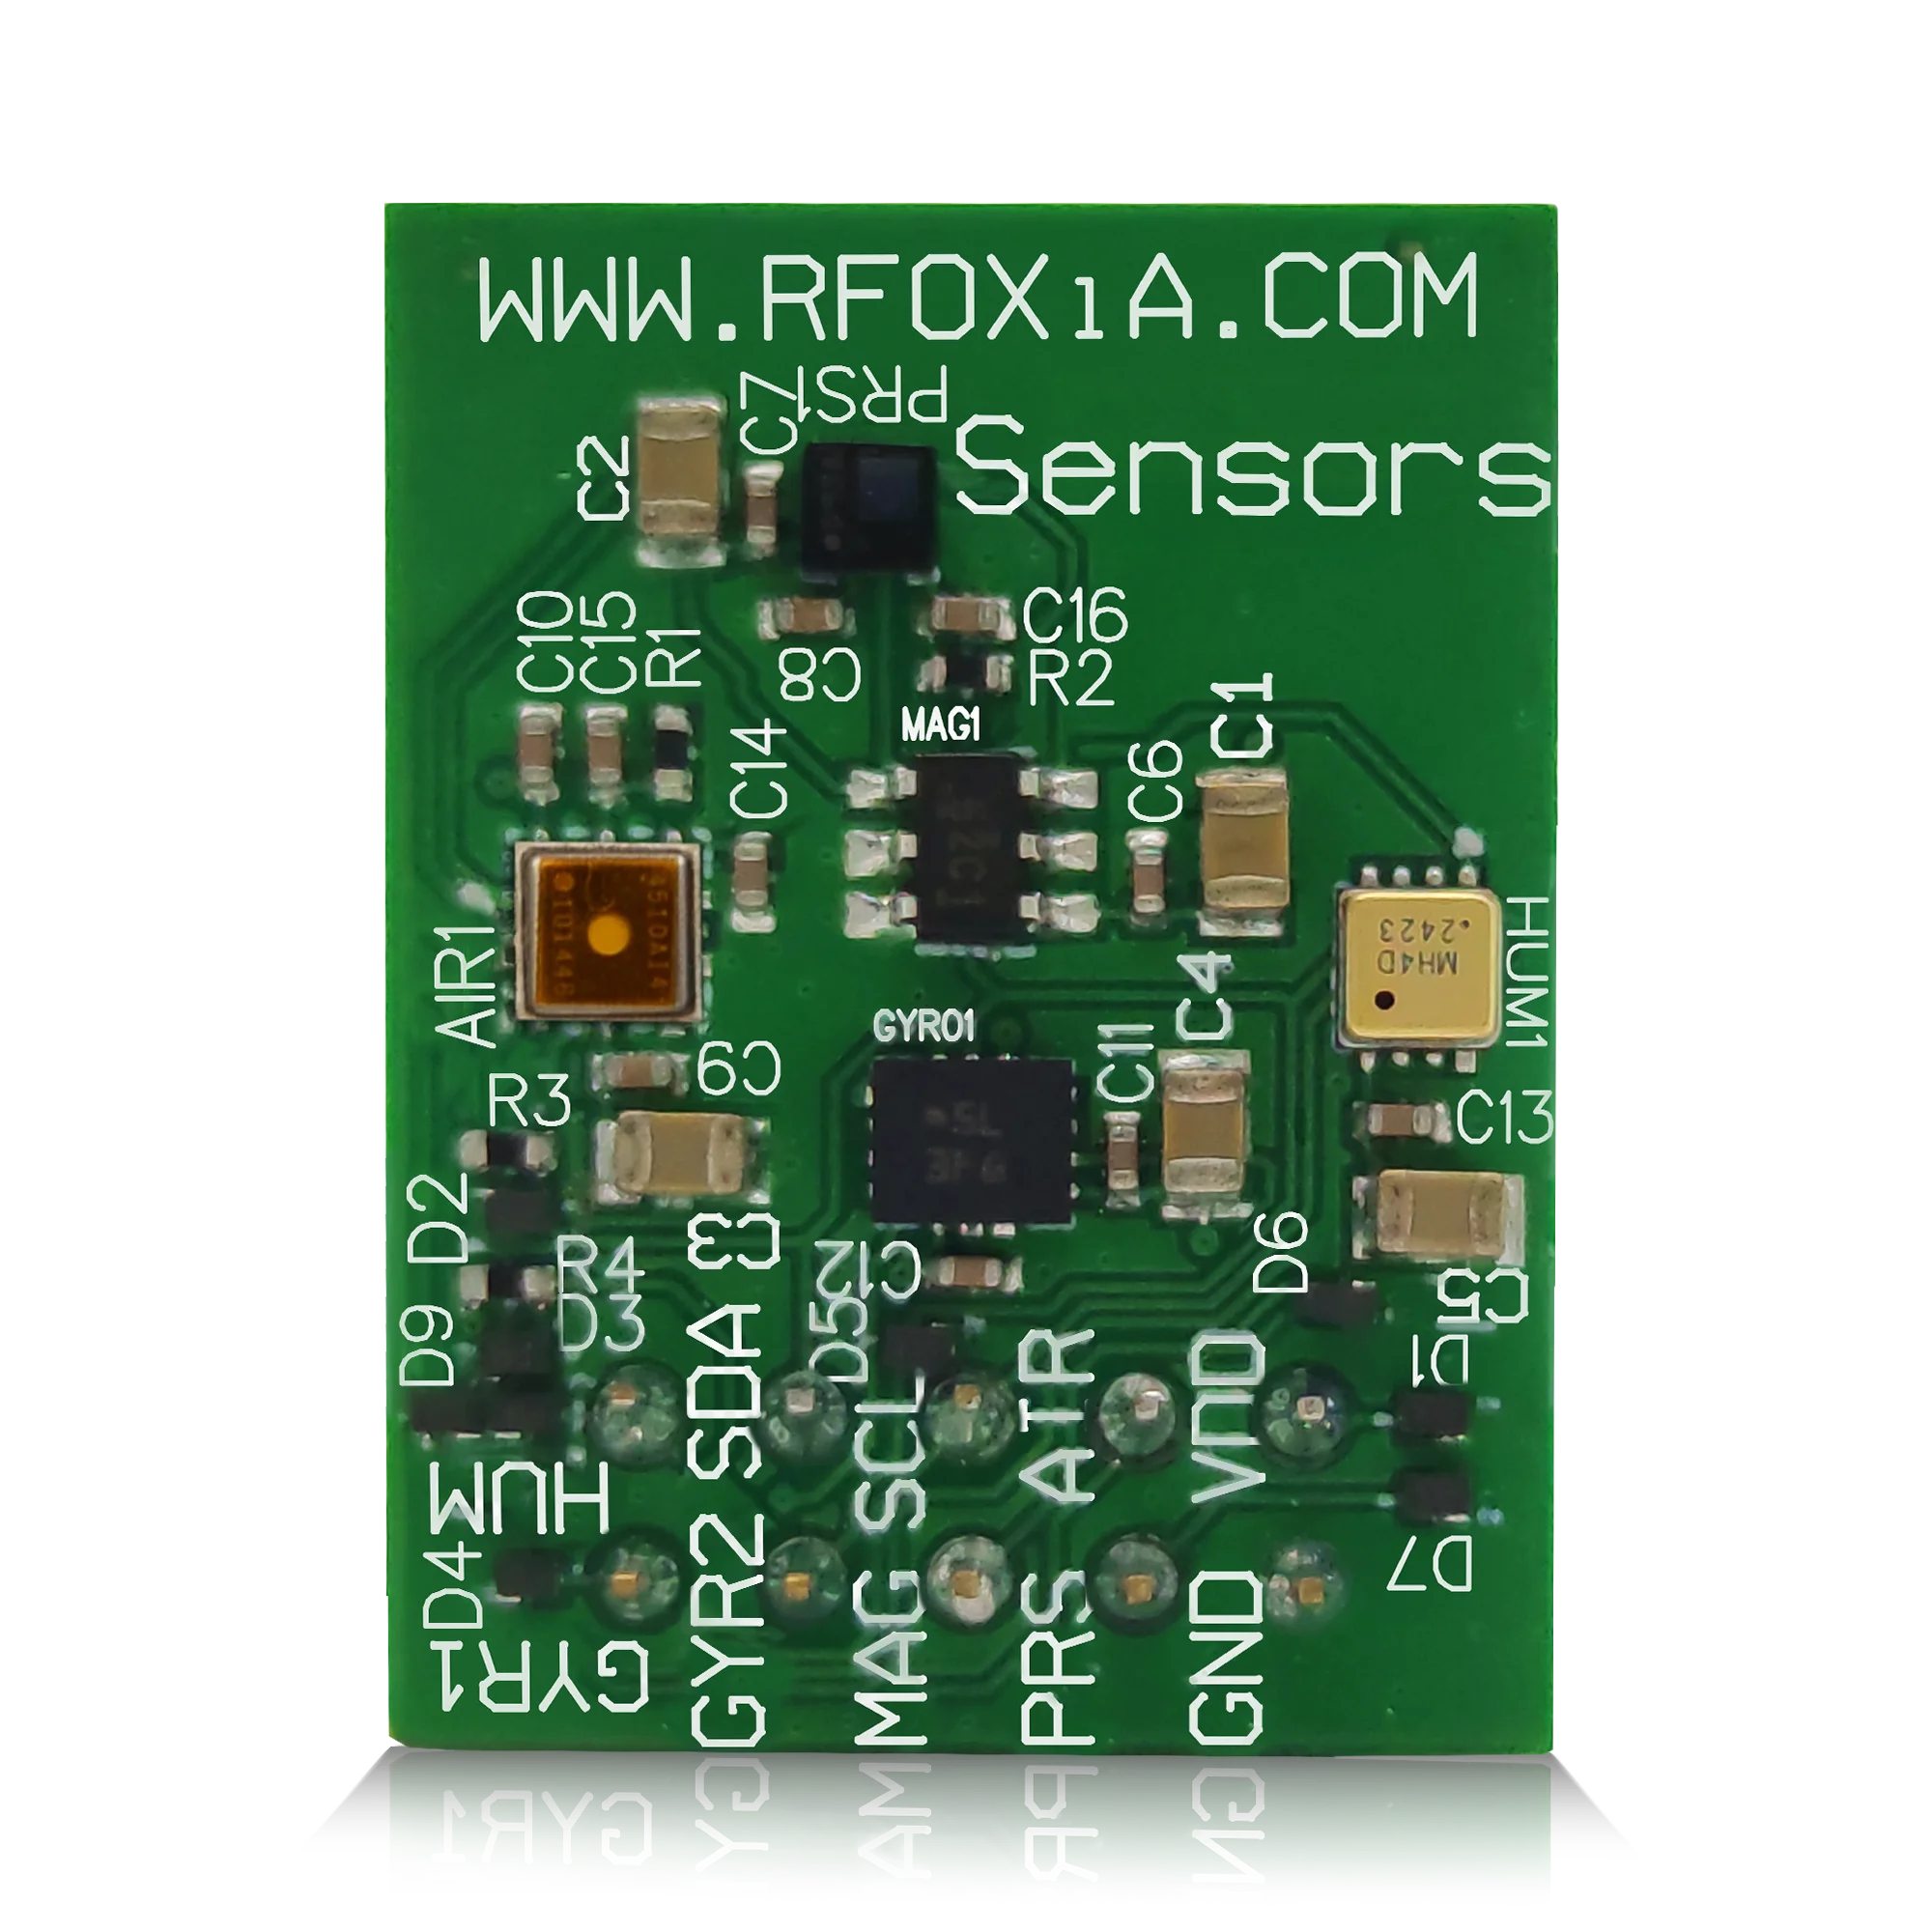
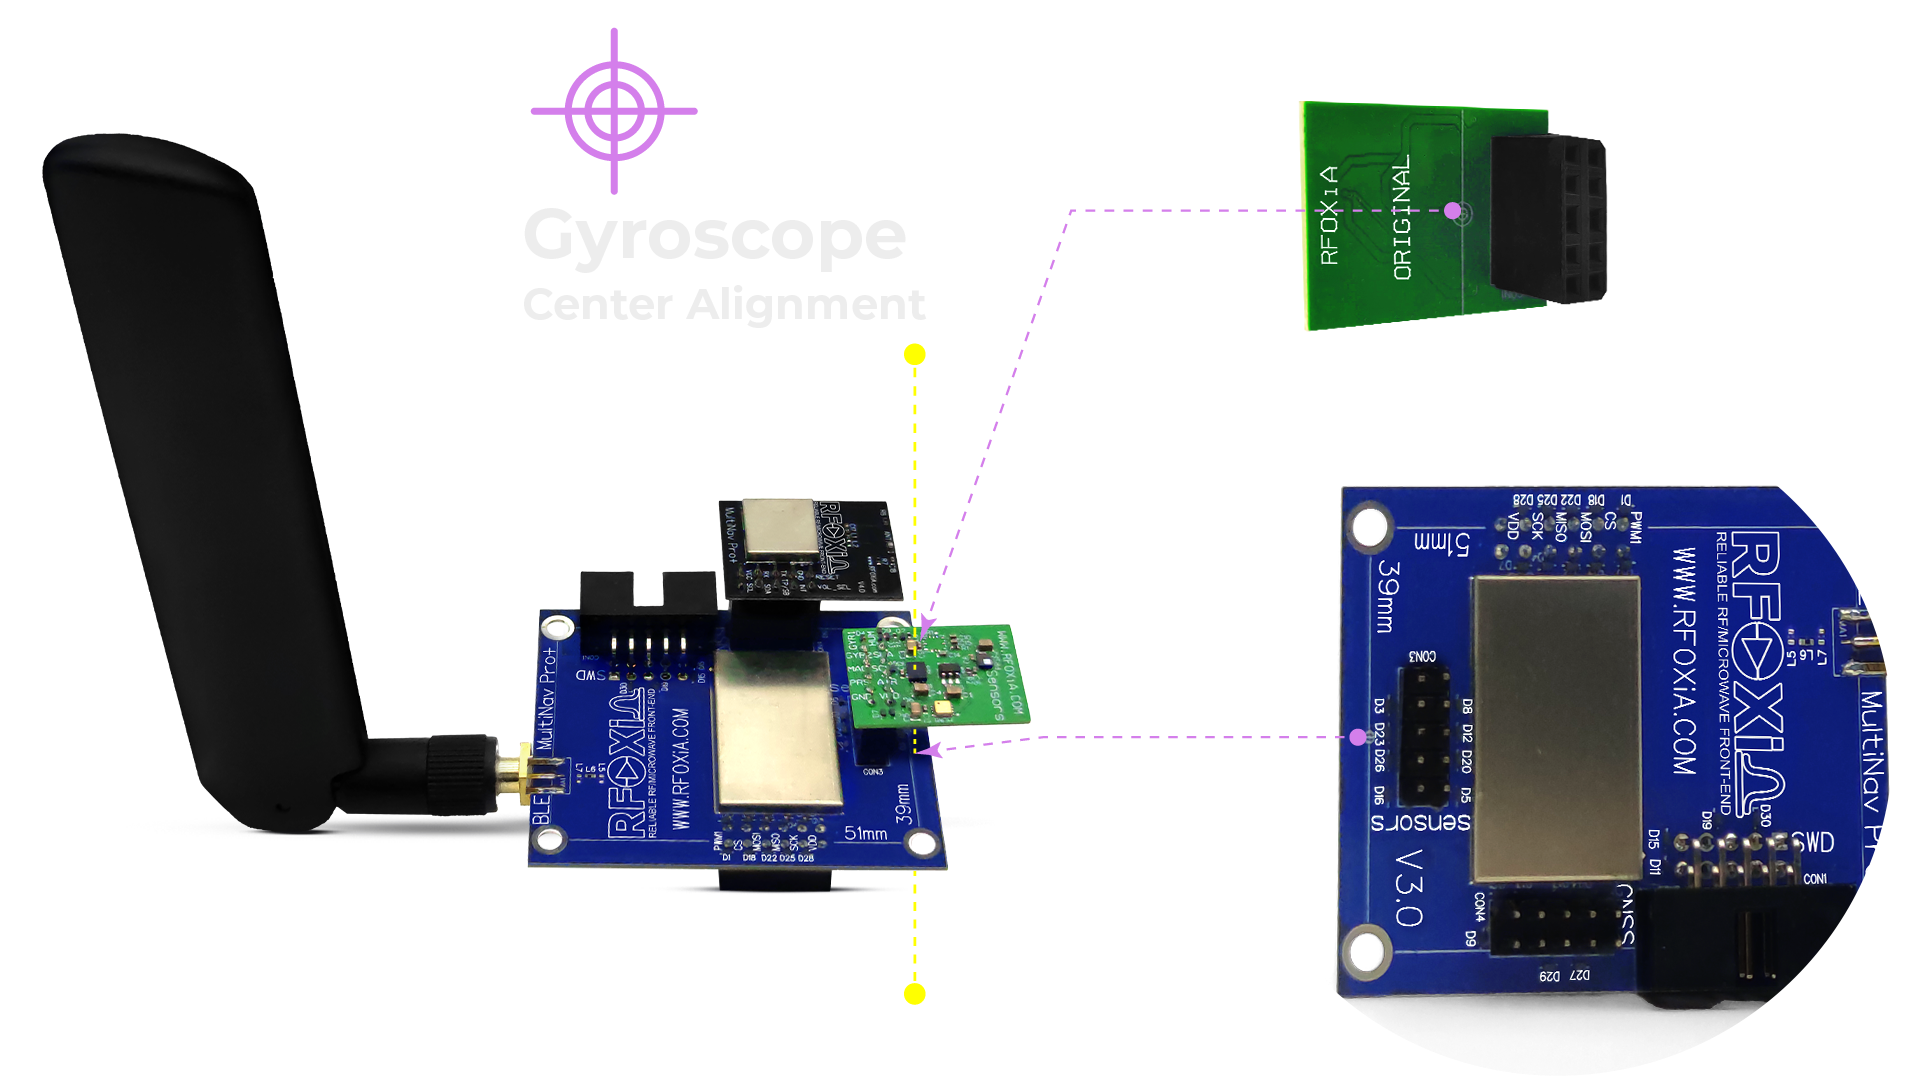
Before diving into calibration procedures, it's worth understanding the hardware you're working with. The MultiNav Pro+ Sensors Module from RFOXiA packs seven professional-grade sensors onto a single 24mm × 18mm board — an exceptionally compact footprint for the sensing capability it delivers.
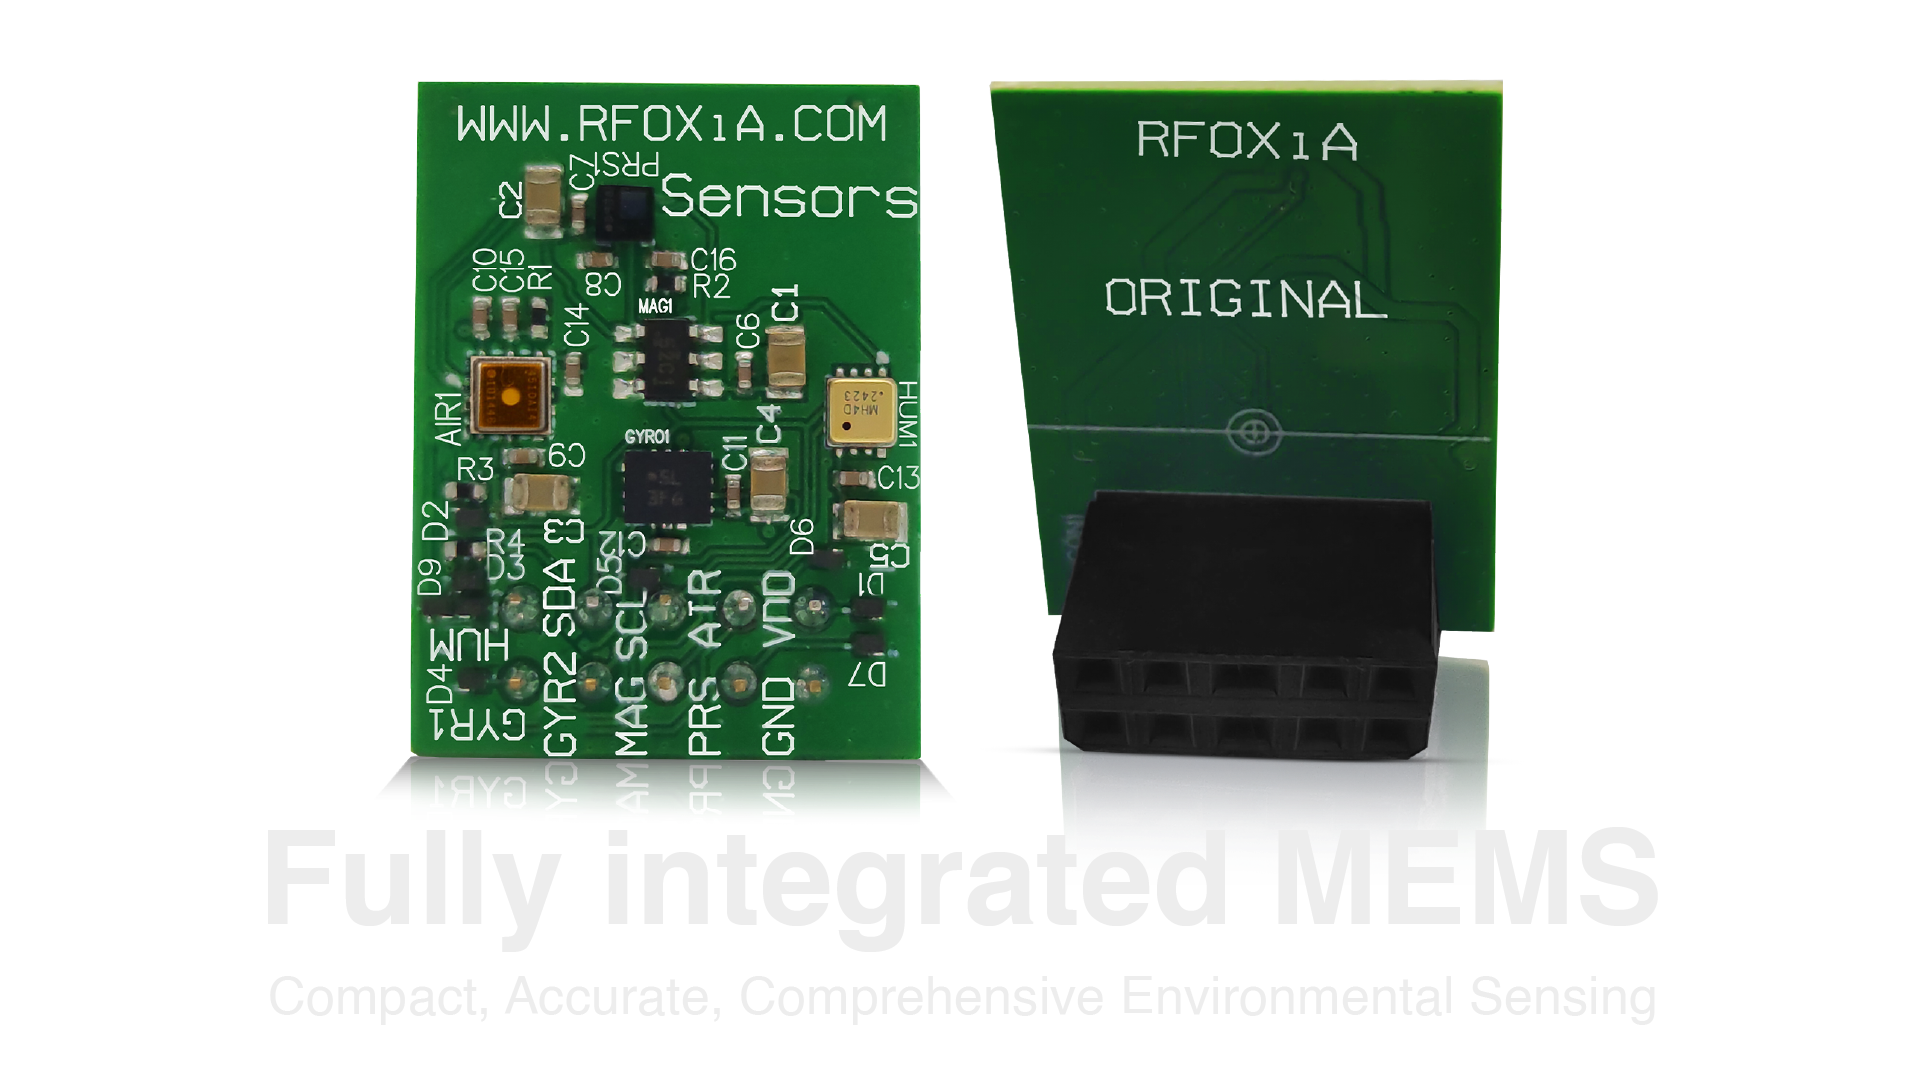
Here's what's on board:
- Accelerometer & Gyroscope: BMI270 from Bosch Sensortec
- Magnetometer: TMAG5273C1QDBVR from Texas Instruments
- Air Pressure: LPS22HHTR from STMicroelectronics
- Humidity & Temperature: MVH4003D from MEMSVision
- Air Quality: ZMOD4510AI4R from RENESAS
All sensors communicate over a shared I2C bus, each with a unique address — eliminating the wiring complexity of multi-bus systems and reducing firmware overhead significantly.
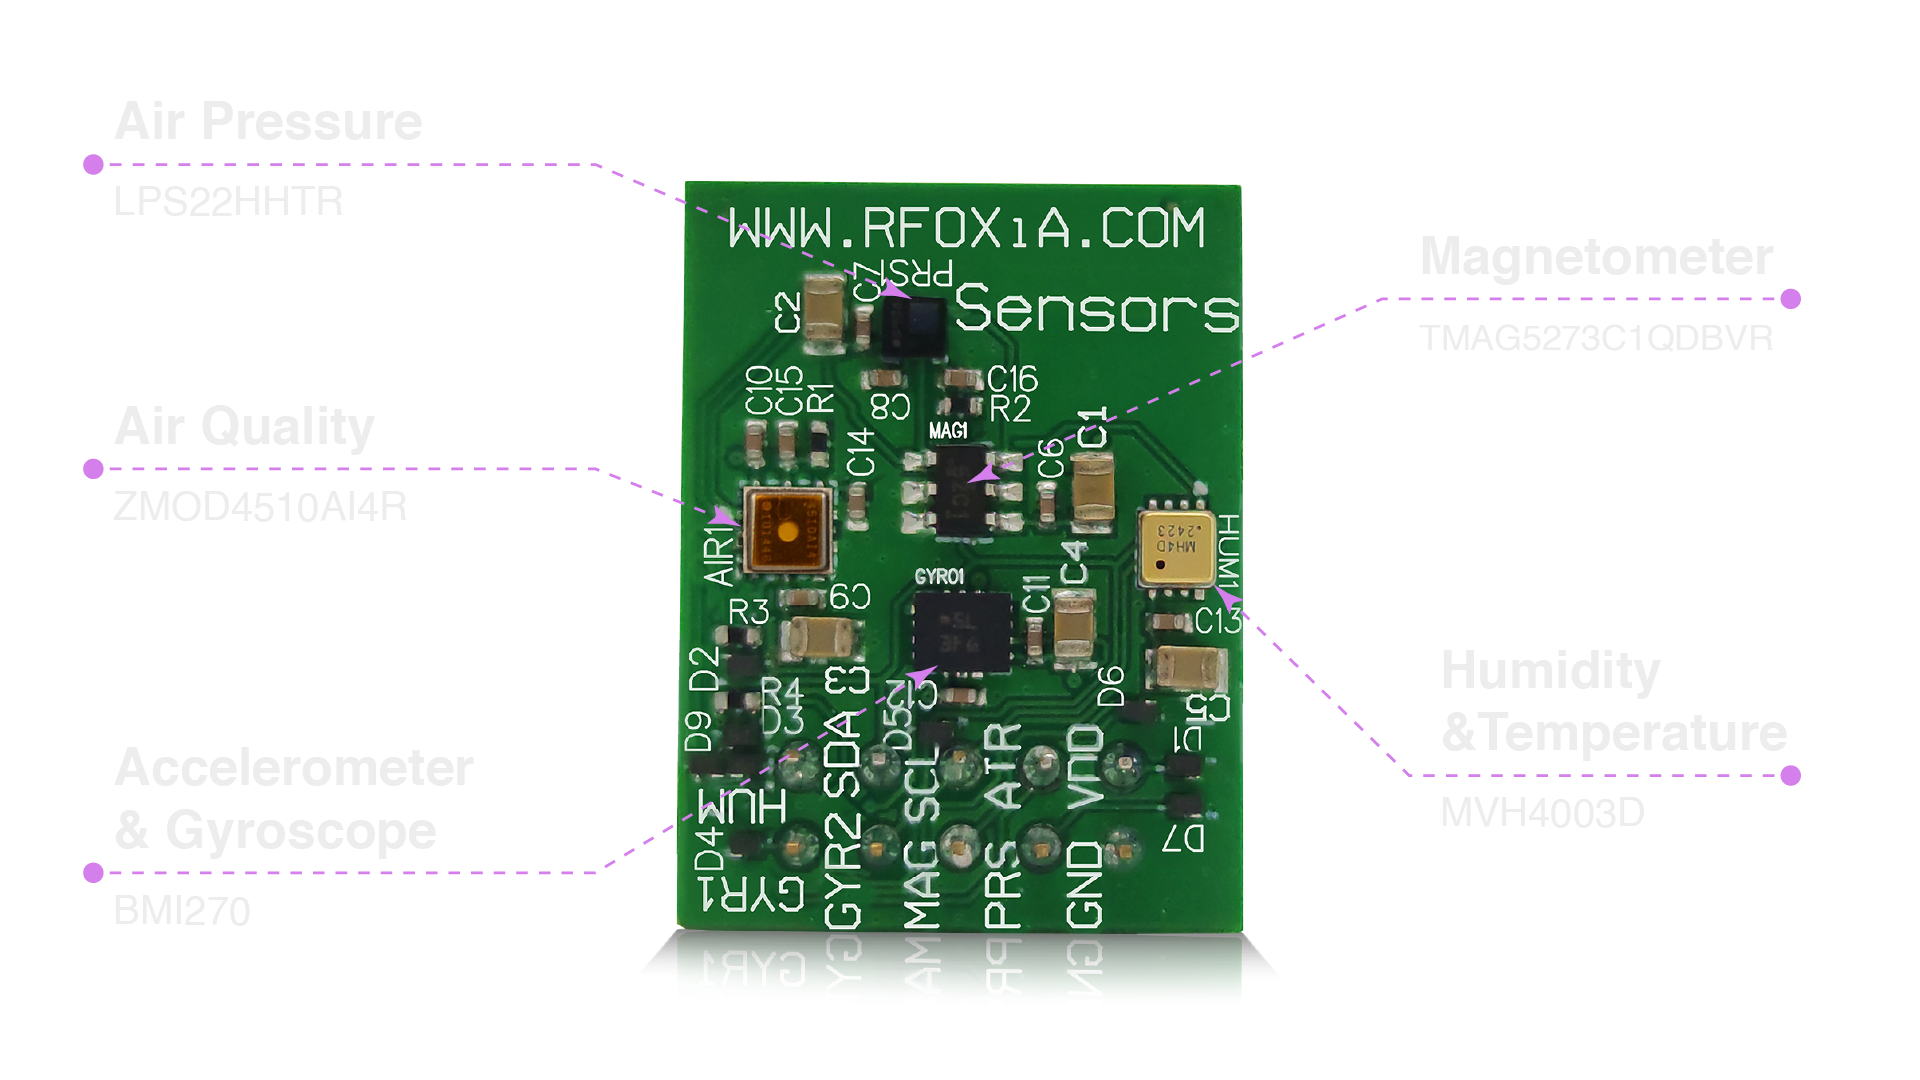
This architecture matters for calibration because each sensor on the bus can be addressed and configured independently, yet the shared physical proximity means thermal and vibration calibration corrections can be applied intelligently across the sensor array as a whole.
The Two Categories of Sensors and Their Calibration Approaches
The MultiNav Pro+ covers two fundamentally different sensor categories, each requiring a distinct calibration philosophy.
Motion Sensors (Accelerometer, Gyroscope, Magnetometer)
Motion sensors measure dynamic physical quantities — acceleration, rotation rate, and magnetic field strength. Their calibration is primarily concerned with:
- Zero-offset (bias): The output when no physical stimulus is present should be zero. In practice, it never is exactly.
- Scale factor (gain): The relationship between raw digital output and physical units (m/s², °/s, µT).
- Cross-axis sensitivity: The amount one axis bleeds into another — important for 9-DOF fusion.
- Temperature coefficient: How bias and gain shift with temperature — critical for drone applications where the IMU heats up during flight.
Environmental Sensors (Temperature, Humidity, Pressure, Air Quality)
Environmental sensors measure quasi-static ambient conditions. Their calibration focuses on:
- Offset correction: Shifting the reading to match a reference standard.
- Span correction: Adjusting sensitivity across the measurement range.
- Cross-interference: Temperature affects humidity readings; pressure affects temperature; all of them affect air quality interpretation.
- Burn-in and conditioning: Electrochemical gas sensors require a warm-up period before stable readings.
Step-by-Step: How to Calibrate Environmental Sensor Types on the MultiNav Pro+
1. Temperature Sensor Calibration (MVH4003D)
The MVH4003D provides simultaneous humidity and temperature readings. Temperature calibration should always come first because humidity compensation depends on it.
Equipment needed: NIST-traceable reference thermometer, stable thermal environment (a water bath or calibrated oven works well for lab calibration).
Procedure:
- Allow the module to stabilize at room temperature for at least 15 minutes powered on.
- Record sensor output at three known temperature points — typically 0°C, 25°C, and 50°C.
- Compare against reference thermometer readings.
- Calculate offset (constant shift) and gain correction (slope error).
- Apply correction coefficients in firmware:
T_corrected = (T_raw × gain_coeff) + offset
For field deployments, a single-point offset correction at ambient temperature is usually sufficient. Store the offset in non-volatile memory (EEPROM or flash) so it survives power cycles.
2. Humidity Sensor Calibration (MVH4003D)
Humidity calibration should always follow temperature calibration since relative humidity is temperature-dependent.
Equipment needed: Two saturated salt solutions for fixed-point humidity references — Lithium Chloride (11% RH at 25°C) and Sodium Chloride (75% RH at 25°C) — in sealed chambers.
Procedure:
- Place the module in a sealed chamber with the low-humidity reference salt solution. Wait 30 minutes for equilibrium.
- Record the raw humidity output.
- Repeat with the high-humidity reference solution.
- Calculate two-point linear correction:
RH_corrected = (RH_raw × span_coeff) + offset - Validate at a third mid-range point if high accuracy is required.
3. Air Pressure Calibration (LPS22HHTR)
The LPS22HHTR from STMicroelectronics is a precision barometric pressure sensor with excellent factory calibration. For most applications, a simple single-point offset correction against a known reference (your local airport's published METAR pressure data, corrected for altitude) is sufficient.
Procedure:
- Find the current sea-level pressure (QNH) from a nearby weather station or aviation METAR.
- Calculate expected pressure at your altitude using the barometric formula.
- Compare to sensor output and store the offset.
- For altitude-tracking applications, recalibrate the reference point at the start of each session.
4. Air Quality Calibration (ZMOD4510AI4R from RENESAS)
The ZMOD4510 measures outdoor air quality — specifically ozone and nitrogen dioxide — using a metal oxide semiconductor approach. This sensor type requires the most nuanced calibration approach.
Critical first step — burn-in conditioning: The ZMOD4510 requires a burn-in period of 48 hours of continuous operation before readings stabilize. This is not optional. Do not attempt calibration before completing burn-in.
Baseline establishment procedure:
- After burn-in, deploy the sensor in a known clean-air environment (ideally a rural location, away from traffic and industry).
- Log readings for 24 hours to establish a baseline distribution.
- Use the RENESAS ZMOD4510 algorithm library (available in the RFOXiA firmware examples) — it implements the manufacturer's recommended signal processing chain including baseline tracking.
- Cross-reference against a nearby EPA AQI monitoring station if available for absolute calibration.
Ongoing recalibration: The ZMOD4510's baseline drifts over weeks of deployment. Implement a periodic automatic baseline correction (ABC) algorithm that assumes the minimum reading over a rolling 7-day window represents clean air conditions.
Calibrating the Motion Sensor Suite
5. Accelerometer and Gyroscope Calibration (BMI270)
The Bosch BMI270 is a premium IMU used in professional drones and robotics. It includes factory-stored trim values that provide excellent out-of-box accuracy, but field calibration further improves performance.
Gyroscope zero-rate offset (most important):
- Place the module on a vibration-free, level surface.
- Sample the gyroscope output for 5 seconds with no motion.
- Average the readings on all three axes — these are your zero-rate offsets.
- Store and subtract these offsets in your attitude estimation loop.
Accelerometer calibration (six-position method):
- Orient the module with each of its six faces pointing straight up.
- In each position, average 100 samples.
- The axis pointing upward should read +1g; the axis pointing downward should read -1g; other axes should read 0g.
- Solve for offset and scale factor on each axis using the six equations.
The BMI270 also supports hardware-level self-test — use it as a quick health check before and after deployment to verify the IMU hasn't been damaged by impact.
6. Magnetometer Calibration (TMAG5273C1QDBVR)
Magnetometer calibration is arguably the most deployment-specific calibration you'll perform. The ambient magnetic field at your deployment location is unique — influenced by local geology, nearby structures, and the electronics on your own platform.
Hard iron correction (most critical): Hard iron distortions are caused by permanent magnetic materials near the sensor — motors, batteries, ferrous hardware. They appear as a constant offset that rotates with the platform.
- While collecting data, slowly rotate the sensor through all orientations (figure-8 motion works well).
- Plot the X-Y, X-Z, and Y-Z scatter plots — they should form circles. Hard iron distortions shift the center of these circles off-origin.
- Calculate the center offset and subtract it from all readings.
Soft iron correction: Soft iron distortions cause the circular scatter plots to become ellipses. Correct by applying a 3×3 transformation matrix that restores circularity. Several open-source calibration tools (MotionCal, MagCal) automate this process.
Important for drone builders: Always re-run magnetometer calibration after changing motors, ESCs, or battery placement. These changes alter the hard iron environment significantly.
I2C Bus Architecture and Its Role in Calibration Reliability
One reason the MultiNav Pro+ is particularly well-suited for calibration workflows is its clean I2C implementation. All seven sensors share a single bus with dedicated addresses — no multiplexers, no address conflicts.
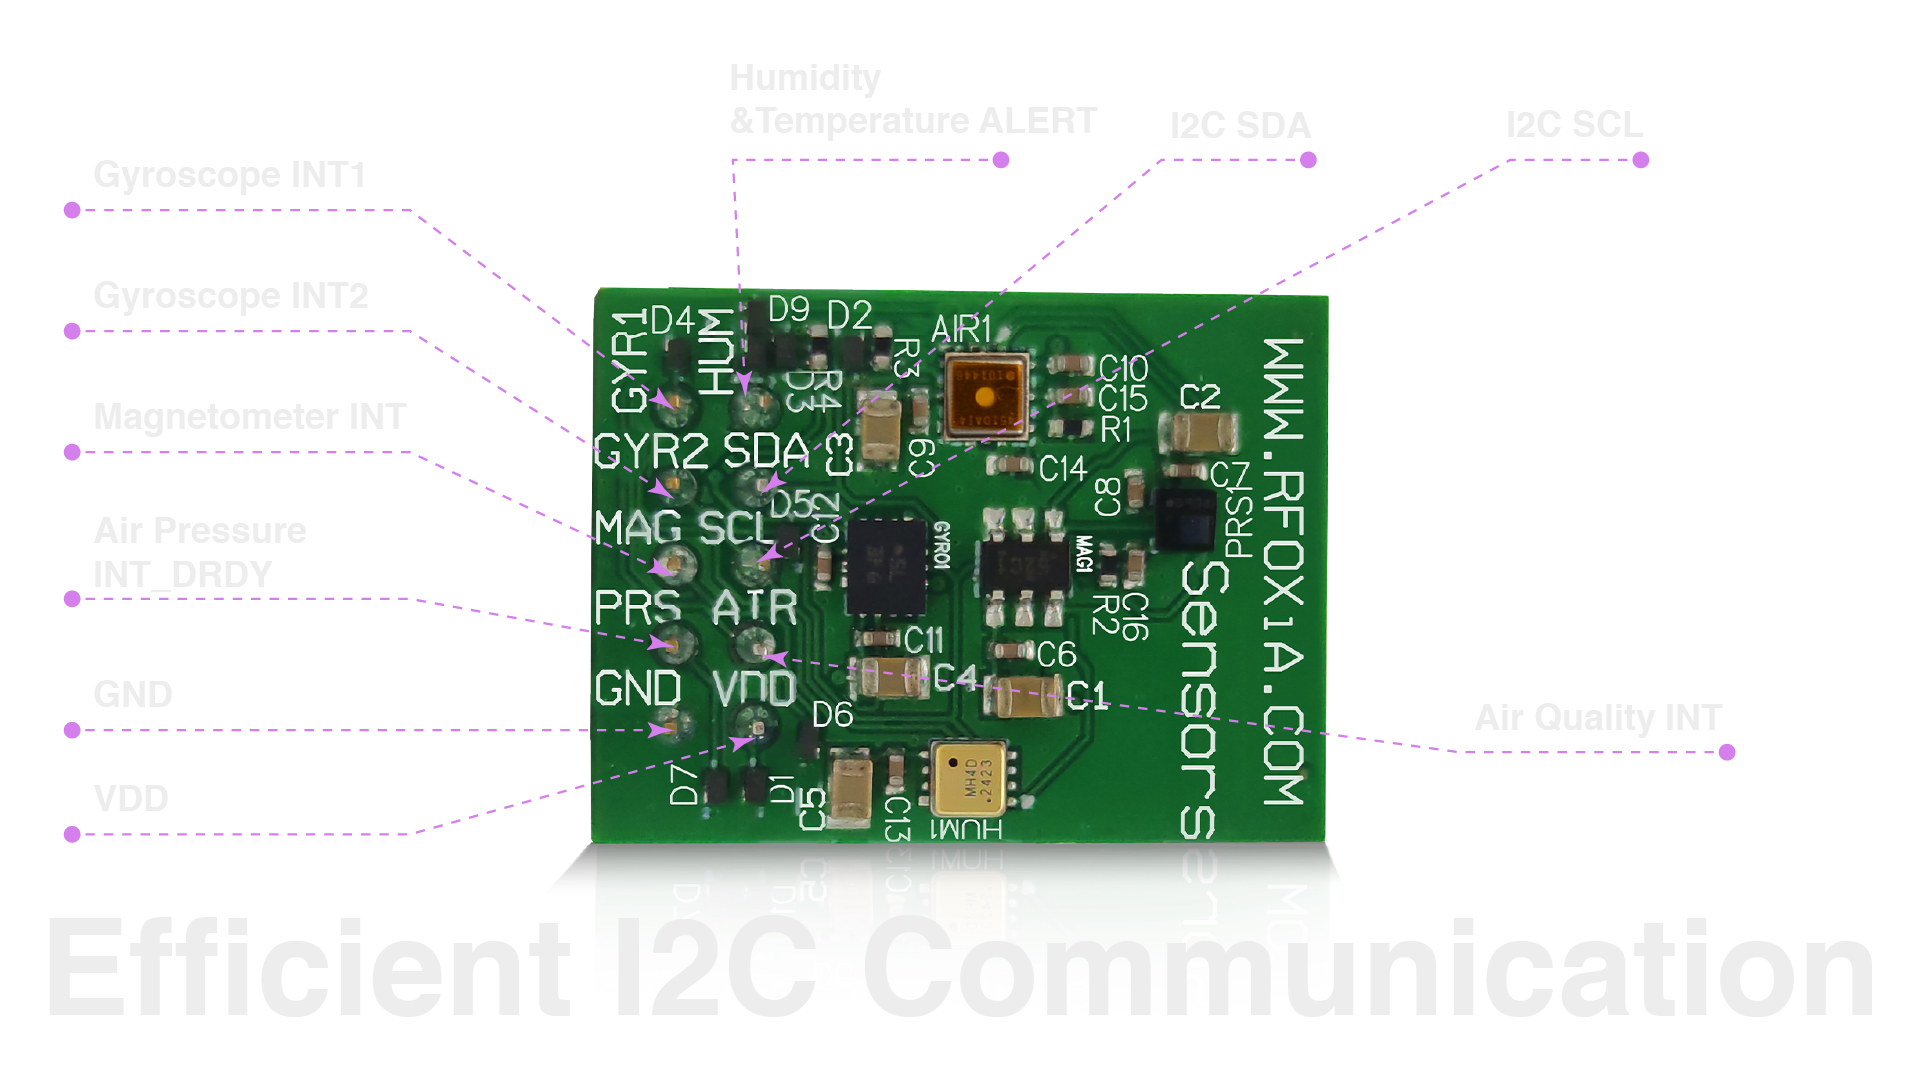
This matters for calibration because you can address each sensor independently during calibration sequences without reconfiguring physical connections. Your calibration firmware can read reference sensors while simultaneously commanding the target sensor — useful for cross-validation workflows.
When writing calibration firmware, always:
- Use repeated-start I2C transactions to ensure atomic read sequences
- Implement I2C timeout handling — a stuck bus during a calibration sequence corrupts your reference data
- Log the raw uncorrected values alongside corrected values during validation
Compact Form Factor Considerations for Field Calibration
At 24mm × 18mm, the MultiNav Pro+ fits into platforms where calibration logistics become genuinely challenging — a 3-inch micro drone, a wearable device, a buried soil sensor node.
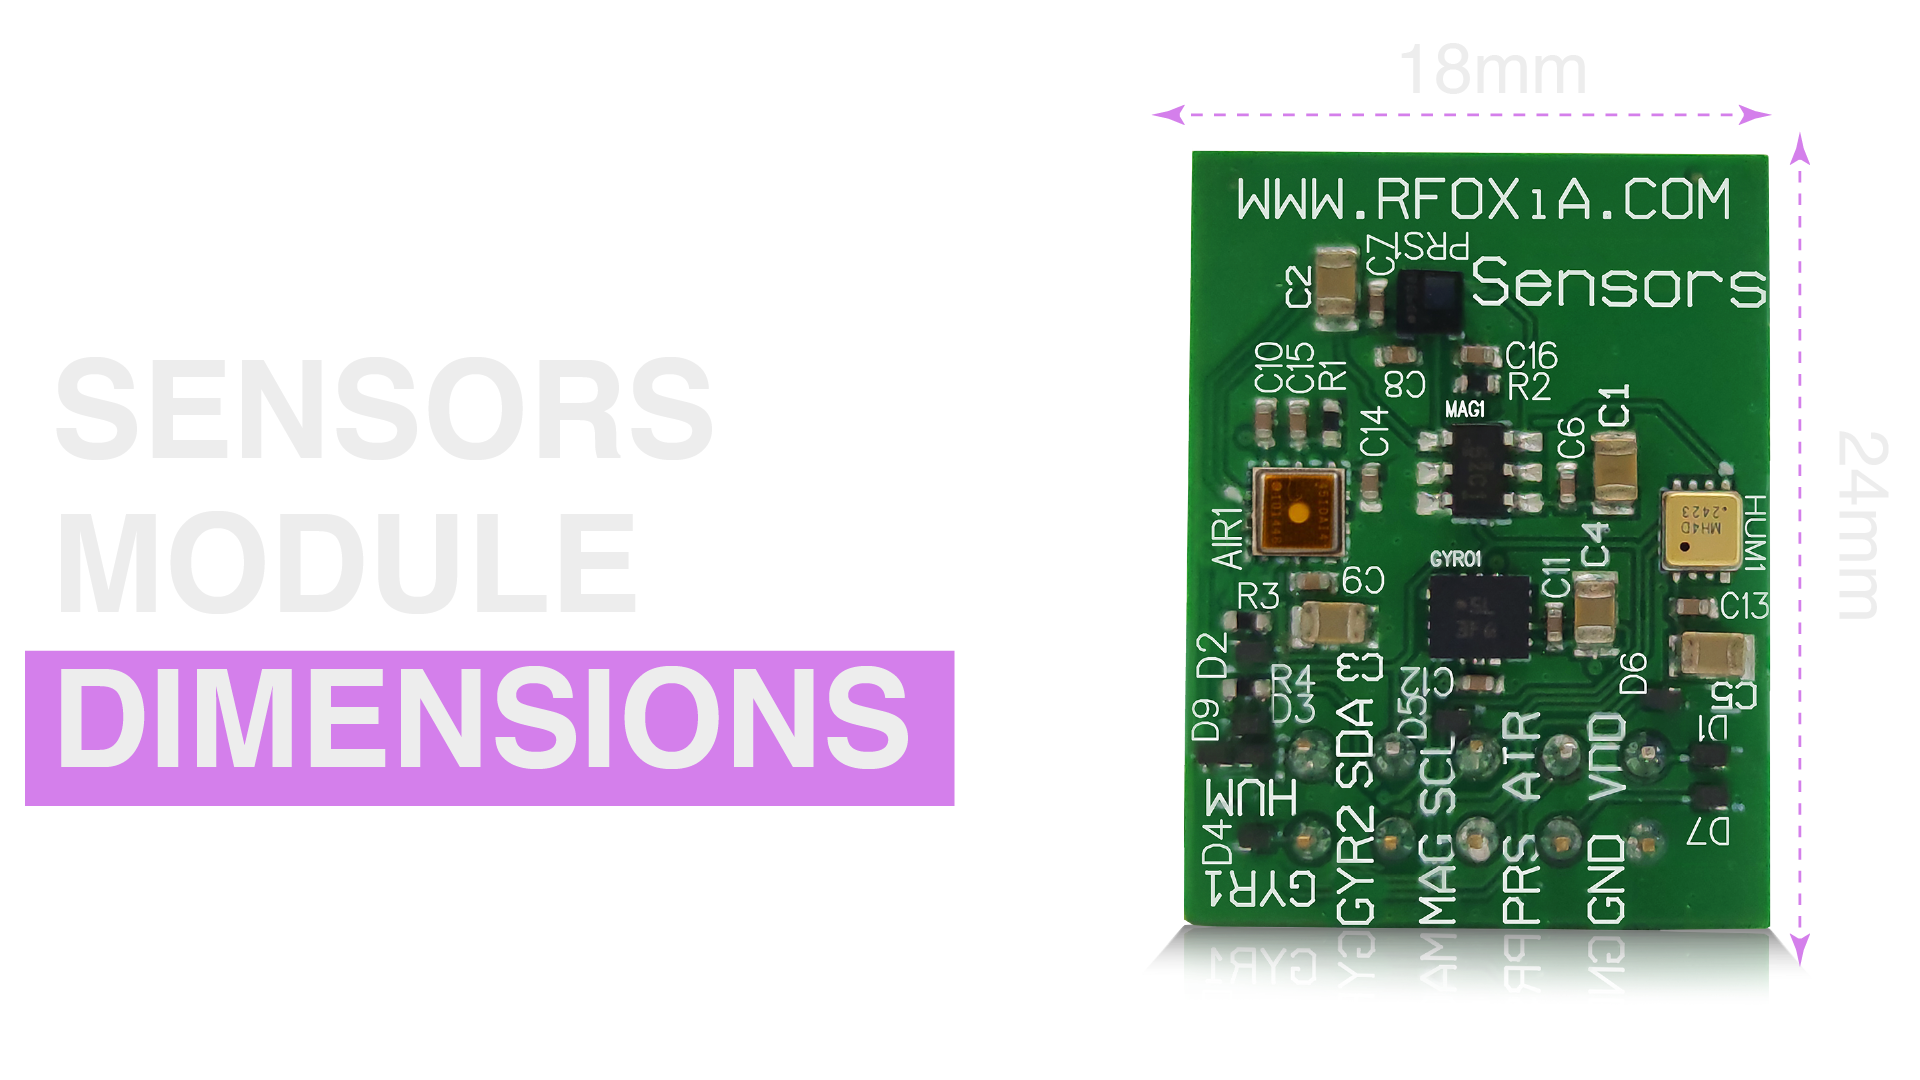
For compact deployments, consider these calibration workflow adaptations:
- Store calibration coefficients on the host microcontroller, not on external EEPROM, to save board space.
- Implement auto-calibration triggers — for example, re-run gyroscope offset calibration automatically whenever the platform has been stationary for 30 seconds (detected via accelerometer variance).
- Use temperature-compensated coefficient tables for applications with wide temperature exposure — a drone that operates from -10°C in winter to +45°C in summer needs calibration data at multiple temperature points.
- Implement a calibration health monitor — periodically cross-check sensor readings against physical constraints (e.g., accelerometer magnitude should be close to 1g when stationary) and flag calibration drift for re-calibration.
Real-Time Environmental Data and the RFOXiA Data Network
Once your sensors are properly calibrated, you're not just collecting data for your own project — you're generating verified environmental intelligence. The RFOXiA Integrated Sensors Module is designed to plug directly into the RFOXiA data network, where GPS-verified outdoor environmental data streams are aggregated and sold to enterprise buyers including agricultural technology companies, logistics operators, insurance firms, and smart city operators.
The network requires all five data points (temperature, humidity, pressure, air quality, GPS location) to be present and verified before awarding daily rewards. This is precisely why calibration matters at the platform level — the data validation engine compares your readings against reference sources and nearby nodes. A poorly calibrated sensor produces anomalies that fail validation and forfeit your rewards. A well-calibrated sensor consistently passes validation and earns at the highest rate tier.
Early network contributors earn a higher locked-in rate and scarcity bonuses for nodes in data-sparse geographic areas. The combination of correct calibration and reliable uptime is the path to maximizing your node's earning potential.
Applications Across Industries
Knowing how to calibrate environmental sensor hardware correctly unlocks a remarkable range of professional applications. The MultiNav Pro+ is already being used across several of these domains:

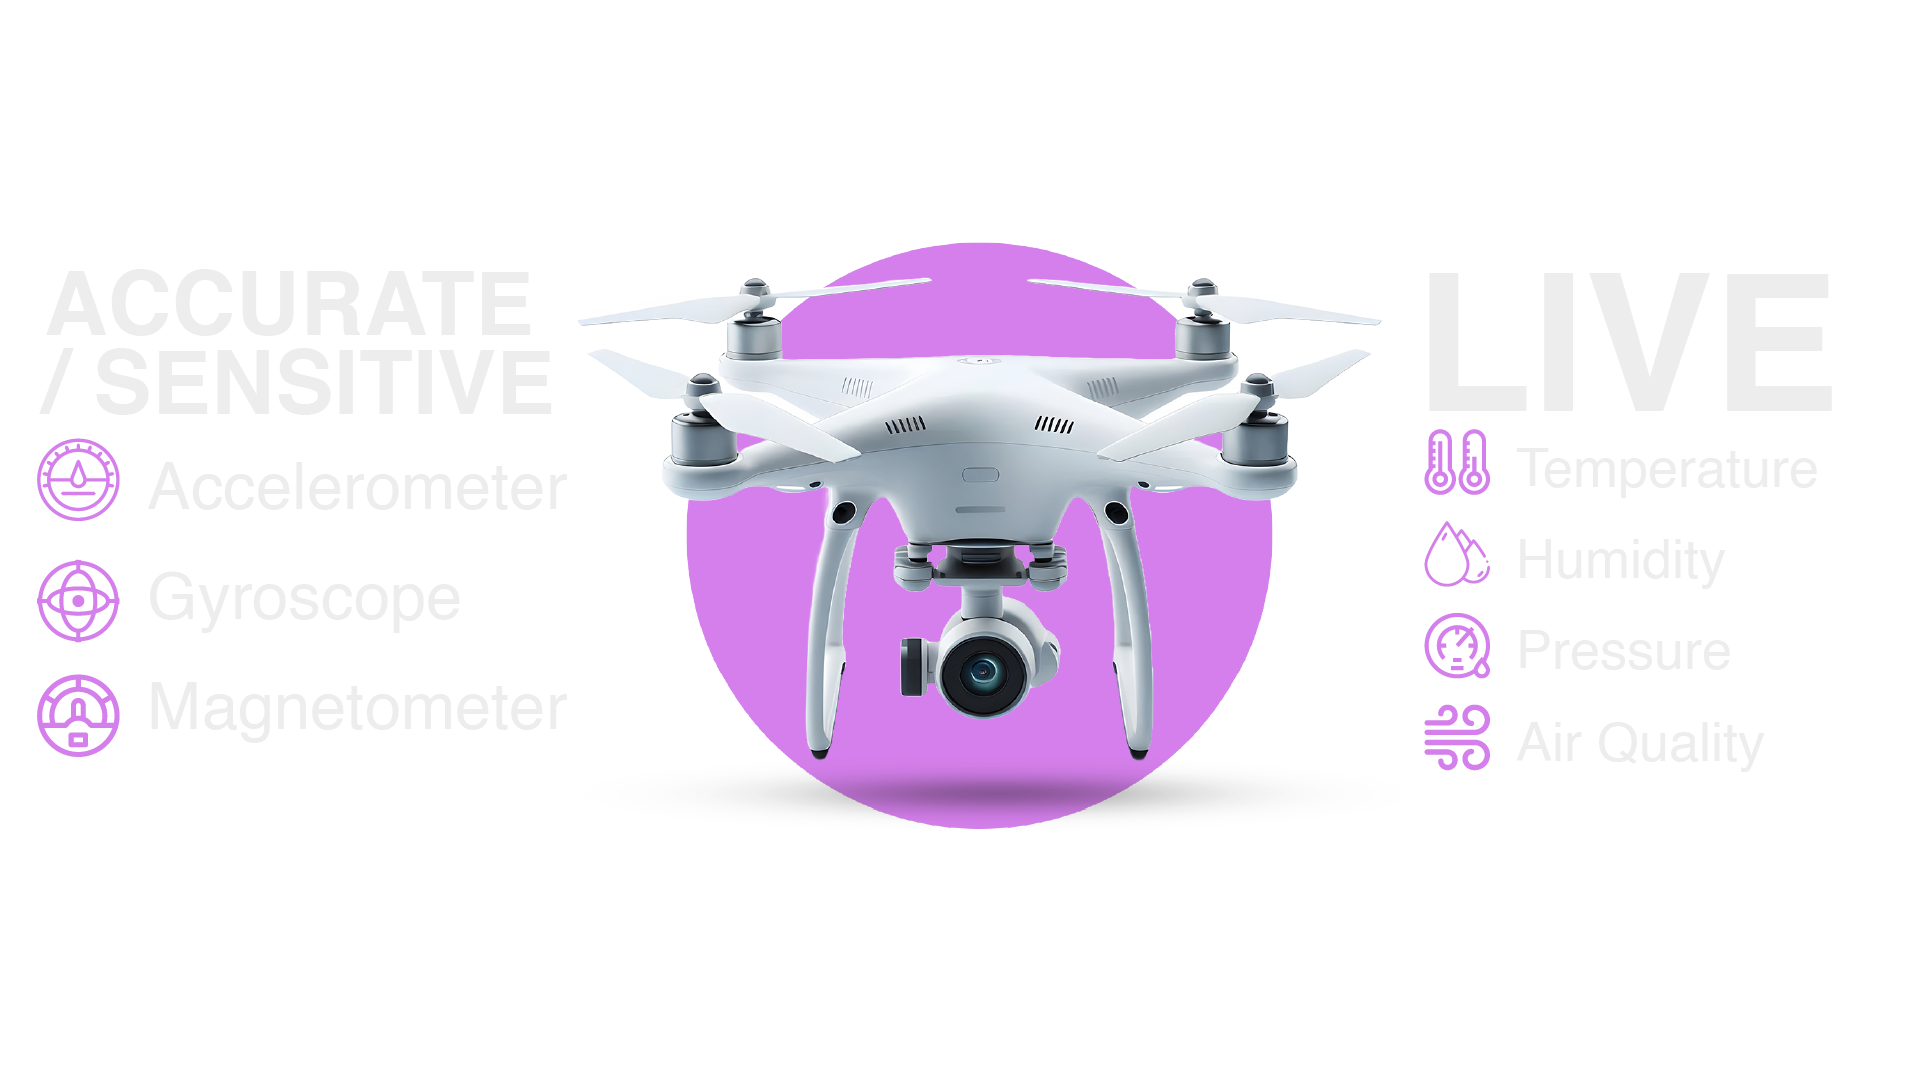
Drone operations: Calibrated IMU and barometer data enables precise altitude hold, attitude estimation, and wind compensation. The 18Hz GNSS module paired with the calibrated pressure sensor delivers barometric-aided altitude accuracy that matches much more expensive flight controllers.
Precision agriculture: Calibrated micro-climate data at field resolution — not interpolated from a weather station 20km away — enables variable rate irrigation and precise frost prediction.
Environmental research: Calibrated air quality readings from distributed nodes provide urban pollution maps at street-level resolution that traditional monitoring networks cannot achieve.
Search and rescue and disaster response: Calibrated IMU data enables dead-reckoning navigation when GPS is unavailable. Calibrated environmental data helps assess hazardous conditions in search areas.
Wearable health monitoring: Calibrated temperature, humidity, and pressure data feeds physiological comfort indices and environmental health monitoring applications.
Industrial IoT: Calibrated sensor arrays in manufacturing environments detect deviations in ambient conditions that predict equipment failures or product quality issues before they manifest.
Automating Calibration with the RFOXiA AI Firmware Builder
Calibration routines involve substantial firmware — offset storage, coefficient application, temperature compensation tables, health monitoring loops, and baseline tracking algorithms. For hardware developers without embedded firmware backgrounds, this complexity is a real barrier.
RFOXiA addresses this directly through the AI Firmware Builder integrated into RFOXiA Club. Describe your calibration requirements in plain language — for example, "Implement gyroscope zero-offset calibration on startup and store coefficients in flash. Add temperature-compensated offset correction for the humidity sensor. Run magnetometer hard iron calibration on user command and display progress." — and the AI generates production-ready firmware with full source code.
This dramatically reduces the time to get a properly calibrated sensor node from field-ready concept to deployed reality.
Calibration Best Practices Summary
Here's a consolidated checklist for any deployment of the MultiNav Pro+ Sensors Module:
Before first deployment:
- Complete ZMOD4510 48-hour burn-in
- Run temperature two-point calibration with reference thermometer
- Run humidity two-point calibration with salt solution references
- Perform barometric pressure single-point offset calibration
- Run gyroscope zero-rate offset calibration (stationary, vibration-free)
- Perform accelerometer six-position calibration
- Complete magnetometer hard iron and soft iron calibration in final mounting position
- Store all coefficients in non-volatile memory
- Validate all sensors against independent references before field deployment
Ongoing maintenance:
- Recalibrate magnetometer after any platform hardware changes
- Recalibrate pressure reference at start of altitude-critical sessions
- Monitor ZMOD4510 ABC algorithm for air quality baseline drift
- Run BMI270 hardware self-test as a periodic health check
Getting Started with the MultiNav Pro+ Sensors Module
The MultiNav Pro+ Sensors Module is available now for $39 at RFOXiA Integrated Sensors Module. It's FCC certified, ships from stock, and integrates directly with the full RFOXiA ecosystem — including the BLE Module for wireless data transmission, the GNSS Module for location verification, and the Power/Program Kit for field-ready deployment.
For developers ready to build a complete environmental monitoring and data monetization node, the Developer Bundle combines all four modules at a significant discount and includes access to RFOXiA Club with AI Firmware Builder, the Connect mobile app, and data network enrollment.
Join RFOXiA Club free today — new members receive a $10 welcome credit toward their first hardware purchase — and explore the firmware examples, calibration code templates, and community projects already live in the Dev Hub.
Conclusion
Understanding how to calibrate environmental sensor hardware is not an advanced optional topic — it's foundational engineering practice for anyone building systems where data accuracy matters. From the zero-rate offset of your gyroscope to the baseline drift of your air quality sensor, every calibration step you take translates directly into system reliability, data quality, and — if you're participating in the RFOXiA data network — real earned income.
The MultiNav Pro+ Sensors Module gives you professional-grade sensor hardware from Bosch, Texas Instruments, STMicroelectronics, MEMSVision, and RENESAS on a single compact board with clean I2C architecture — hardware that rewards careful calibration with genuinely accurate, trustworthy data. Build something worth measuring.
Written by: Moamen Mohamed LinkedIn