
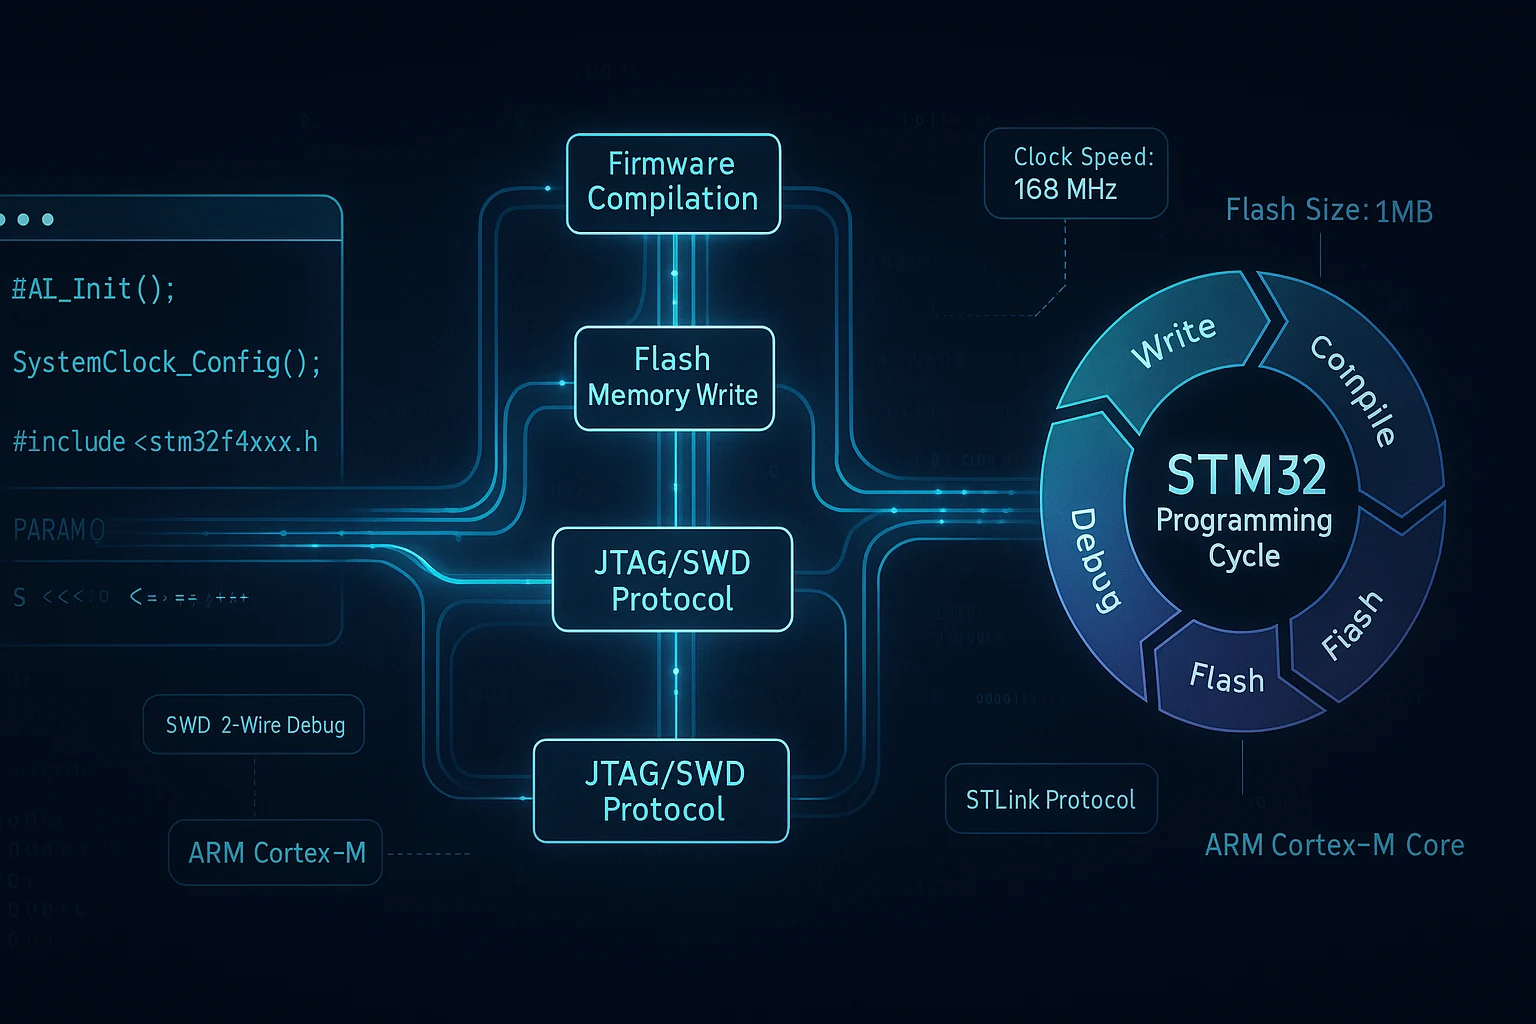
How to Program STM32 Module: The Complete Developer's Guide
RFOXiA SuperCapacitor Battery and Programmer Kit
How to Program STM32 Module Without Power Headaches or Setup Friction
If you've spent any time in embedded development, you already know the frustration. You're deep in a firmware session, everything is clicking, your logic is tight — and then your power supply cuts out, your USB programmer throws a handshake error, or you spend forty minutes hunting for the right cable. How to program STM32 module efficiently isn't just about knowing the right commands. It's about having the right hardware ecosystem around you so that nothing interrupts the work.
This guide walks through the complete process of programming the STM32-based MultiNav Pro+ BLE Module — from toolchain setup to live firmware flashing — and shows you exactly why having a purpose-built power and programming kit changes everything about your development workflow.
Whether you're a drone builder flashing custom control firmware, a robotics engineer building a long-range telemetry link, or an IoT developer deploying wireless sensor nodes, this is the practical, no-nonsense guide you've been looking for.
Why STM32 Powers the MultiNav Pro+ BLE Module
The MultiNav Pro+ BLE Module is built on STMicroelectronics' STM32WB07 — a dual-core wireless microcontroller that combines an Arm Cortex-M0+ application processor with a dedicated 2.4GHz radio subsystem. This architecture is what makes the module capable of achieving:
- 5km ground-to-ground range (module paired with user's phone on both ends)
- 15–20km man-to-drone range
- 50km drone-to-drone range (both modules airborne, ground reflections eliminated)
- 2Mbps data throughput
- FCC certification for legal deployment in the United States
The STM32WB07 is not a commodity chip. Its dedicated radio core handles BLE protocol processing independently of your application code, which means you get deterministic real-time behavior on the application side without RF timing conflicts. When you're building a drone control link or a long-range telemetry system, that separation matters.
Programming this chip requires an STLink-compatible programmer — which is exactly what the RFOXiA SuperCapacitor Battery and Programmer Kit delivers, integrated directly into the power system.
What You Need to Program STM32 Module
Before diving into the step-by-step process, here's what a complete STM32 development setup requires:
Hardware Requirements
- MultiNav Pro+ BLE Module (STM32WB07-based)
- STLink V2 or V3 programmer
- Stable 3.3V power supply (critical — voltage instability causes flash failures)
- Ribbon cables or SWD-compatible connections
- A development machine running Windows, macOS, or Linux
Software Requirements
- STM32CubeIDE — full IDE with HAL library support, free from STMicroelectronics
- STM32CubeProgrammer — standalone flash utility, supports SWD and UART
- OpenOCD — open-source alternative if you prefer GDB-based workflows
- STM32CubeMX — peripheral initialization code generator (optional but recommended)
- Appropriate USB drivers for your programmer (ST-LINK/V2 driver for Windows)
The MultiNav Pro+ GitHub Repository
RFOXiA maintains an open-source firmware repository for the MultiNav Pro+ BLE Module. You can access it directly at:
https://github.com/RFOXiA/MultiNav-Pro-Long-Range-BLE-Module-Firmware-STM32WB07
This repository includes production firmware, example projects, and documentation for getting started with STM32WB07 development on the MultiNav Pro+ hardware.
The Power Problem Nobody Talks About
Here's what most STM32 programming tutorials skip over: power quality during flash operations is critical.
When an STLink programmer writes to flash memory on an STM32, the device draws elevated current. If your bench power supply droops, if your USB hub is underpowered, or if your battery is at low state-of-charge, you get:
- Incomplete write operations
- Corrupted bootloader sectors
- Flash verification failures
- In rare cases, locked devices that require full chip erase to recover
This is why the MultiNav Pro+ Power/Program Kit was built the way it was. Instead of a conventional LiPo or Li-Ion battery, it uses a supercapacitor bank — and that distinction is not cosmetic.
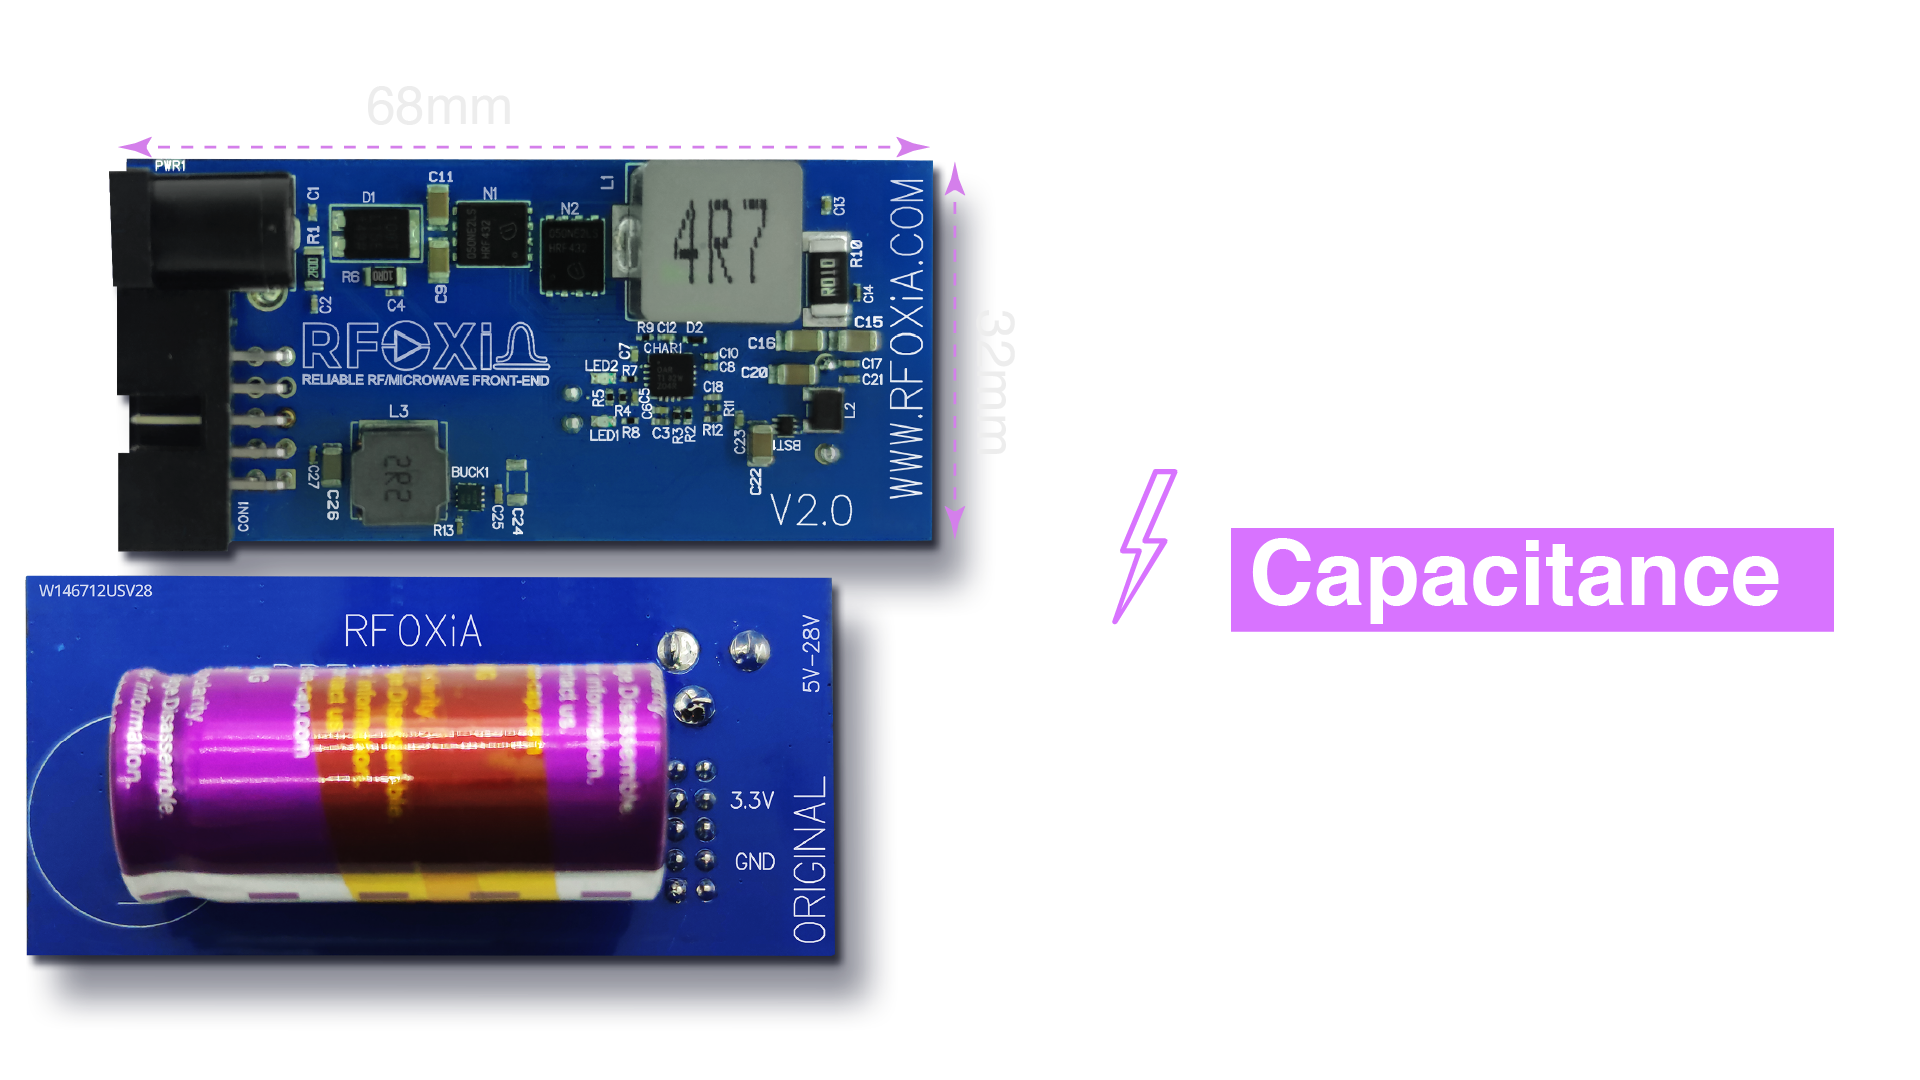
The 1100F supercapacitor system stores 8,800 Joules of energy. Unlike a battery, supercapacitors deliver power with near-zero internal resistance — which means when the STLink programmer demands a burst of current during a flash write, the power system responds instantly without voltage droop. Your programming sessions are clean, your write cycles complete successfully, and you never corrupt firmware mid-flash.
Step-by-Step: How to Program STM32 Module with the MultiNav Pro+ Kit
Step 1: Install Your Toolchain
Start with STM32CubeIDE from the STMicroelectronics website. The installer packages the GCC ARM toolchain, STLink drivers, and the CubeIDE environment together. Install STM32CubeProgrammer separately — you'll use it for standalone flash operations without needing the full IDE open.
For Linux users: install the udev rules for ST-LINK devices to avoid permission issues when the programmer is detected as a USB device.
Step 2: Charge the Power Kit
Before connecting your module, charge the Power/Program Kit using the included high-power adapter.
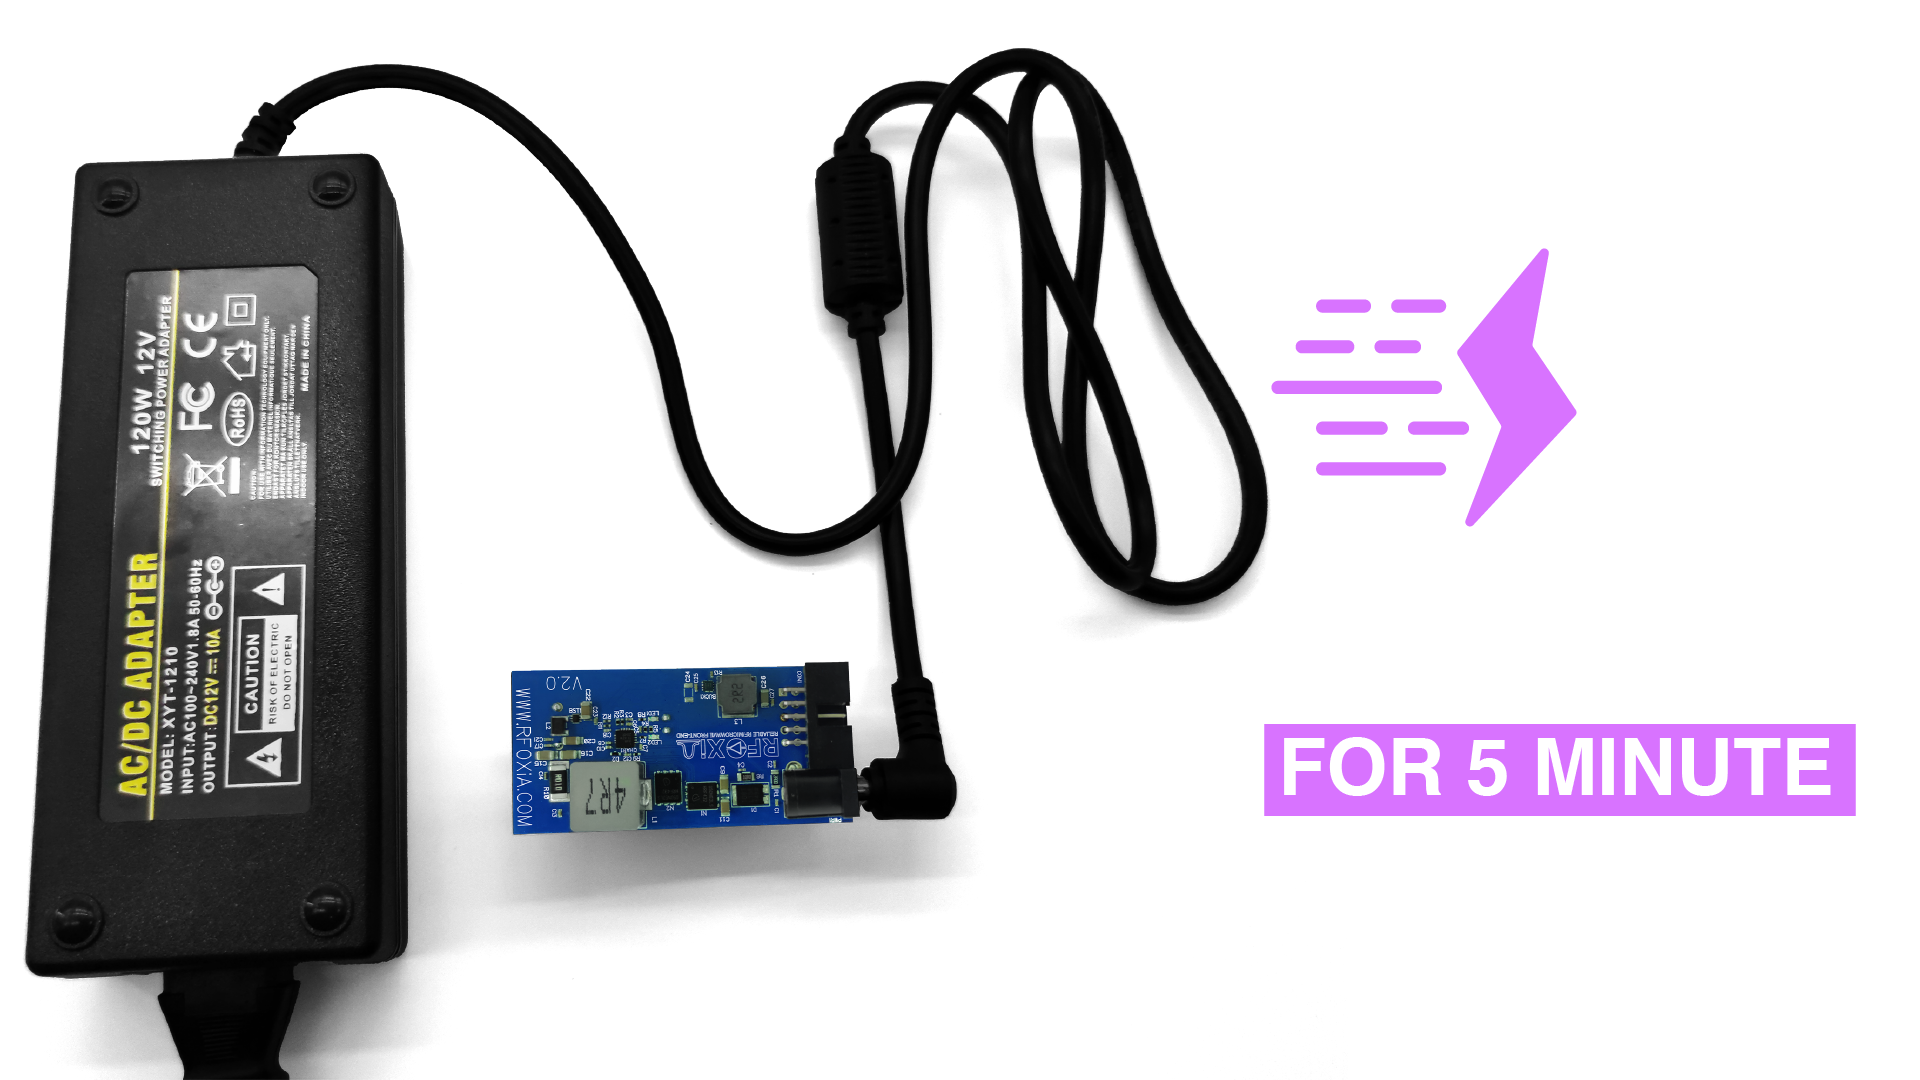
The kit charges from a 12V 5A adapter, delivering 4V at 10A into the supercapacitor bank. Full charge completes in under 5 minutes. That's not a typo — five minutes from flat to full, delivering enough energy to power your complete MultiNav Pro+ module stack for an entire working day.
This changes your field deployment workflow completely. Conventional battery-powered development kits require hour-long charge cycles. If you're doing back-to-back programming sessions or testing firmware in the field between flights, five-minute charge recovery is a genuine operational advantage.
Step 3: Power Your Module Stack
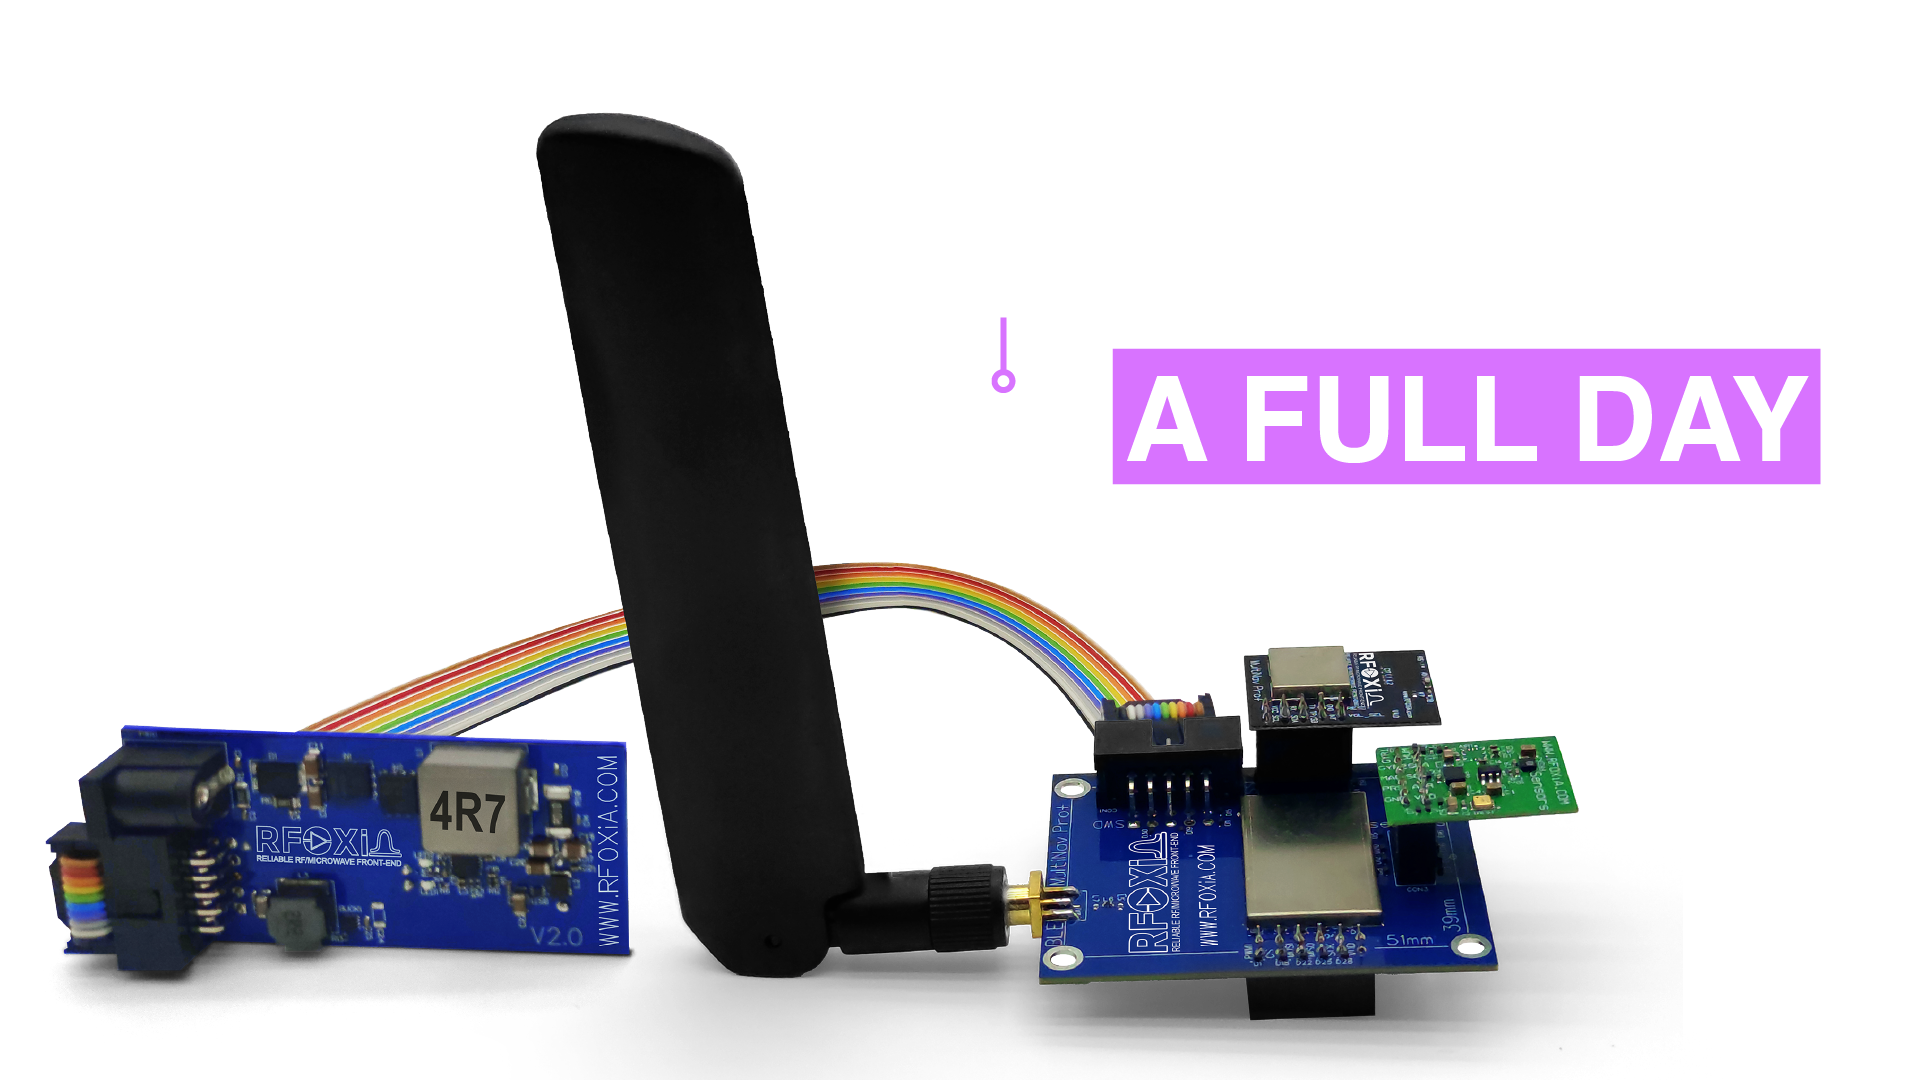
The Power/Program Kit doesn't just power the BLE Module — it's capable of running the entire MultiNav Pro+ module ecosystem simultaneously:
- MultiNav Pro+ BLE Module
- GNSS Module (18Hz fix rate, 1.5m accuracy)
- Sensors Module (temperature, humidity, pressure, air quality, accelerometer, gyroscope, magnetometer)
All running together. All day. On a five-minute charge. For field developers and drone operators, this means you can deploy a complete sensing and communication platform without carrying external battery packs, without managing charging logistics, and without mid-mission power failures.
Step 4: Connect the STLink Programmer
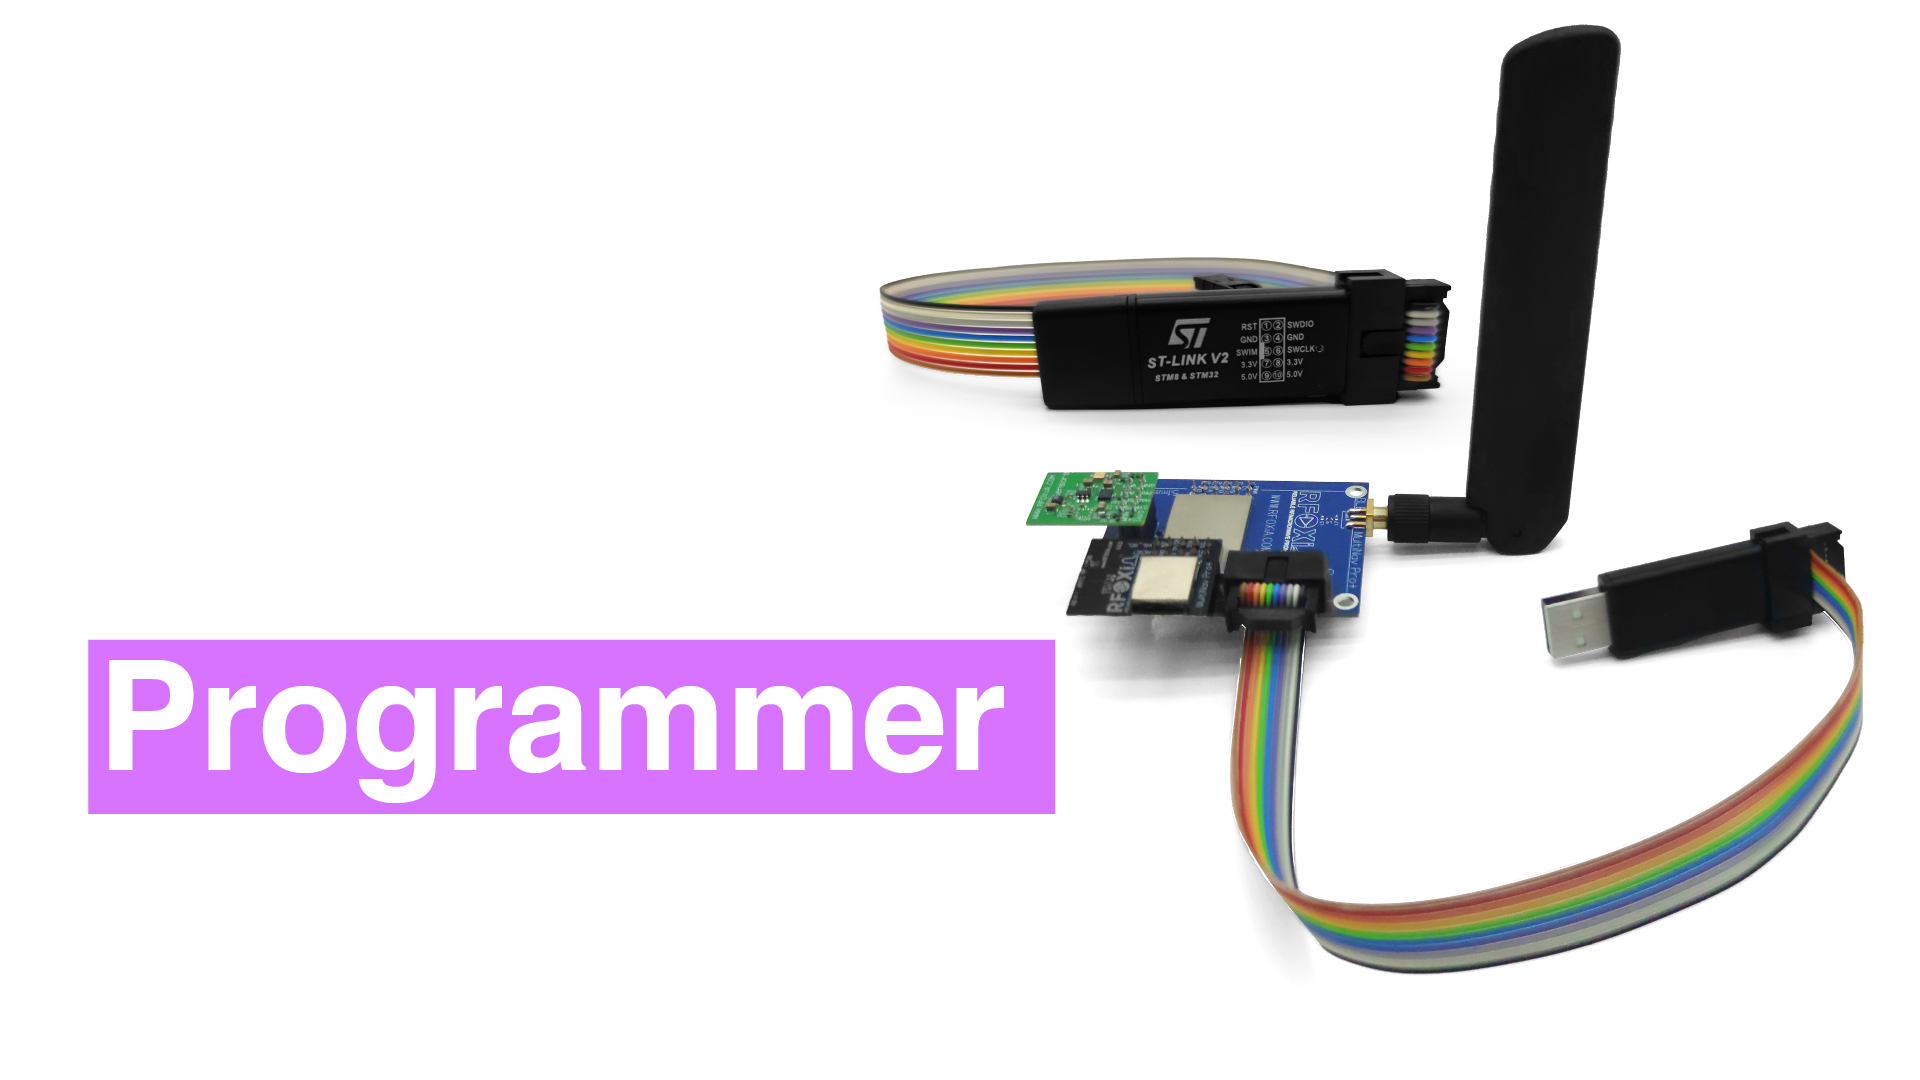
The integrated STLink programmer connects to the MultiNav Pro+ BLE Module via the SWD (Serial Wire Debug) interface. SWD requires just four connections:
- SWDCLK — clock signal
- SWDIO — bidirectional data
- GND — common ground
- VCC — 3.3V reference (supplied by the Power Kit)
With the Power/Program Kit, these connections are handled by included flat ribbon cables — no breadboard wiring, no jumper hunting, no accidental pin reversals. The programmer interfaces directly with STM32CubeIDE and STM32CubeProgrammer and supports full SWD debugging, meaning you can set breakpoints, inspect registers, and step through your firmware in real time.
This is how to program STM32 module the right way — not with a generic programmer and a prayer, but with hardware specifically designed for this module.
Step 5: Connect Your Cables
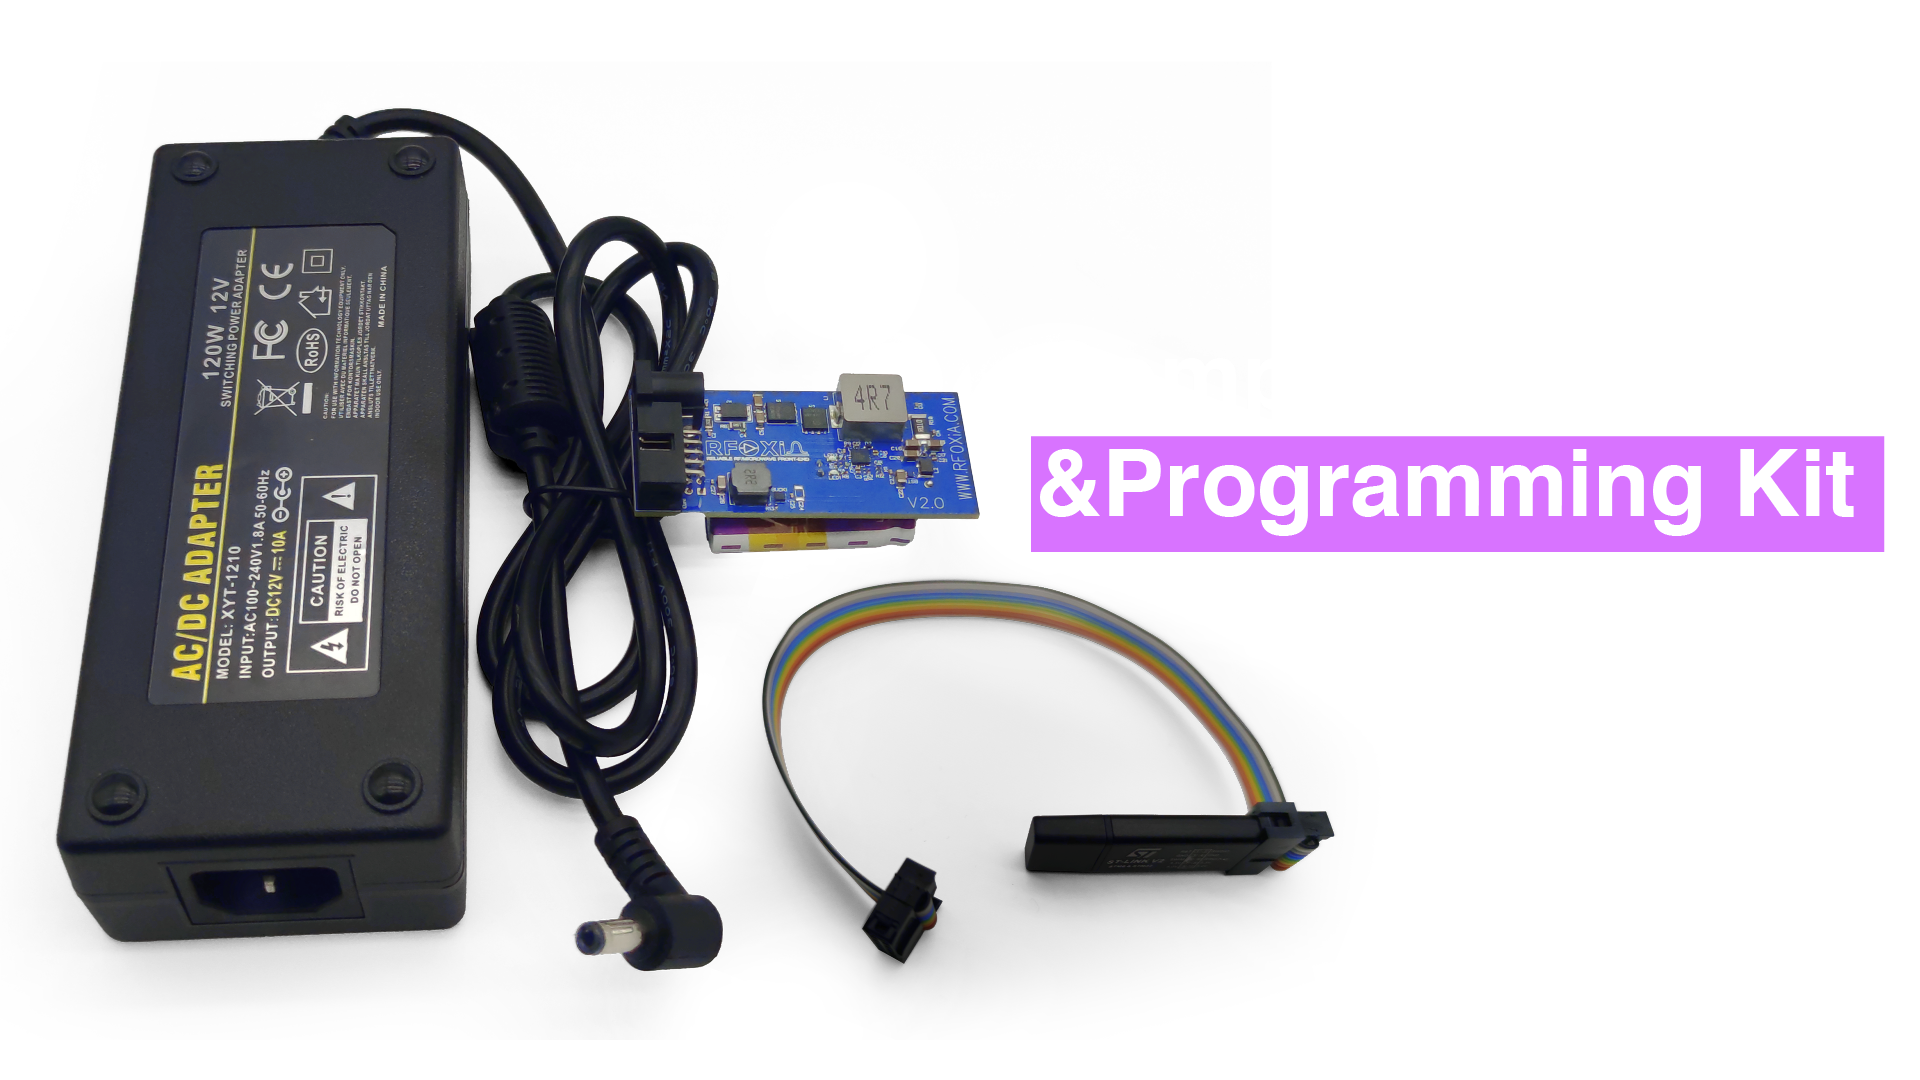
The kit includes all cables required for a complete setup:
- Flat ribbon cables — connect the BLE Module to the Power Module and the Programmer to the BLE Module
- USB cable — programmer to development machine
- 12V charging cable — adapter to supercapacitor bank
No additional purchases. No compatibility hunts. The cable kit eliminates one of the most common points of friction in embedded development setups — the cable box.
Step 6: Flash Your Firmware
With the hardware connected and the toolchain installed, you have two paths:
Path A — STM32CubeIDE (Recommended for Active Development)
- Open your project in STM32CubeIDE
- Select your STLink device from the debug configuration panel
- Build your project (Ctrl+B or Project > Build All)
- Launch the debug session — the IDE will automatically flash and halt at main()
- Set breakpoints, inspect variables, step through execution
Path B — STM32CubeProgrammer (Recommended for Field Flashing)
- Open STM32CubeProgrammer
- Select ST-LINK as connection method, set SWD interface
- Click Connect — the programmer detects your STM32WB07
- Navigate to the Erasing & Programming tab
- Browse to your compiled .bin or .elf file
- Click Start Programming
- Verify green confirmation — done
Field flashing via CubeProgrammer is fast, reliable, and doesn't require the full IDE. If you're reflashing firmware between test flights, this is the workflow.
Using the AI Firmware Builder: Skip the Boilerplate
If you're new to STM32 development or want to accelerate your project timeline dramatically, RFOXiA Club includes an integrated AI Firmware Builder. Describe your application in plain language — "I need BLE telemetry at 2Mbps with sensor polling every 500ms and GPS coordinates in the payload" — and the AI generates production-ready STM32 firmware with full source code.
This tool is built on Claude (Anthropic) and GitHub Copilot, integrated directly into the RFOXiA Club platform. It doesn't generate toy examples — it generates real firmware that compiles, flashes, and runs on your hardware. For developers who know what they want to build but don't want to spend days writing HAL initialization code, it's a genuine productivity multiplier.
Firmware generation that would have taken weeks now takes hours. Combined with the RFOXiA SuperCapacitor Battery and Programmer Kit, your hardware-to-working-prototype pipeline is dramatically compressed.
Common STM32 Programming Issues and How to Fix Them
Issue: STLink not detected
Fix: Check USB drivers on Windows. On Linux, verify udev rules are installed. Try a different USB port. Confirm the 3.3V reference is present on the SWD header.
Issue: Flash verification error
Fix: This is almost always a power issue. Ensure your power supply is stable and capable of handling current transients. With the supercapacitor kit, this problem is essentially eliminated.
Issue: Device locked / read-out protection
Fix: In STM32CubeProgrammer, use the OB (Option Bytes) tab to check and clear RDP (Read-out Protection) level. Note that clearing RDP level 2 is irreversible on most devices.
Issue: Breakpoints not hitting in debug
Fix: Confirm you're flashing the debug build, not the release/optimized build. Compiler optimizations can eliminate or reorder code, making breakpoints unreliable.
Issue: BLE radio not initializing
Fix: On the STM32WB07, the wireless stack runs on the dedicated RF core. Ensure your firmware correctly initializes the wireless subsystem before attempting BLE operations. Reference the firmware examples in the MultiNav Pro+ GitHub repository.
Why the MultiNav Pro+ Kit Is the Right Hardware for Serious Developers
Most development kits are designed for evaluation — get the chip working on a breakout board, verify the datasheet specs, move on. The MultiNav Pro+ ecosystem is designed for deployment.
The hardware is FCC certified. It ships. It works in the field. The supercapacitor power system is engineered for operational use, not bench use. The STLink programmer is integrated, not an afterthought. The cable kit is complete.
When you're building a drone communication link, a long-range environmental sensor network, or a mesh communication system for remote operations, you need hardware that can go where you go — and keep working when conventional batteries would leave you grounded.
The Power/Program Kit at $119 delivers a supercapacitor bank, a high-power charging system, an integrated STLink programmer, and a complete cable kit. Professional bench power supplies alone cost more. STLink programmers from major distributors are $20-30 separately. And no conventional battery system charges in five minutes.
For developers who want the complete ecosystem, the Developer Bundle packages the BLE Module, GNSS Module, Sensors Module, and Power/Program Kit together at $199 after credits — making it the most comprehensive long-range wireless development kit available at this price point.
Get Started with the MultiNav Pro+ Power/Program Kit
If you've been figuring out how to program STM32 module hardware reliably — with stable power, a proper programmer, and zero cable frustration — the MultiNav Pro+ Power/Program Kit is your answer.
The kit is in stock and ready to ship. FCC certified. Compatible with the full MultiNav Pro+ module ecosystem. And backed by the RFOXiA Club platform, which gives you access to documentation, firmware examples, the AI Firmware Builder, and a developer community of engineers building real projects with this hardware.
Visit the RFOXiA SuperCapacitor Battery and Programmer Kit page to order or join RFOXiA Club for free and claim your $10 welcome credit toward your first purchase.
Sign up at rfoxia.com — $10 credit waiting.
Technical Specifications Summary
| Specification | Value |
|---|---|
| Supercapacitor Capacity | 1100F |
| Energy Storage | 8,800 Joules |
| Charge Time | < 5 minutes |
| Runtime (Full Module Stack) | 24 hours |
| Input Voltage | 12V via adapter |
| Charging Current | 10A into supercapacitor bank |
| Programmer Interface | STLink SWD |
| Compatible Module | MultiNav Pro+ BLE Module (STM32WB07) |
| Certifications | FCC |
| Price | $119 |
The MultiNav Pro+ BLE Module firmware is open-source and available at github.com/RFOXiA/MultiNav-Pro-Long-Range-BLE-Module-Firmware-STM32WB07. RFOXiA Club membership is free. New members receive a $10 welcome credit on signup.
Written by: Moamen Mohamed LinkedIn