

How to Use GNSS Module Arduino: The Complete MultiNav Pro+ Setup Guide
How to Use GNSS Module Arduino for Precision Navigation Projects
If you've been searching for a straightforward, no-nonsense guide on how to use GNSS module Arduino setups effectively, you've landed in the right place. Whether you're building a drone tracker, a precision agriculture sensor node, a wearable device, or any application that demands real-time, accurate location data, this guide will walk you through everything — from hardware overview to wiring diagrams, code integration, and advanced configuration.
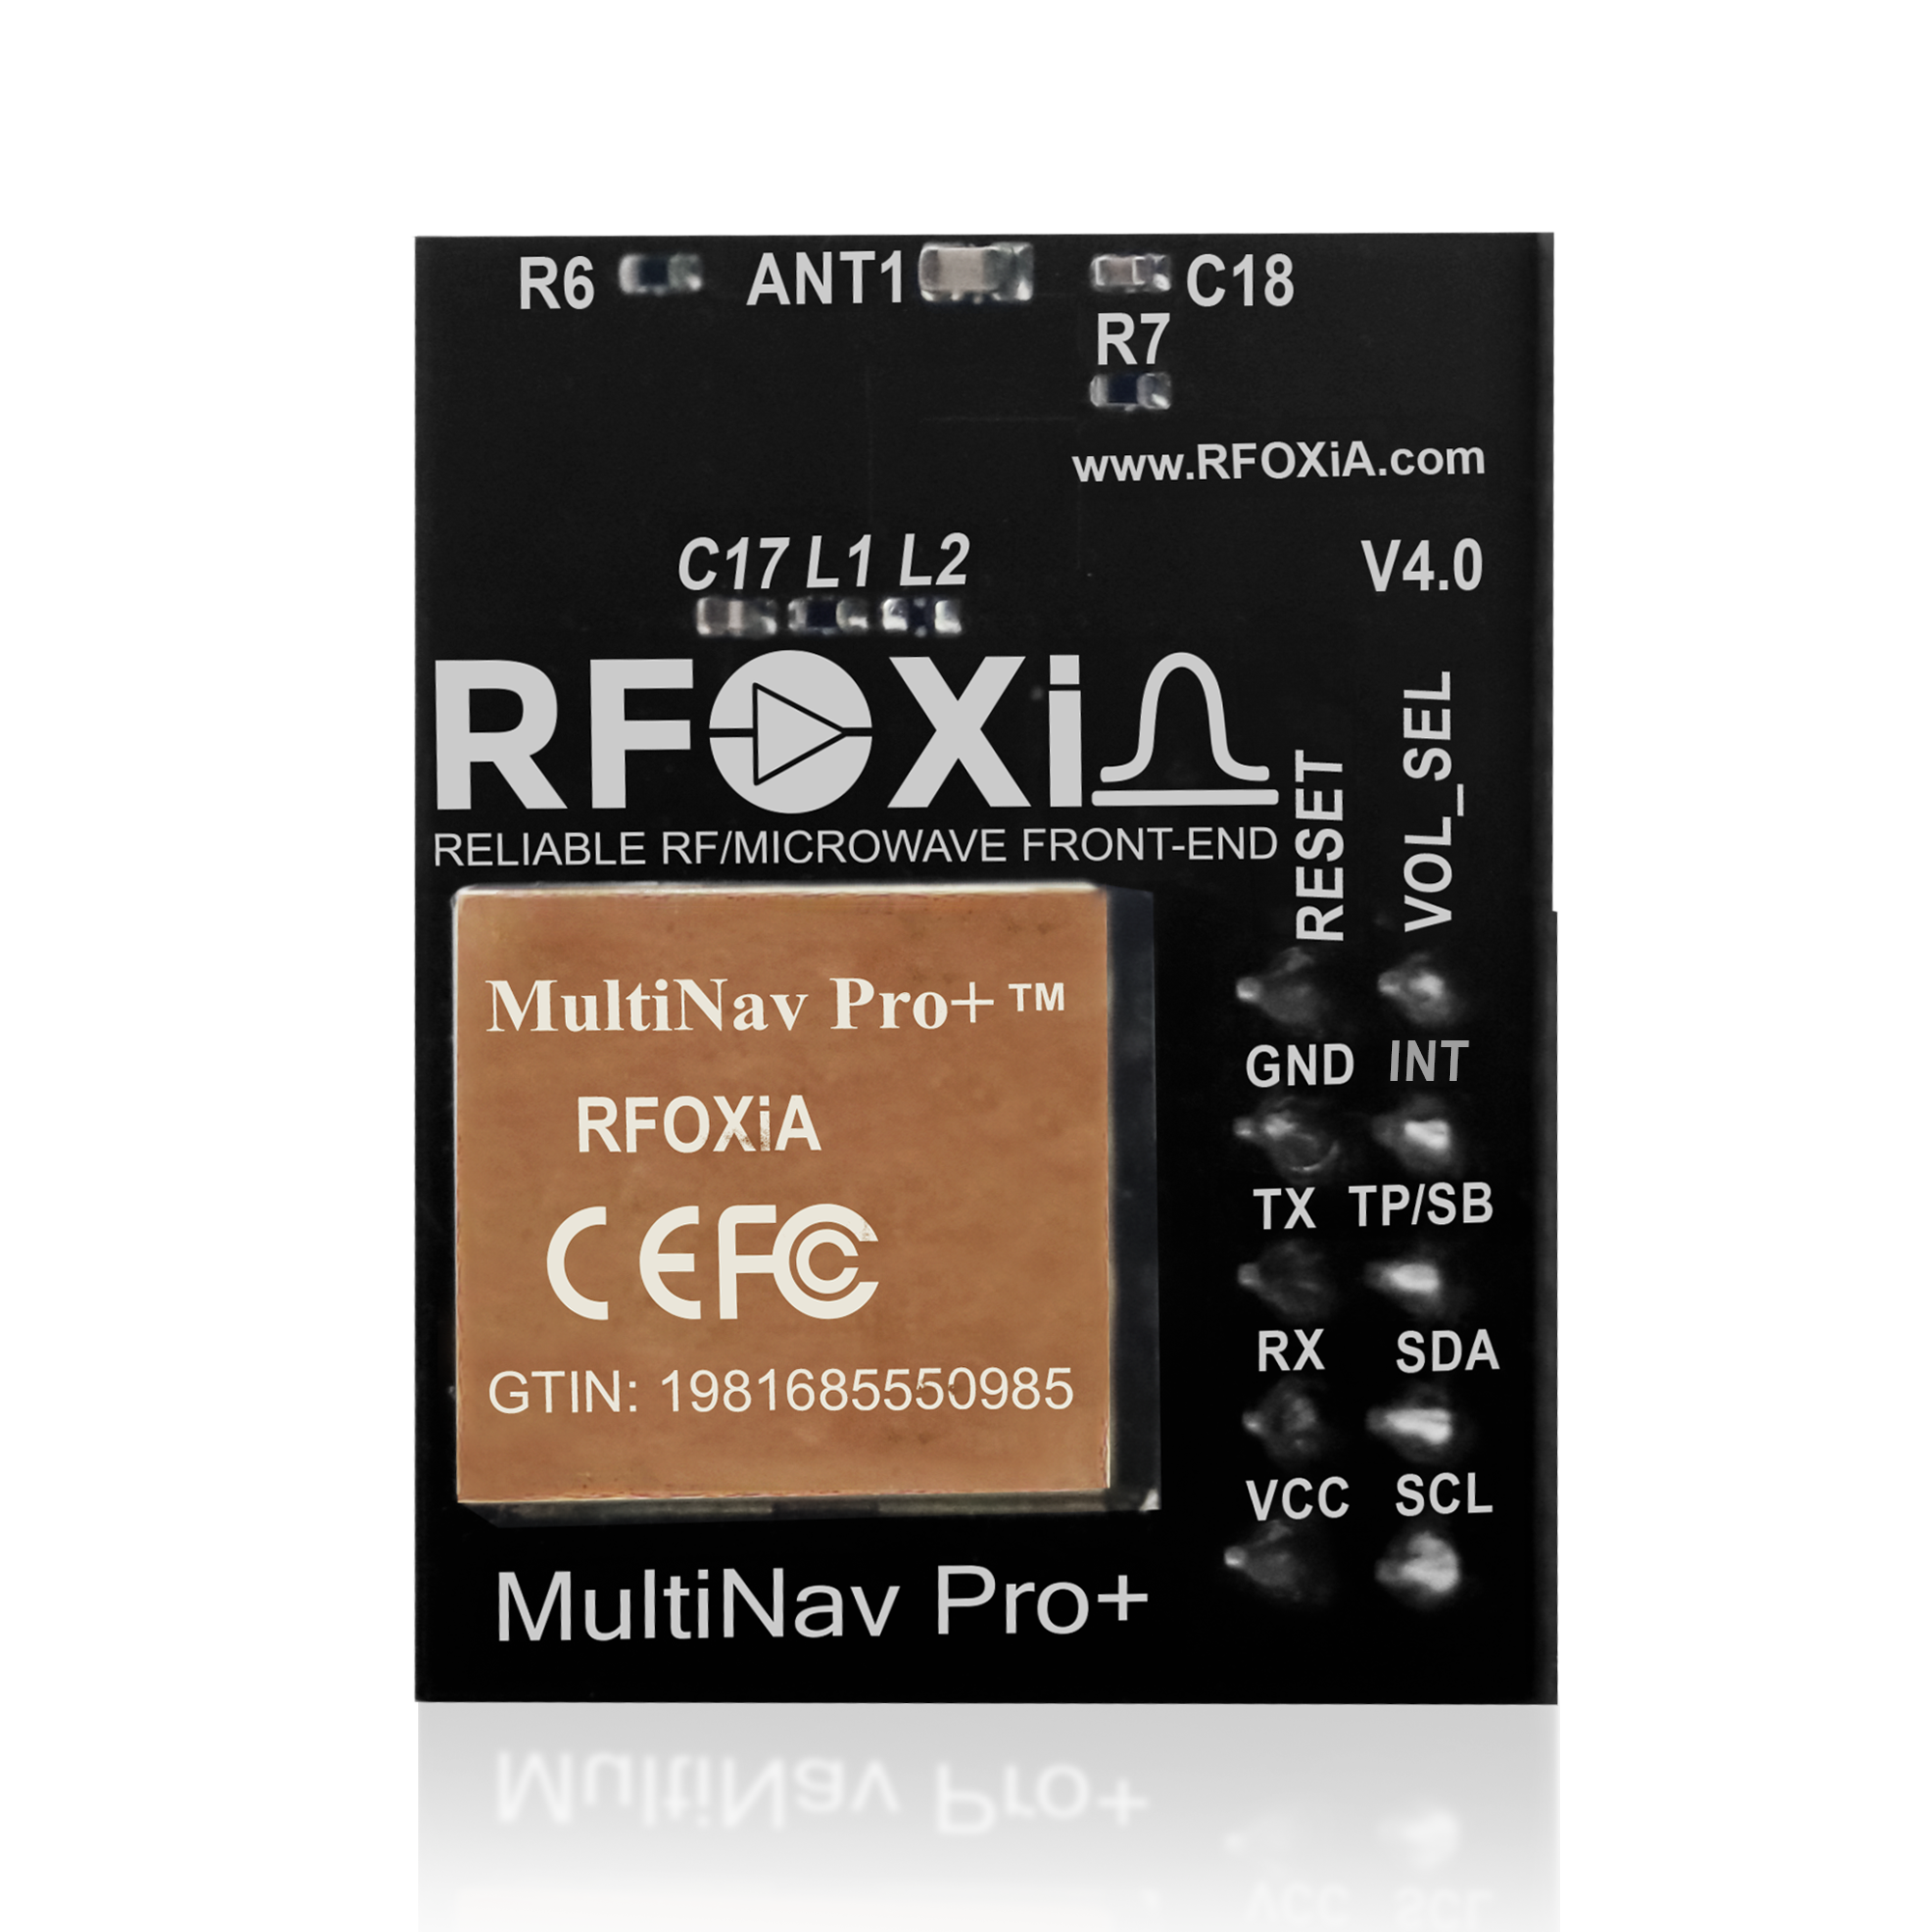
We'll be using the MultiNav Pro+™ Accurate GNSS Module from RFOXiA — a professional-grade, FCC-certified module built around the u-blox MIA-M10Q chip, delivering 1.5-meter accuracy and an 18Hz fix rate. It's compact, power-efficient, and fully compatible with Arduino, making it one of the most capable GNSS solutions available to makers and engineers today.
Let's dive in.
What Is a GNSS Module and Why Does It Matter?
Before getting into the wiring and code, it helps to understand what separates a GNSS module from a basic GPS chip.
GPS refers specifically to the American Global Positioning System. GNSS — Global Navigation Satellite System — is the umbrella term that includes GPS (USA), GLONASS (Russia), Galileo (EU), and BeiDou (China). A GNSS receiver that can access all four constellations simultaneously has far more satellites to work with at any given moment, which directly translates to:
- Faster first fix (time to first location lock)
- Better accuracy in urban canyons, forests, or areas with partial sky visibility
- Greater reliability in regions where one constellation has poor coverage
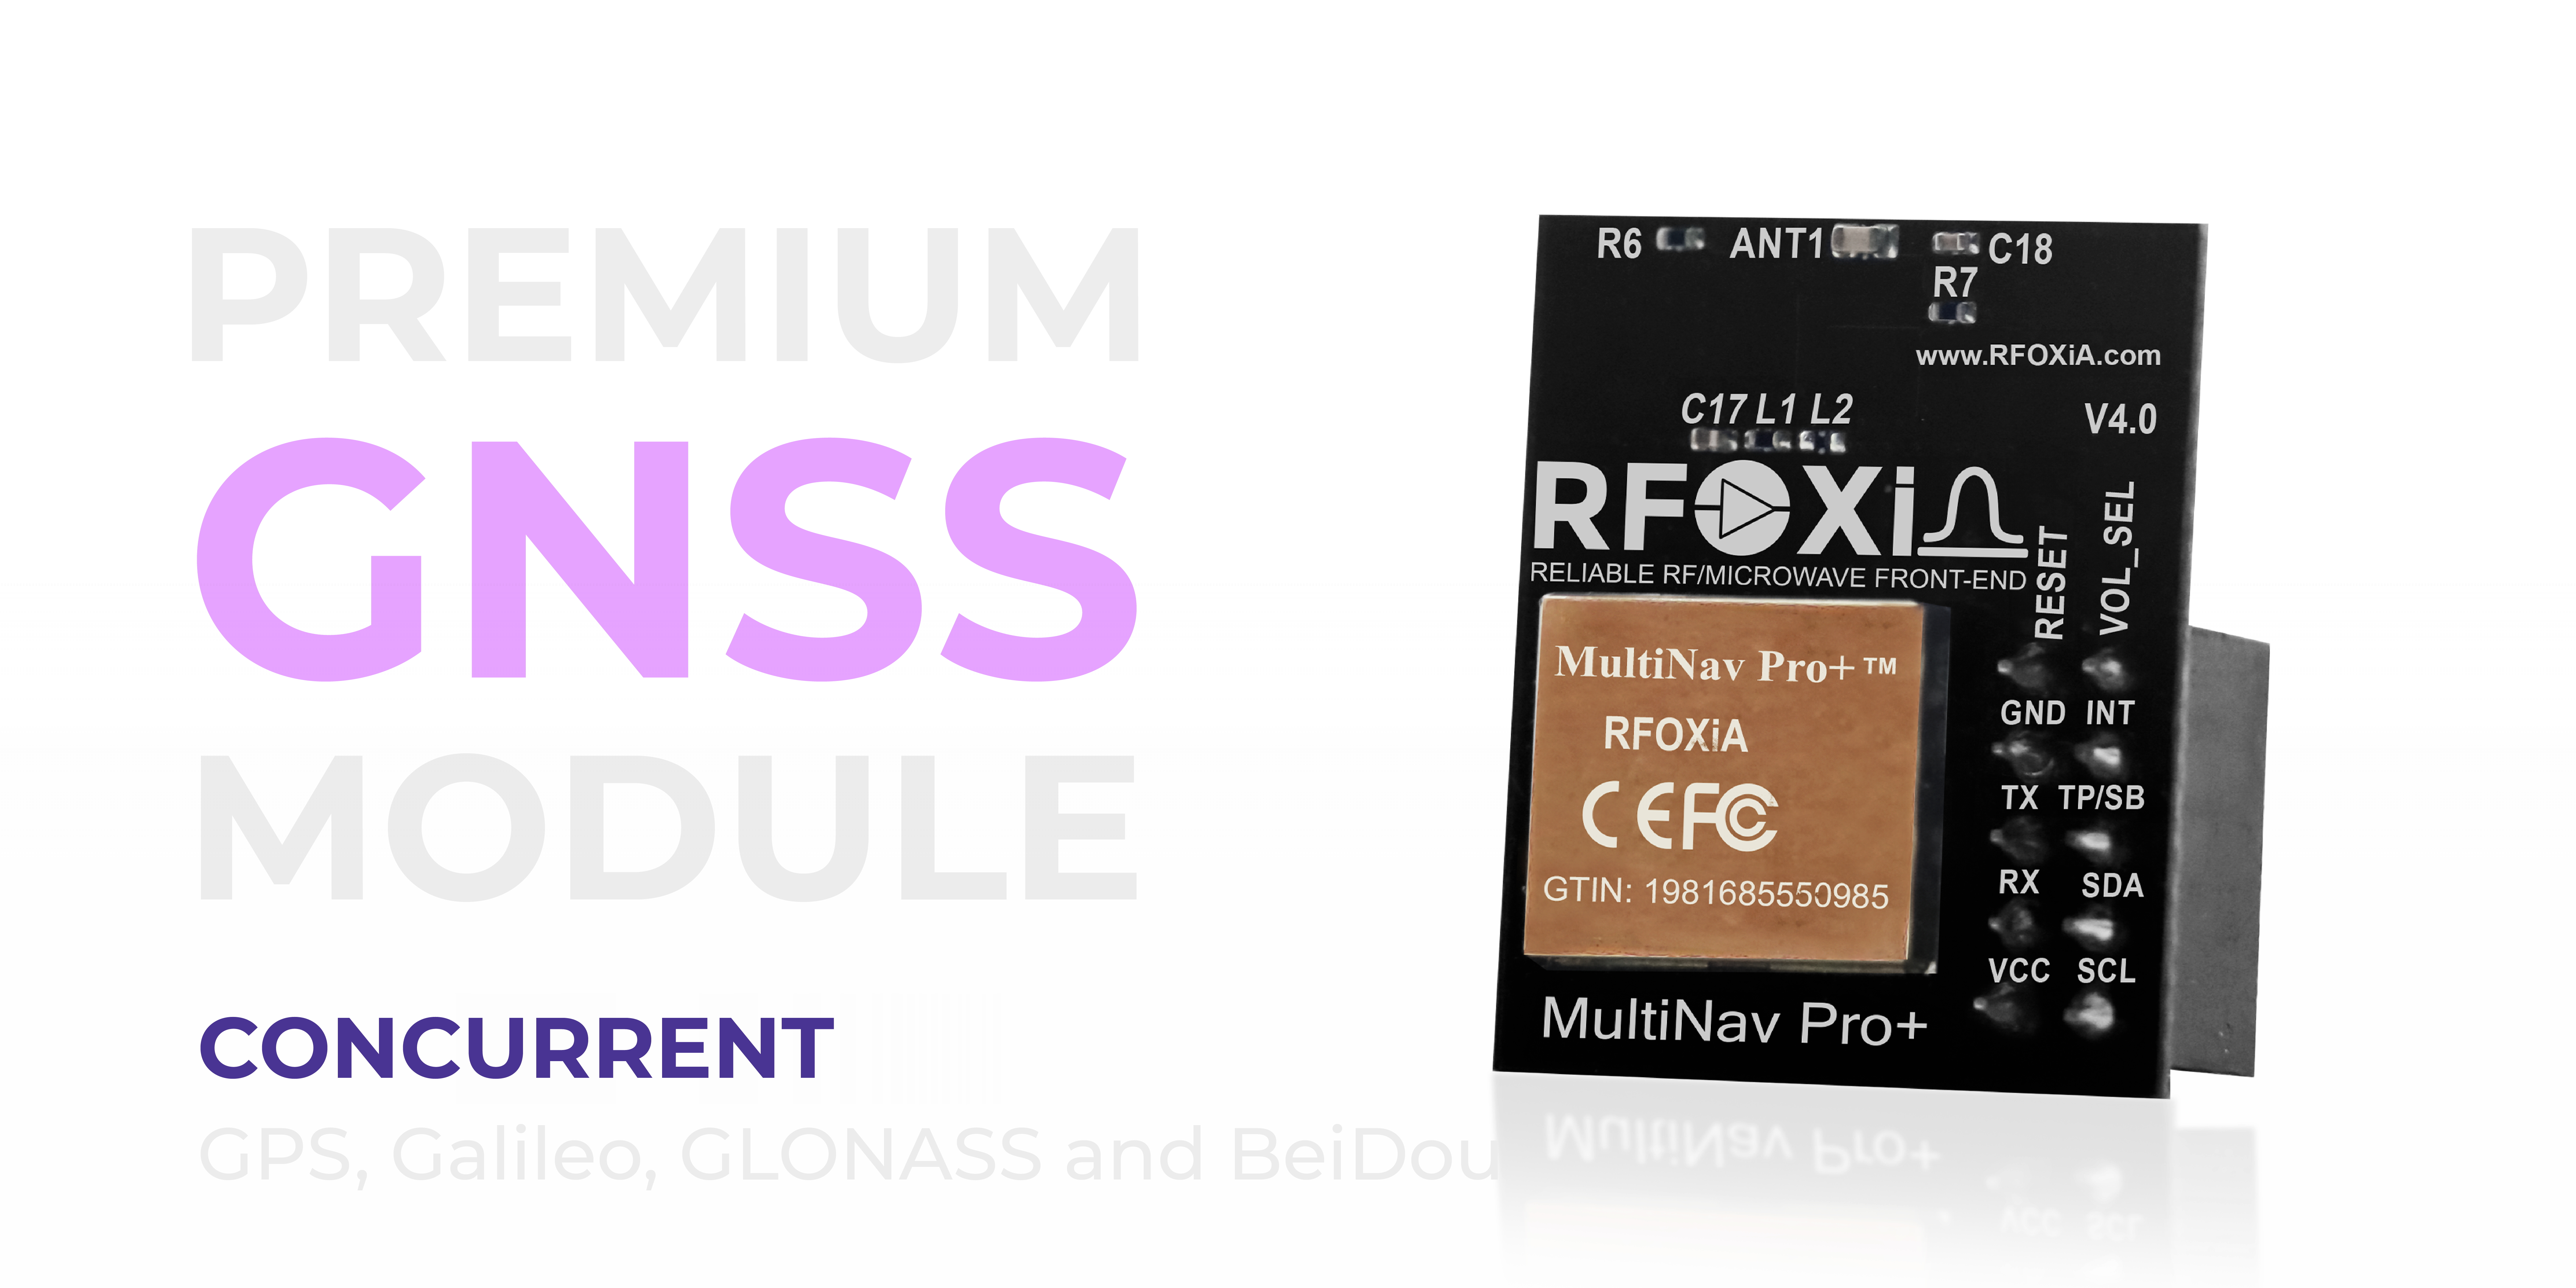
The MultiNav Pro+ supports all four constellations concurrently — GPS, GLONASS, Galileo, and BeiDou — which is why it can achieve a first fix in as little as 1 second and maintain sub-1.5-meter accuracy in the field.
For drone builders, researchers, and IoT developers, this isn't a luxury — it's the baseline for any serious application.
MultiNav Pro+ Key Specifications at a Glance
Before jumping into the how-to-use GNSS module Arduino tutorial, here's what you're working with:
| Specification | Value |
|---|---|
| Accuracy | < 1.5 meters |
| Fix Rate | Up to 18Hz |
| First Fix | ~1 second |
| Constellations | GPS, GLONASS, Galileo, BeiDou |
| GNSS Chip | u-blox MIA-M10Q |
| Interface | UART (TX/RX) and I2C (SCL/SDA) |
| Operating Voltage | 1.8V and 3.3V |
| Current Draw | 25–30mA |
| Dimensions | 26mm × 22mm |
| Antenna | Integrated high-gain chip antenna |
| Certifications | FCC Certified |

The 18Hz fix rate is particularly important for applications involving fast-moving platforms like drones or vehicles. At 18 updates per second, your system always has fresh, real-time position data — not a stale reading from half a second ago.
Hardware Overview: What You'll Need
To follow this how-to-use GNSS module Arduino guide, you'll need:
- MultiNav Pro+ GNSS Module — RFOXiA Accurate GNSS Module
- Arduino board — Uno, Mega, Nano, or any 3.3V-compatible board
- Jumper wires
- Breadboard (optional but helpful)
- USB cable for Arduino programming
- Arduino IDE installed on your computer
- Open-source GNSS library (included with the module)
Voltage Note
The MultiNav Pro+ operates at 1.8V and 3.3V. If you're using an Arduino Uno (which operates at 5V logic), you'll need a logic level converter on the TX/RX lines. If you're using a 3.3V Arduino (such as the Arduino Zero, MKR series, or many ESP32/STM32 boards), you can connect directly without a level shifter.
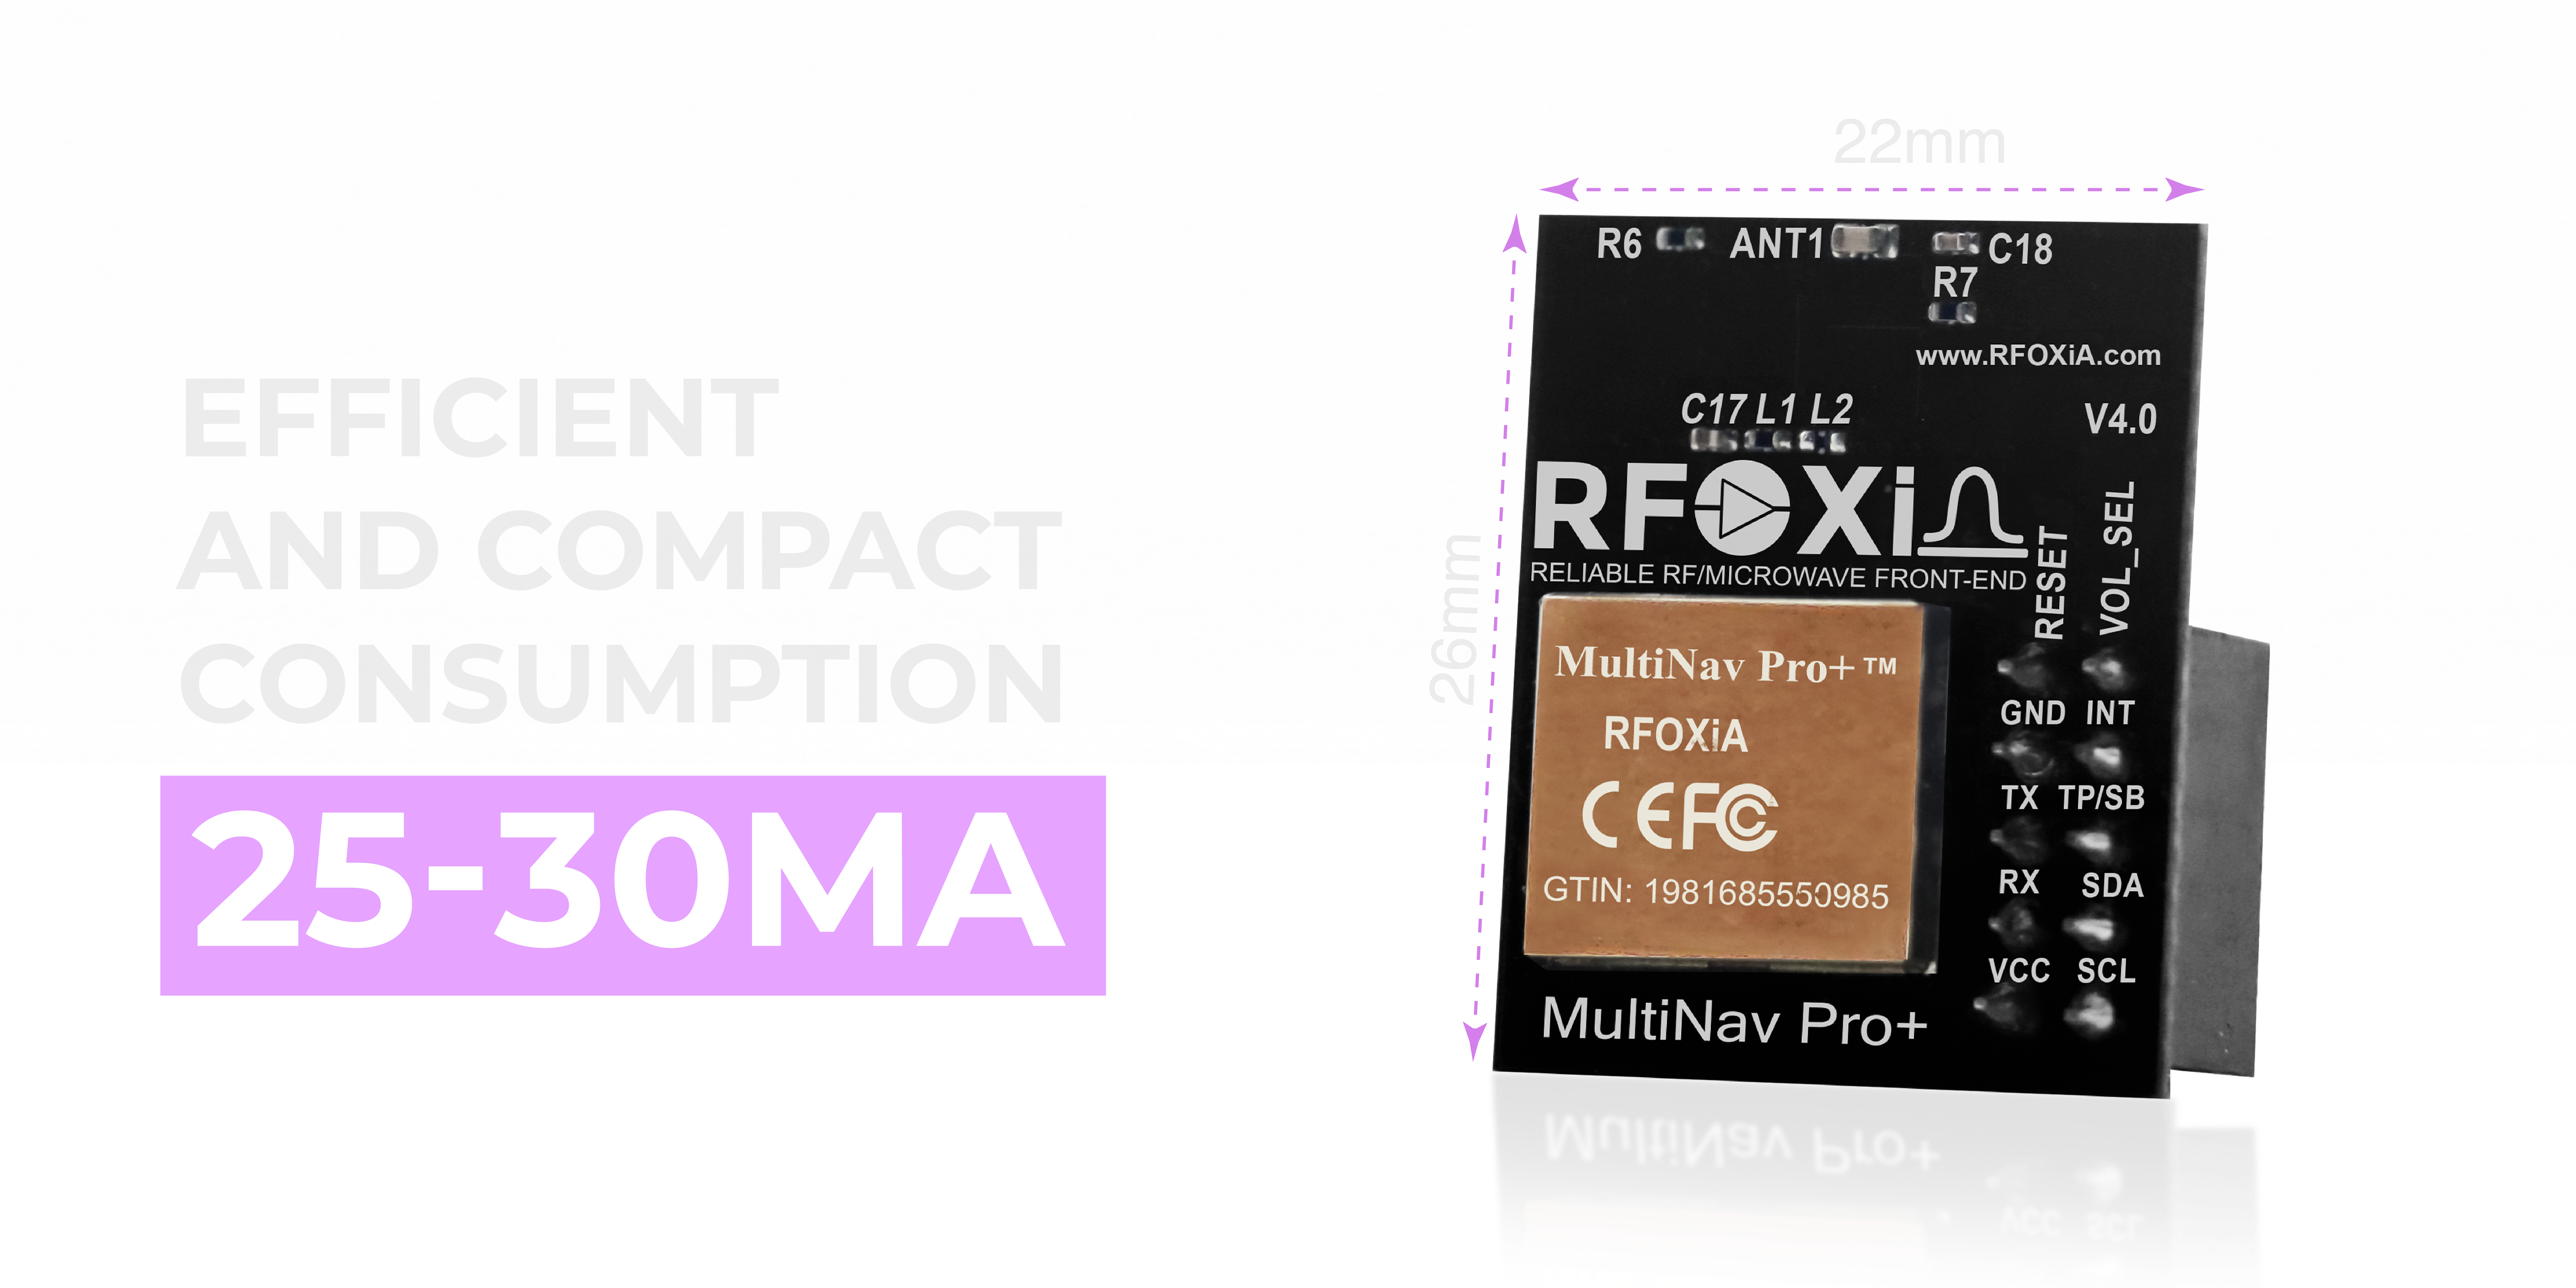
The module's compact 26×22mm footprint and low 25–30mA current draw make it ideal for battery-powered projects, wearable devices, and space-constrained designs.
Wiring the MultiNav Pro+ to Arduino
Option 1: UART Connection (Recommended for Most Arduino Projects)
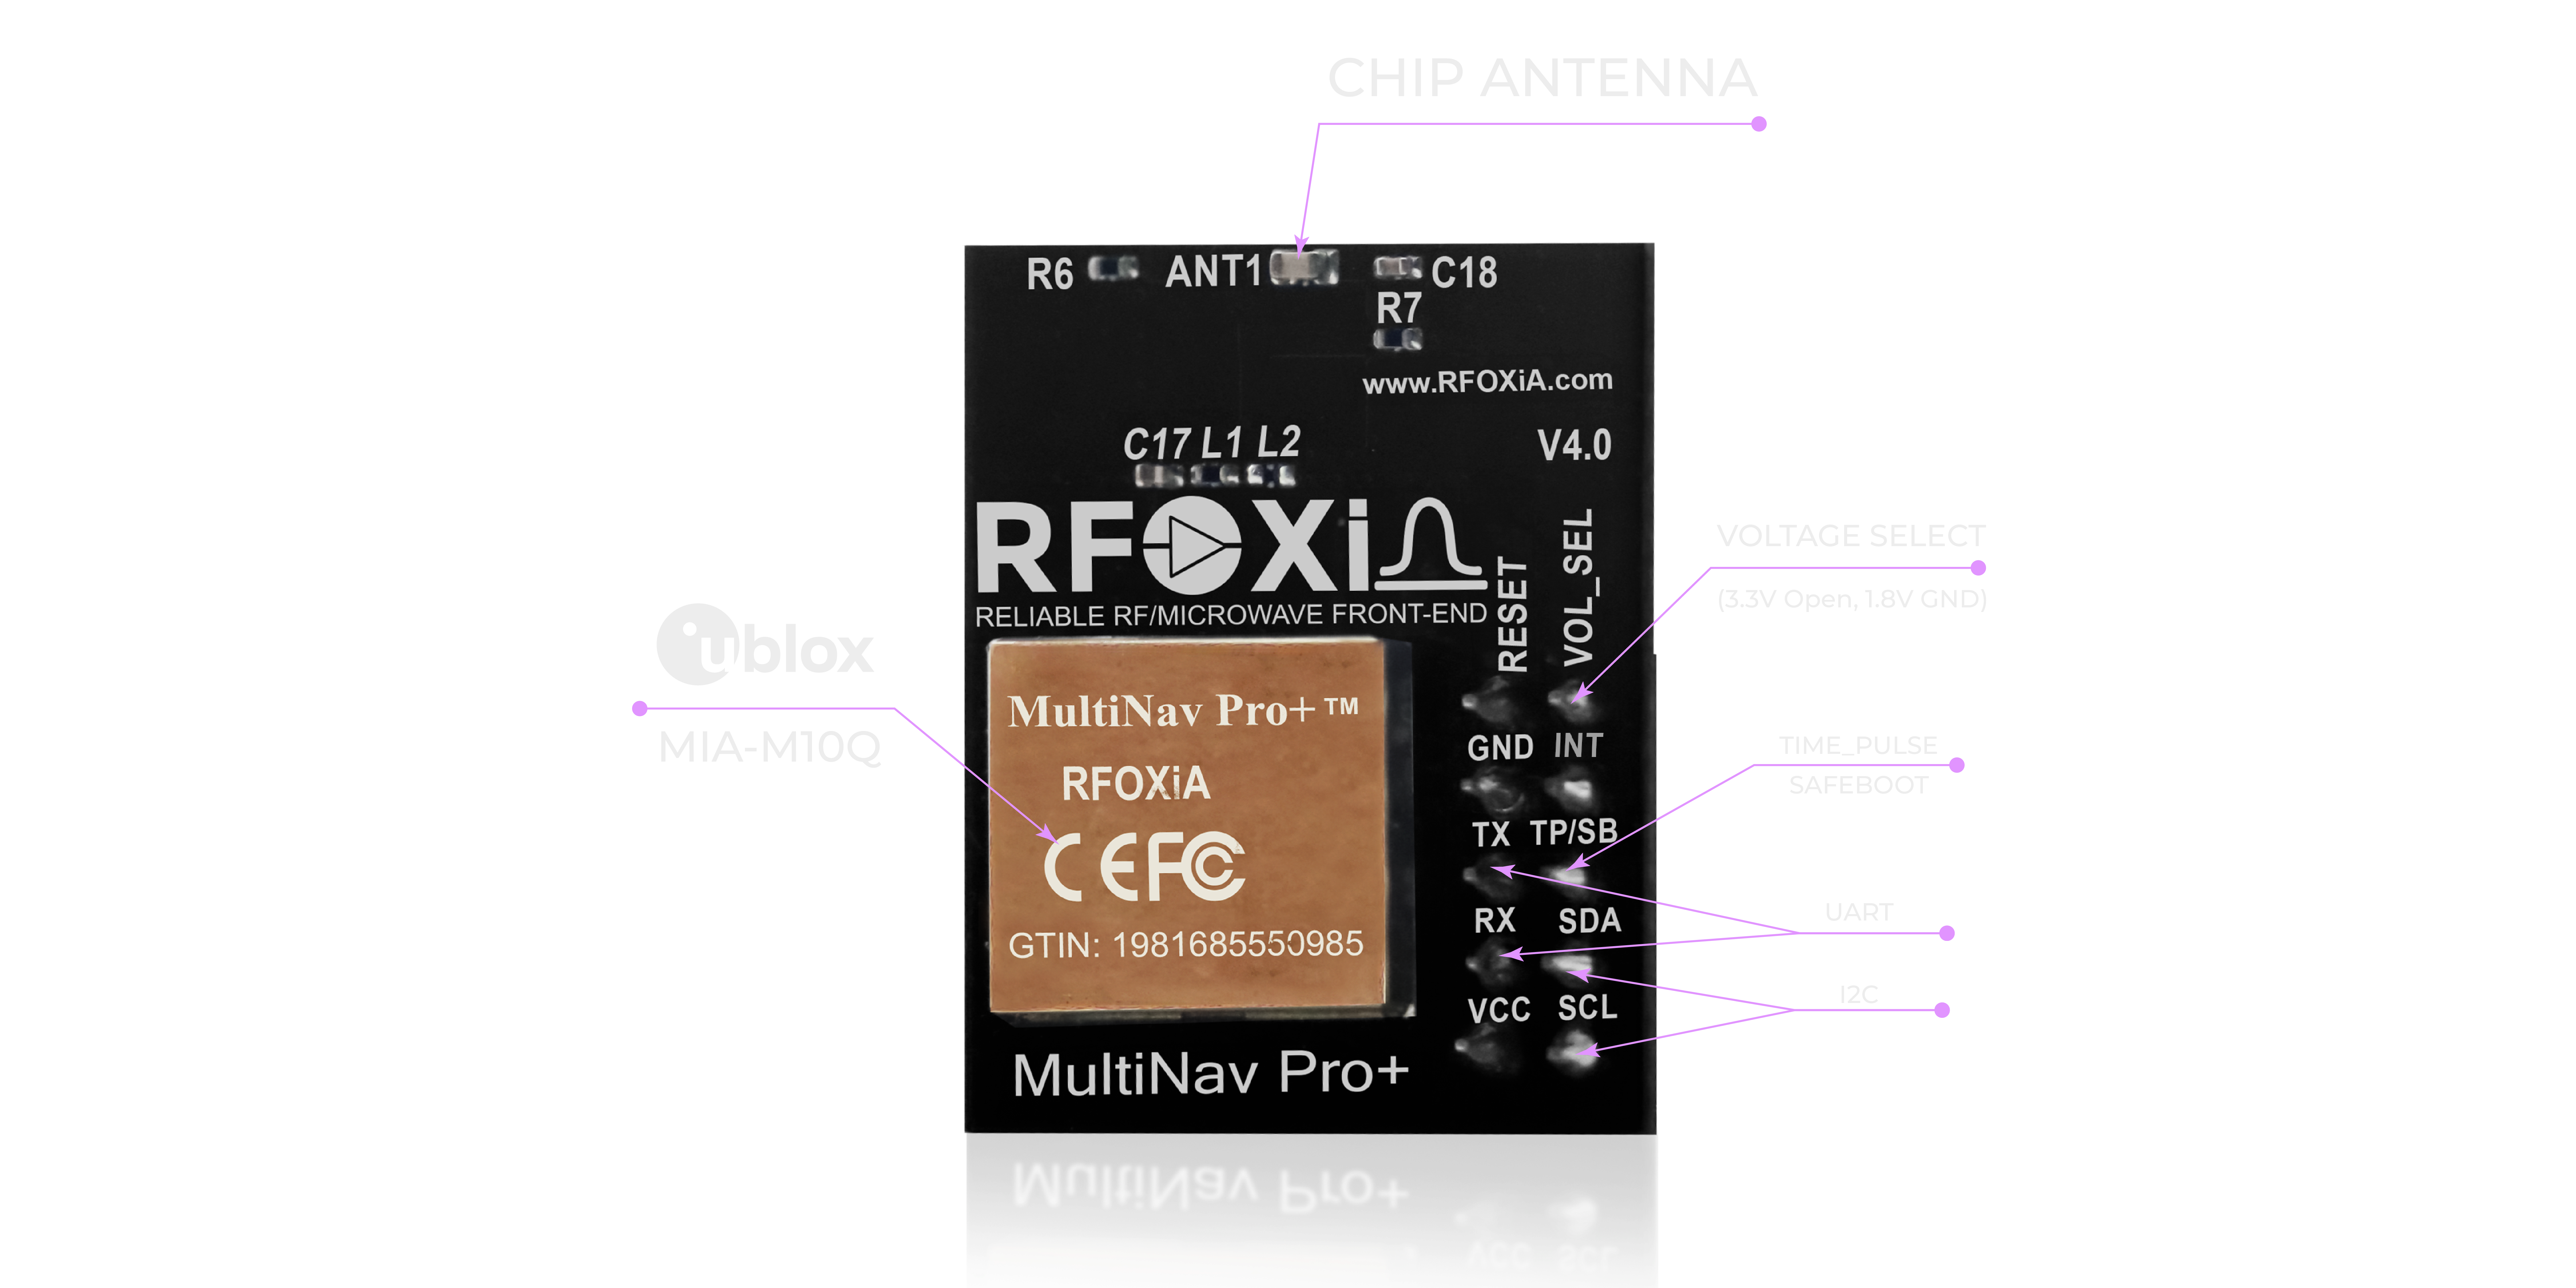
UART is the simplest and most commonly used interface for GNSS modules. Here's the pinout connection for Arduino:
| MultiNav Pro+ Pin | Arduino Pin |
|---|---|
| VCC | 3.3V |
| GND | GND |
| TX | RX (Pin 0 or Software Serial) |
| RX | TX (Pin 1 or Software Serial) |
Important: On Arduino Uno, avoid using hardware Serial (pins 0 and 1) if you also need the Serial Monitor for debugging. Instead, use the SoftwareSerial library on any two digital pins (e.g., pins 4 and 5).
Wiring for Arduino Uno with SoftwareSerial:
- MultiNav Pro+ TX → Arduino Pin 4
- MultiNav Pro+ RX → Arduino Pin 5
- MultiNav Pro+ VCC → Arduino 3.3V
- MultiNav Pro+ GND → Arduino GND
Option 2: I2C Connection
I2C is preferred when you want to daisy-chain multiple sensors on the same two-wire bus (SCL and SDA). This is particularly useful in the RFOXiA ecosystem where you might also have a Sensors Module on the same bus.
| MultiNav Pro+ Pin | Arduino Pin |
|---|---|
| VCC | 3.3V |
| GND | GND |
| SCL | A5 (Uno) / SCL pin |
| SDA | A4 (Uno) / SDA pin |
How to Use GNSS Module Arduino: Software Setup
Now that your hardware is wired, let's walk through the software side of how to use GNSS module Arduino.
Step 1: Install the Open-Source Driver Library
The MultiNav Pro+ comes with a fully open-source C language library that includes NMEA standard protocol commands. This library is compatible with Arduino IDE and virtually any other toolchain.
Installation steps:
- Download the library from the RFOXiA GitHub repository or the resources included with your module
- Open Arduino IDE
- Go to Sketch → Include Library → Add .ZIP Library
- Select the downloaded library ZIP file
- The library is now available in your project
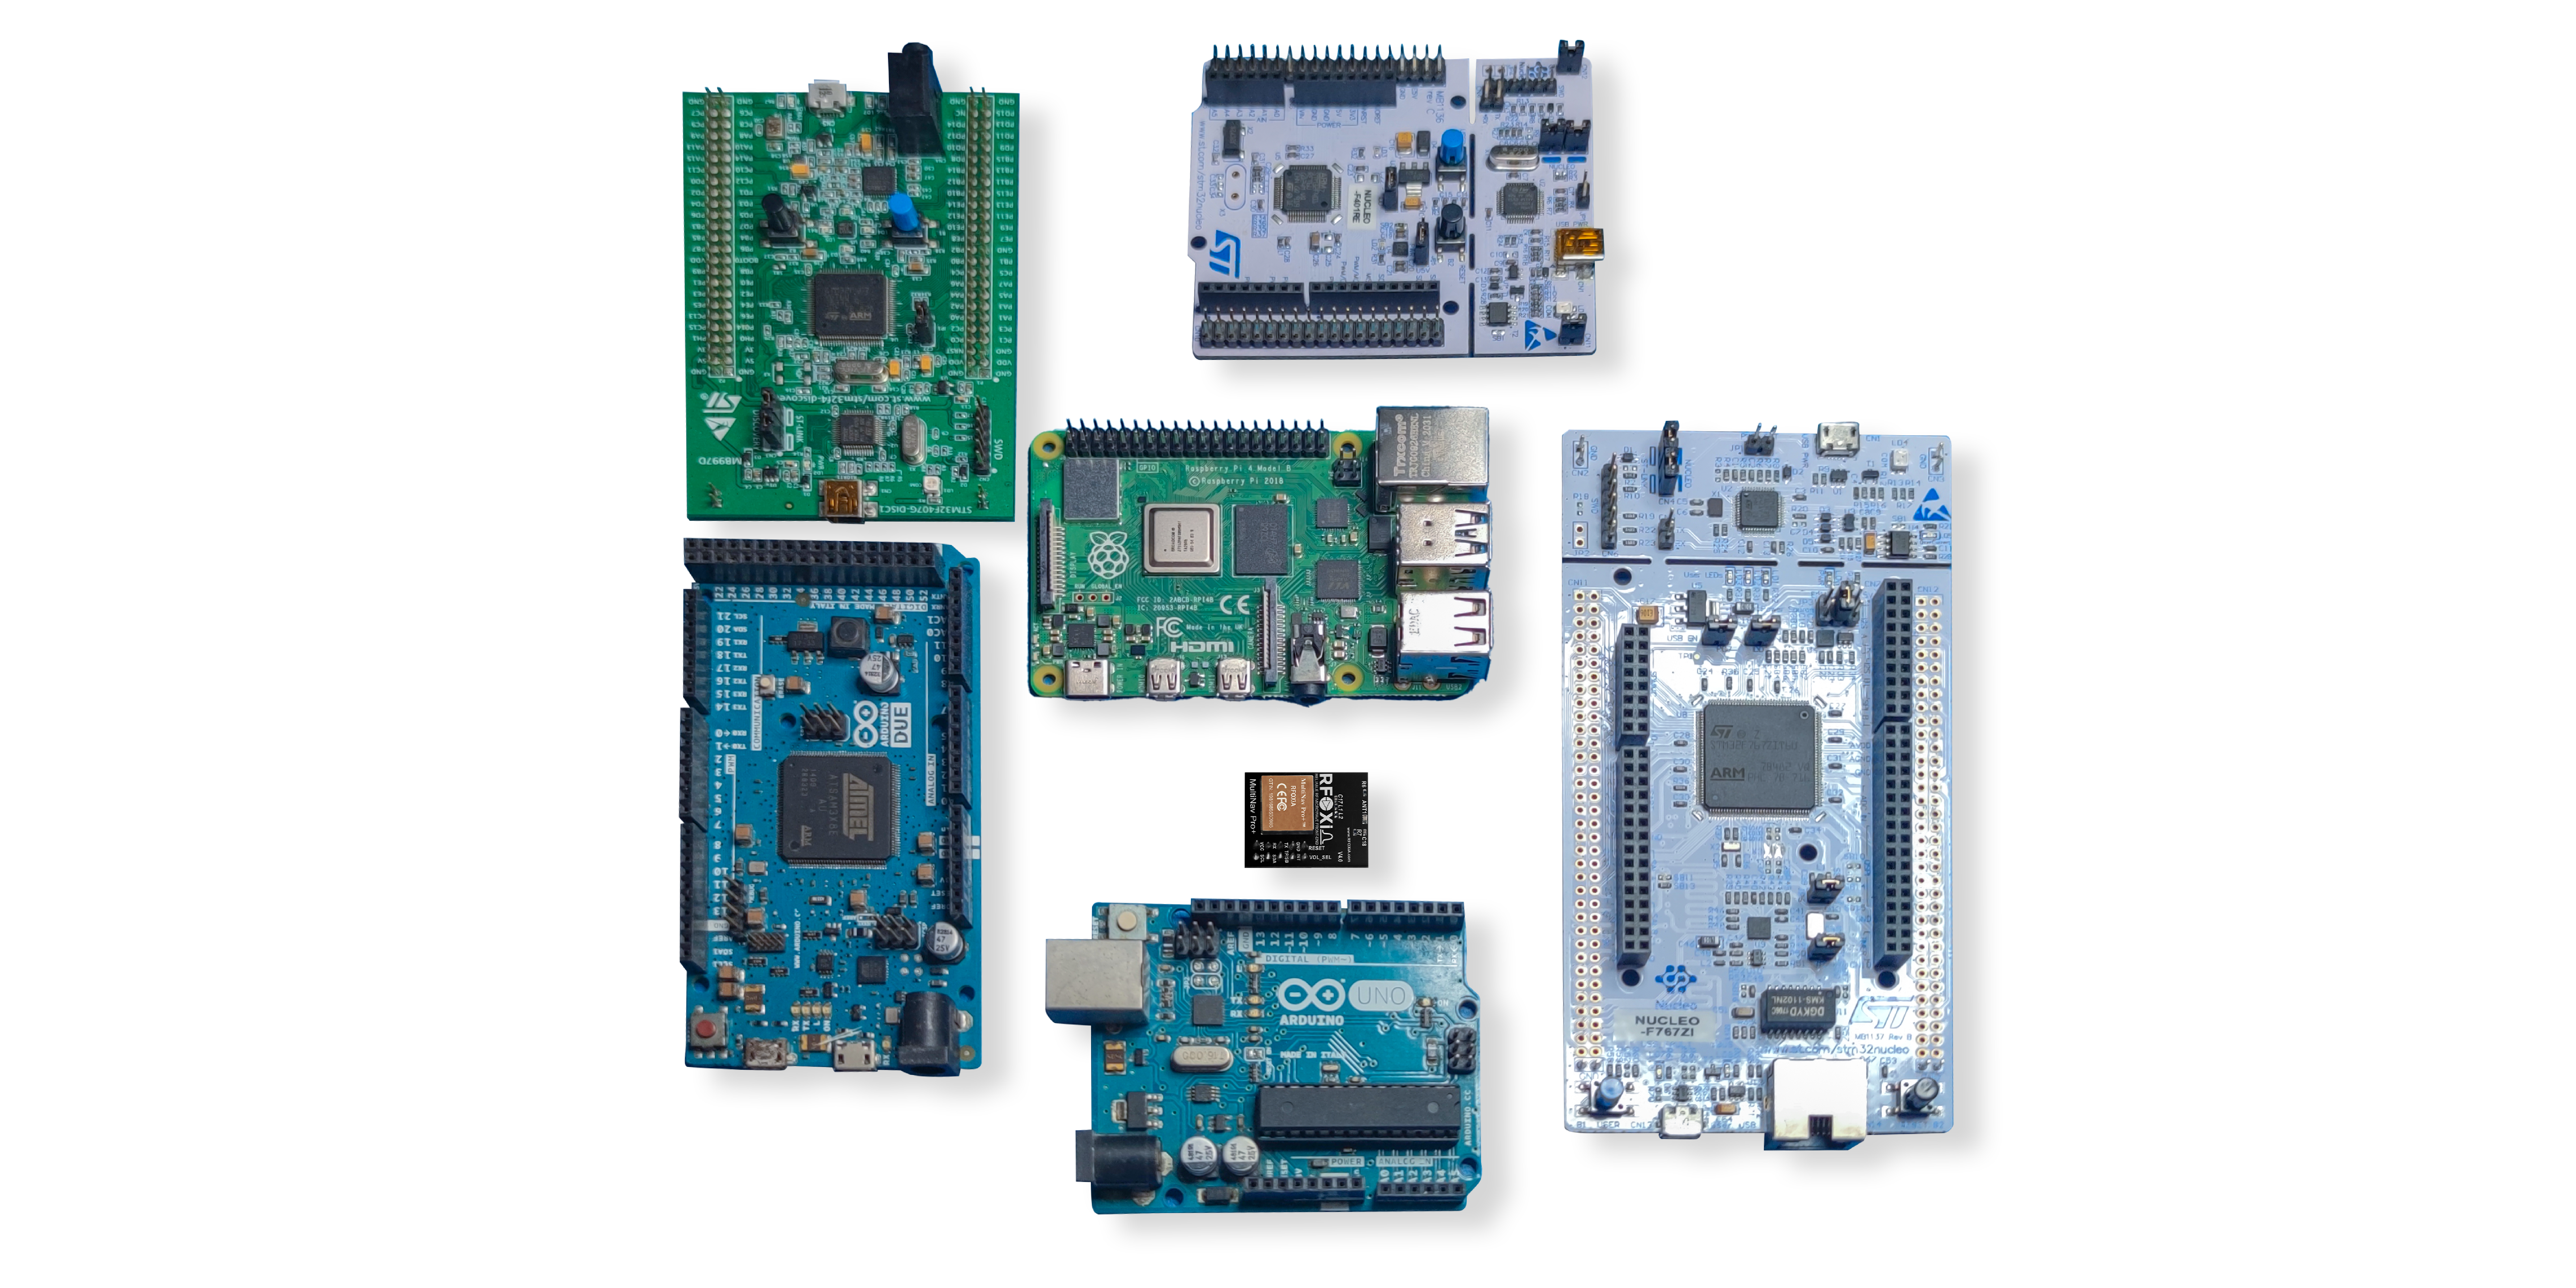
The open-source nature of the library means you can inspect every function, modify behavior, and integrate it into any custom toolchain — PlatformIO, STM32CubeIDE, Zephyr, or any other environment you prefer.
Step 2: Basic UART Sketch — Reading GPS Data
Here's a minimal working example to get location data printing to your Serial Monitor:
#include <SoftwareSerial.h>

SoftwareSerial gpsSerial(4, 5); // RX, TX

void setup() {
  Serial.begin(115200);     // Serial Monitor
  gpsSerial.begin(9600);    // MultiNav Pro+ default baud rate
  Serial.println("MultiNav Pro+ GNSS Module Ready");
}

void loop() {
  while (gpsSerial.available()) {
    char c = gpsSerial.read();
    Serial.write(c);  // Print raw NMEA sentences
  }
}
Open your Serial Monitor at 115200 baud and you'll see raw NMEA sentences streaming in — strings like $GNGGA, $GNRMC, and $GNGSV that contain latitude, longitude, altitude, speed, satellite count, and fix quality.
Step 3: Parsing NMEA Data for Usable Location Coordinates
Raw NMEA strings need to be parsed to extract meaningful values. The included RFOXiA library handles this automatically. Here's a simplified example using the library:
#include <SoftwareSerial.h>
#include <MultiNavGNSS.h>  // RFOXiA GNSS Library

SoftwareSerial gpsSerial(4, 5);
MultiNavGNSS gnss;

void setup() {
  Serial.begin(115200);
  gpsSerial.begin(9600);
  gnss.begin(gpsSerial);
}

void loop() {
  gnss.update();

  if (gnss.isFixed()) {
    Serial.print("Latitude: ");
    Serial.println(gnss.getLatitude(), 6);
    Serial.print("Longitude: ");
    Serial.println(gnss.getLongitude(), 6);
    Serial.print("Altitude (m): ");
    Serial.println(gnss.getAltitude());
    Serial.print("Fix Rate: ");
    Serial.print(gnss.getFixRate());
    Serial.println(" Hz");
    Serial.print("Satellites: ");
    Serial.println(gnss.getSatelliteCount());
    Serial.println("---");
  } else {
    Serial.println("Acquiring satellite fix...");
  }
  delay(100);  // 10Hz update loop
}
This gives you clean, human-readable coordinate output that you can log, transmit, or use in real-time control logic.
Configuring Update Rate: Unlocking 18Hz Performance
By default, most GNSS modules operate at 1Hz. The MultiNav Pro+ can push up to 18Hz — but you'll need to configure this through the u-blox UBX protocol commands. The RFOXiA library includes helper functions for this:
gnss.setUpdateRate(18); // Set to 18Hz
For applications like drone navigation, vehicle tracking, or high-speed robotics where the platform is moving quickly, 18Hz makes a dramatic difference. At 1Hz, a drone traveling at 60km/h moves 16 meters between position updates. At 18Hz, the gap shrinks to under 1 meter — matching the 1.5m accuracy of the sensor itself.
Visualizing Data with U-Center Software
For configuration, diagnostics, and real-time visualization, u-blox provides their free u-center software — and the MultiNav Pro+ is fully compatible with it.
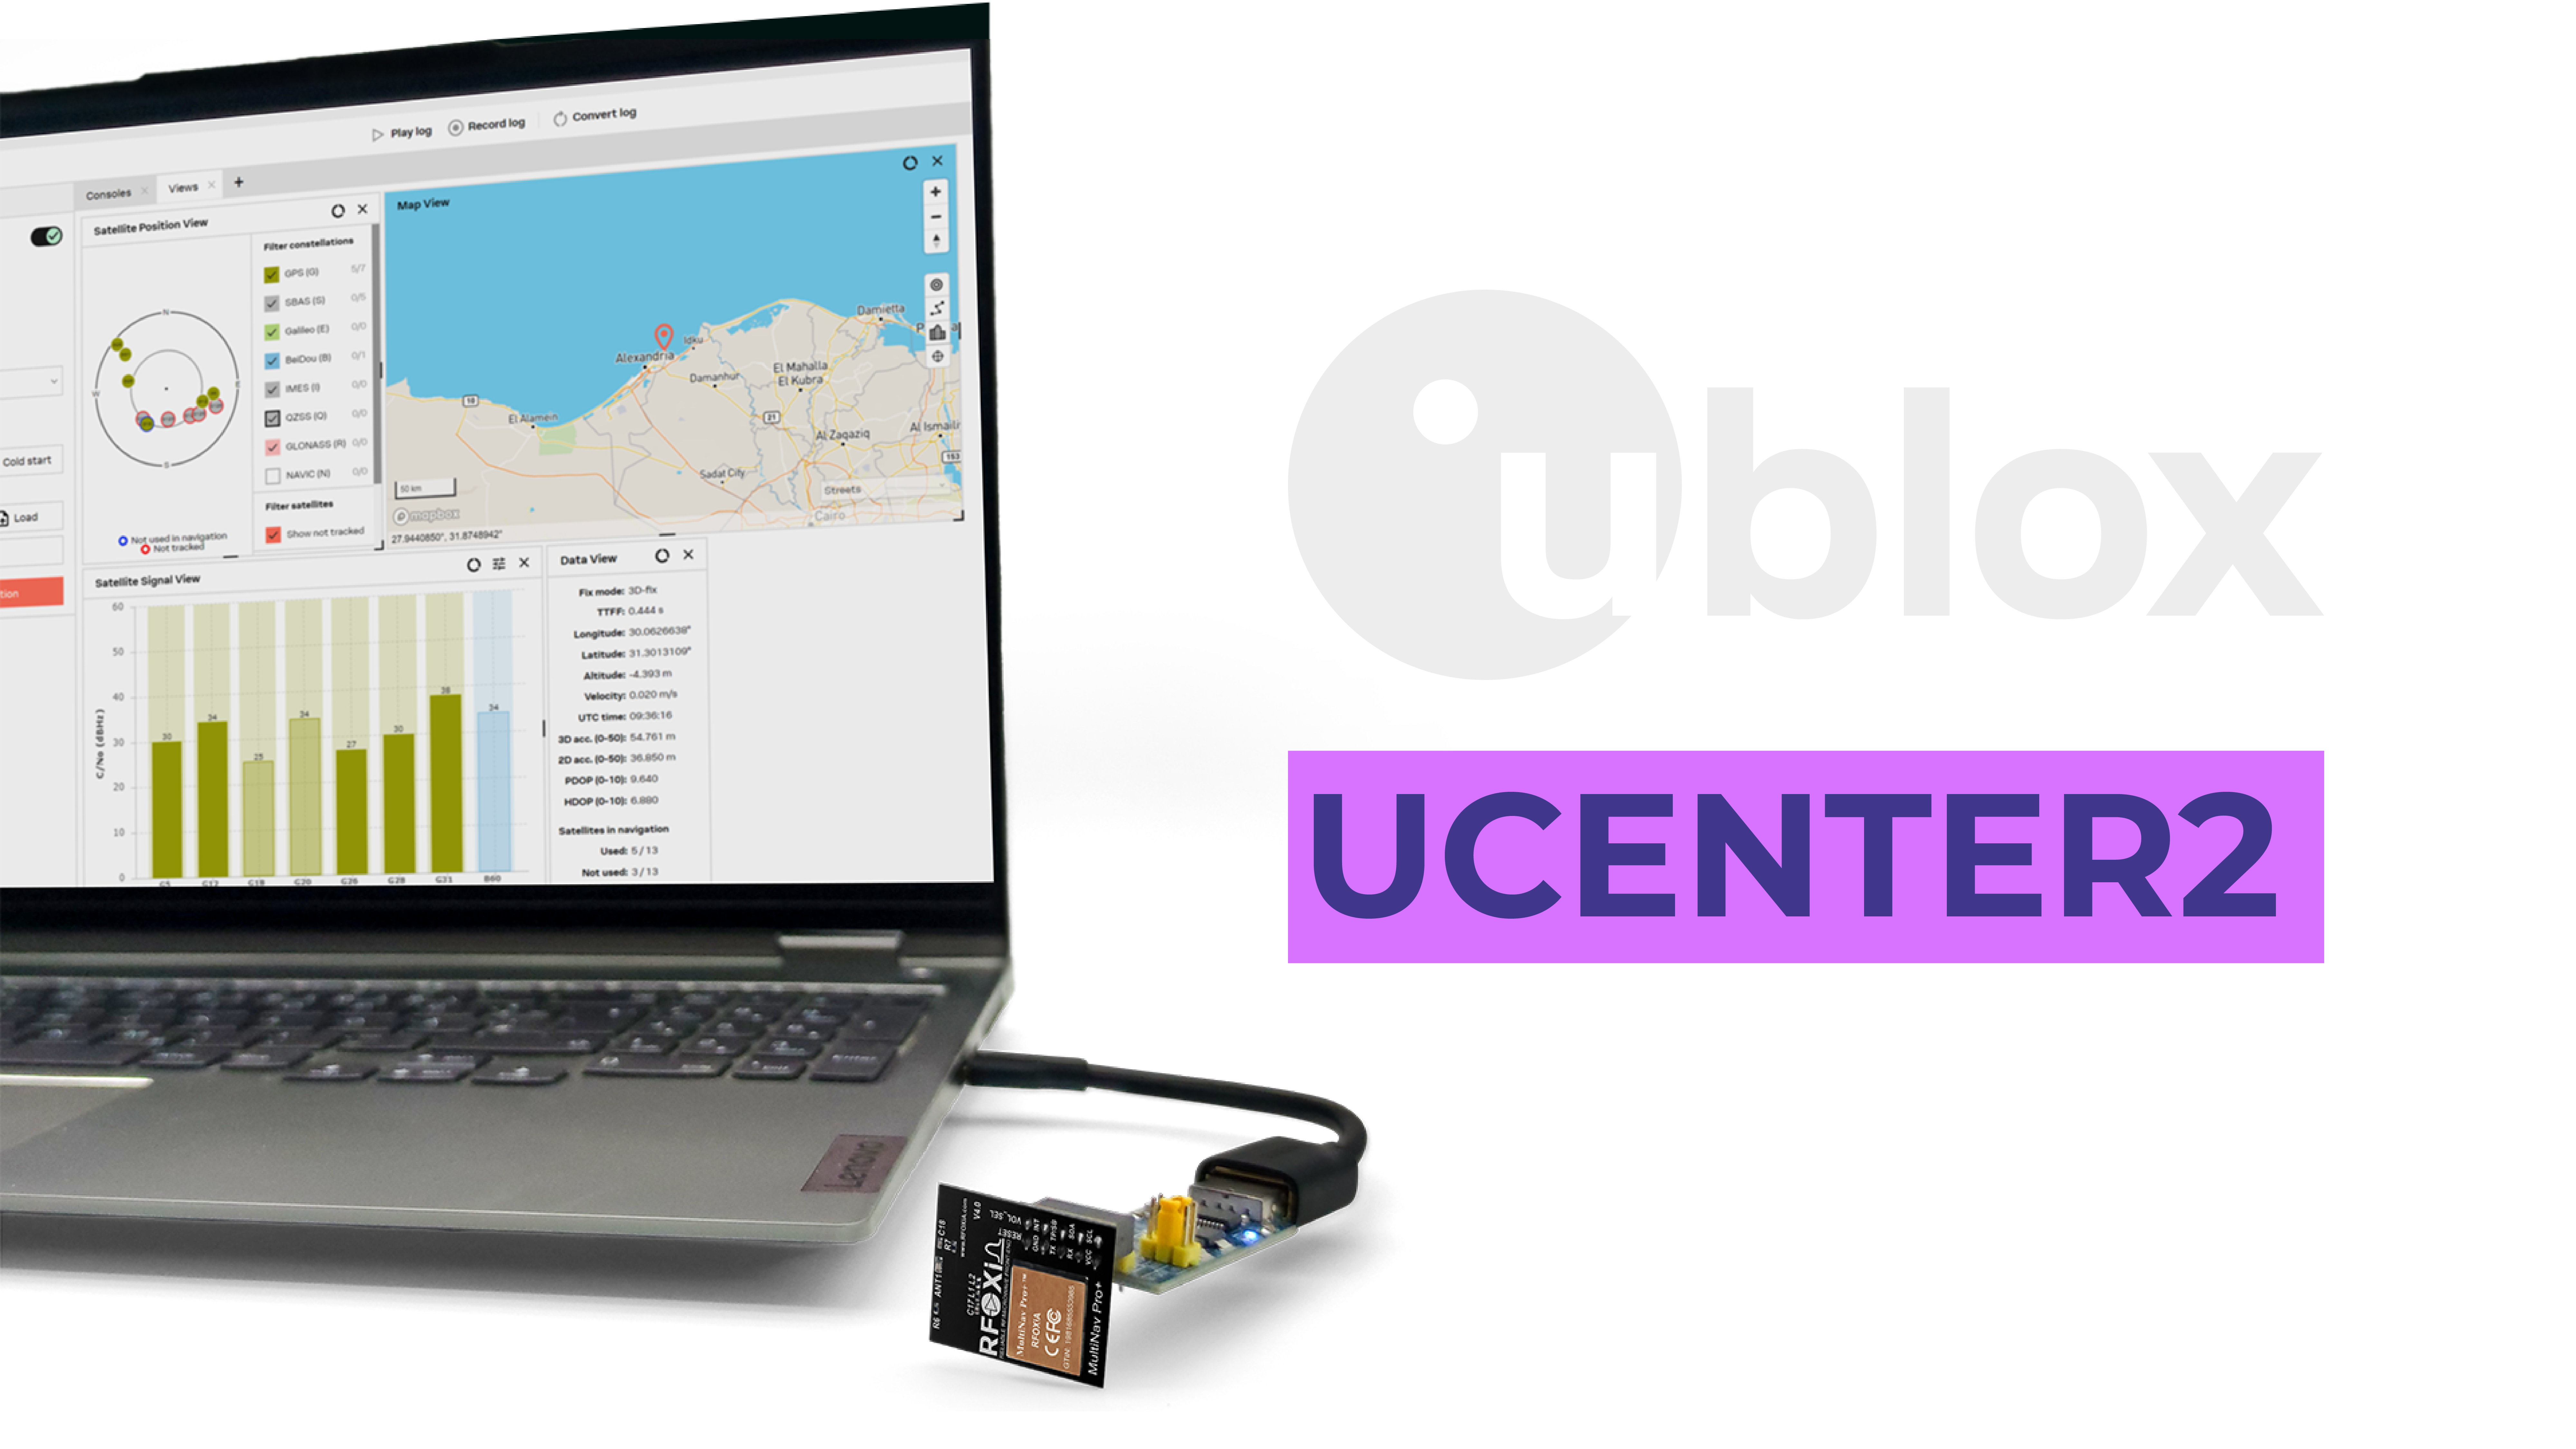
u-center allows you to:
- Visualize signal strength for each satellite in view across all four constellations
- Monitor fix quality in real time
- Configure update rate, protocols, and power modes
- Log position data to file for post-processing
- Evaluate accuracy by comparing fixes against a known reference point
To connect the MultiNav Pro+ to u-center, simply connect via USB-to-UART adapter, set the COM port, and set baud rate to 9600 (or whatever you've configured). The module will appear and you'll have full access to the u-blox configuration interface.
This is particularly useful when you're calibrating for a specific application or validating accuracy before deployment.
Real-World Applications: What Can You Build?
Knowing how to use GNSS module Arduino effectively opens up a massive range of project possibilities. The MultiNav Pro+ is designed for professional applications that demand reliable, accurate location data.

Drone Navigation and Tracking
At 18Hz and 1.5m accuracy, the MultiNav Pro+ is purpose-built for drone applications. Pair it with the RFOXiA BLE Module for long-range telemetry (up to 20km man-to-drone) and you have a professional-grade navigation and tracking system at a maker-accessible price. The RFOXiA Accurate GNSS Module integrates directly into the RFOXiA Connect app for live map tracking from your phone — no internet required.
IoT Asset Tracking
For tracking vehicles, shipping containers, agricultural equipment, or any mobile asset, the module's low power draw (25–30mA) and fast fix capability make it ideal for battery-powered tracker nodes that check in periodically.
Precision Agriculture
Combine the MultiNav Pro+ with the RFOXiA Sensors Module (temperature, humidity, air pressure, air quality, accelerometer, gyroscope, magnetometer) to build a GPS-tagged environmental sensing platform. Every sensor reading is stamped with a verified GPS coordinate — exactly the kind of high-resolution, geotagged data that precision agriculture applications require.
Wearable Devices
The 26×22mm form factor and 1.8V operating voltage make this module suitable for wearable tech — fitness trackers, outdoor adventure computers, safety devices for hikers and field workers.
Research and Data Networks
The MultiNav Pro+ is the GNSS backbone of the RFOXiA data network — where deployed sensor nodes use GPS verification to validate outdoor deployment and geotag every data point. Nodes that contribute verified, GPS-tagged environmental data earn daily rewards, turning your hardware into a passive income generator.
Automotive and Robotics
High update rate and accuracy make the MultiNav Pro+ suitable for autonomous ground vehicle navigation, where precise, real-time position is critical for path planning and obstacle avoidance.
Integrating with the Full RFOXiA Ecosystem
The MultiNav Pro+ is designed to work seamlessly within the broader RFOXiA hardware ecosystem. When combined with the Developer Bundle — which includes the BLE Module, Sensors Module, and Power/Program Kit — you get a complete wireless development platform:
- MultiNav Pro+ provides precise GPS location at 18Hz
- BLE Module transmits location and sensor data up to 20km
- Sensors Module adds temperature, humidity, pressure, air quality, and IMU data
- Power/Program Kit keeps everything running for 24 hours on a 5-minute charge
- RFOXiA Connect App visualizes everything live on a map from your phone
- RFOXiA Club AI Firmware Builder generates custom firmware for your specific application in plain language
This is the level of integration that separates RFOXiA from buying individual modules from different manufacturers and trying to make them talk to each other.
Troubleshooting Common Issues
No NMEA data in Serial Monitor
- Check wiring — TX on module goes to RX on Arduino, and vice versa
- Confirm baud rate matches (default 9600)
- Ensure module is powered at 3.3V, not 5V directly
- Make sure you're outdoors or near a window with clear sky view
Fix taking too long
- For cold start, first fix may take 30–60 seconds in an unfamiliar location
- Ensure the integrated chip antenna has unobstructed sky view
- Run u-center to verify satellite signal strength across all constellations
Coordinates drifting more than expected
- Verify you're in open sky — GNSS accuracy degrades significantly indoors
- Check HDOP (Horizontal Dilution of Precision) in your NMEA output — values below 2.0 are excellent
- Ensure you have satellites from multiple constellations contributing to fix
I2C not responding
- Confirm the I2C address (check RFOXiA documentation for default address)
- Add 4.7kΩ pull-up resistors on SCL and SDA if not already present on your board
- Scan with
Wire.hI2C scanner sketch to confirm device is visible on the bus
Why Choose the MultiNav Pro+ Over Generic Modules?
At $49, the MultiNav Pro+ is positioned as professional-grade hardware at a maker-accessible price. Compare it against alternatives:
- Generic GY-GPS6MV2 (Neo-6M): 2.5–3m accuracy, 5Hz fix rate, single constellation (GPS only), no concurrent multi-constellation support. Costs slightly less but delivers significantly less.
- u-blox M8 breakouts: Closer in capability but typically larger, more expensive from reputable distributors, and sold without ecosystem integration, open-source libraries, or app support.
- High-end RTK modules: Centimeter accuracy, but $200–$500+, require base station infrastructure, and are overkill for most applications.
The MultiNav Pro+ hits the sweet spot: four-constellation concurrent tracking, 1.5m accuracy, 18Hz update rate, FCC certified, compact form factor, open-source library, u-center compatible — at $49.
And because it's part of the RFOXiA ecosystem, it integrates directly with the BLE Module, the Connect app, and the data network. It's not just a module — it's a node in a platform.
Get Started Today
You now have everything you need to understand how to use GNSS module Arduino with the MultiNav Pro+. From wiring and code to advanced configuration and real-world applications, this module delivers professional-grade navigation capability without professional-grade complexity.
Whether you're building a drone tracking system, an IoT sensor node, a precision agriculture platform, or contributing to the RFOXiA data network, the MultiNav Pro+ gives you the accuracy, speed, and reliability your project demands.
Ready to get started? Pick up the RFOXiA Accurate GNSS Module and begin building with 1.5-meter precision today.
Summary
- GNSS vs GPS: GNSS covers all four satellite constellations — GPS, GLONASS, Galileo, BeiDou — delivering faster fixes and better accuracy than GPS-only modules
- MultiNav Pro+ specs: 1.5m accuracy, 18Hz fix rate, 1-second first fix, 26×22mm, 25–30mA, UART and I2C interfaces
- Arduino wiring: 3.3V power, TX/RX swap for UART, or SCL/SDA for I2C — use logic level converter with 5V Arduino boards
- Software: Open-source C library, Arduino IDE compatible, NMEA protocol, u-center GUI for configuration
- 18Hz configuration: Use UBX protocol commands or RFOXiA library helper function for high-update-rate applications
- Applications: Drones, IoT tracking, agriculture, wearables, robotics, research, data networks
- Ecosystem: Integrates with BLE Module, Sensors Module, Power Kit, Connect App, and AI Firmware Builder for complete wireless development platform
Written by: Moamen Mohamed LinkedIn